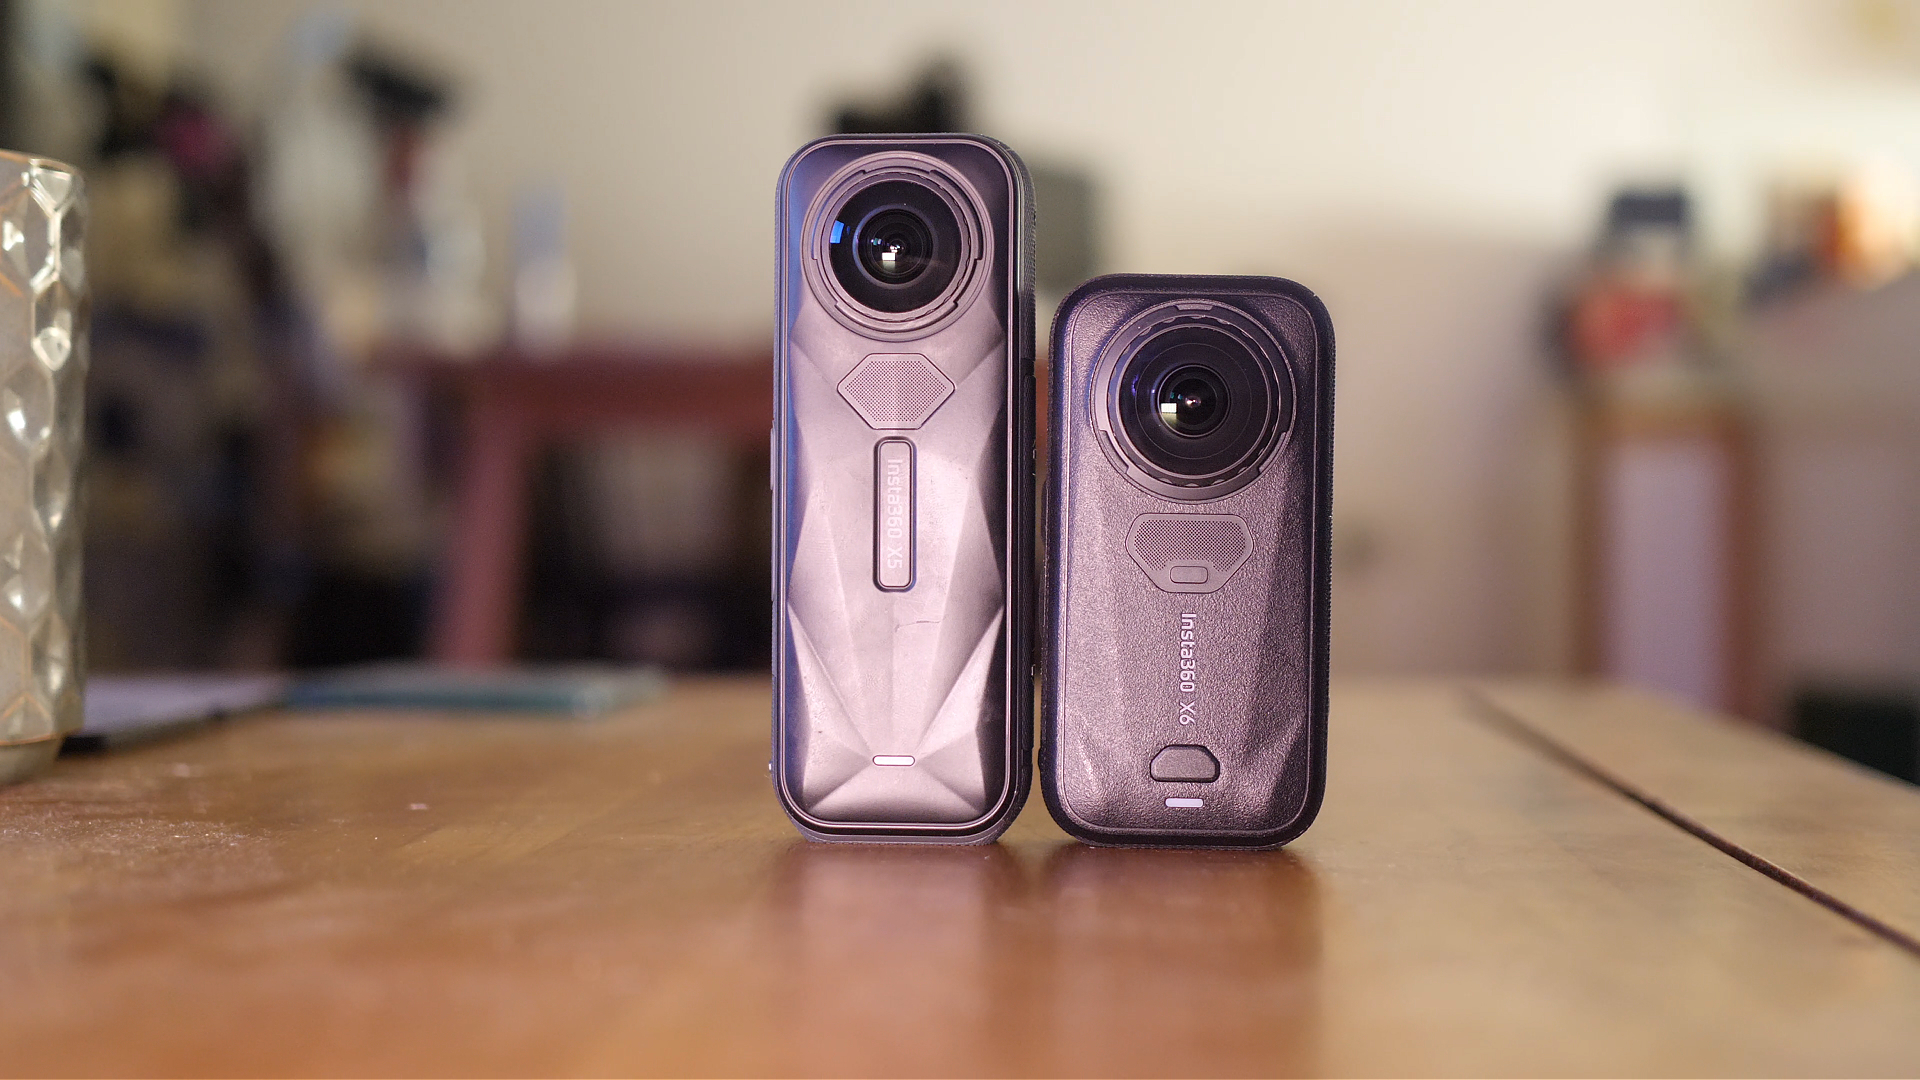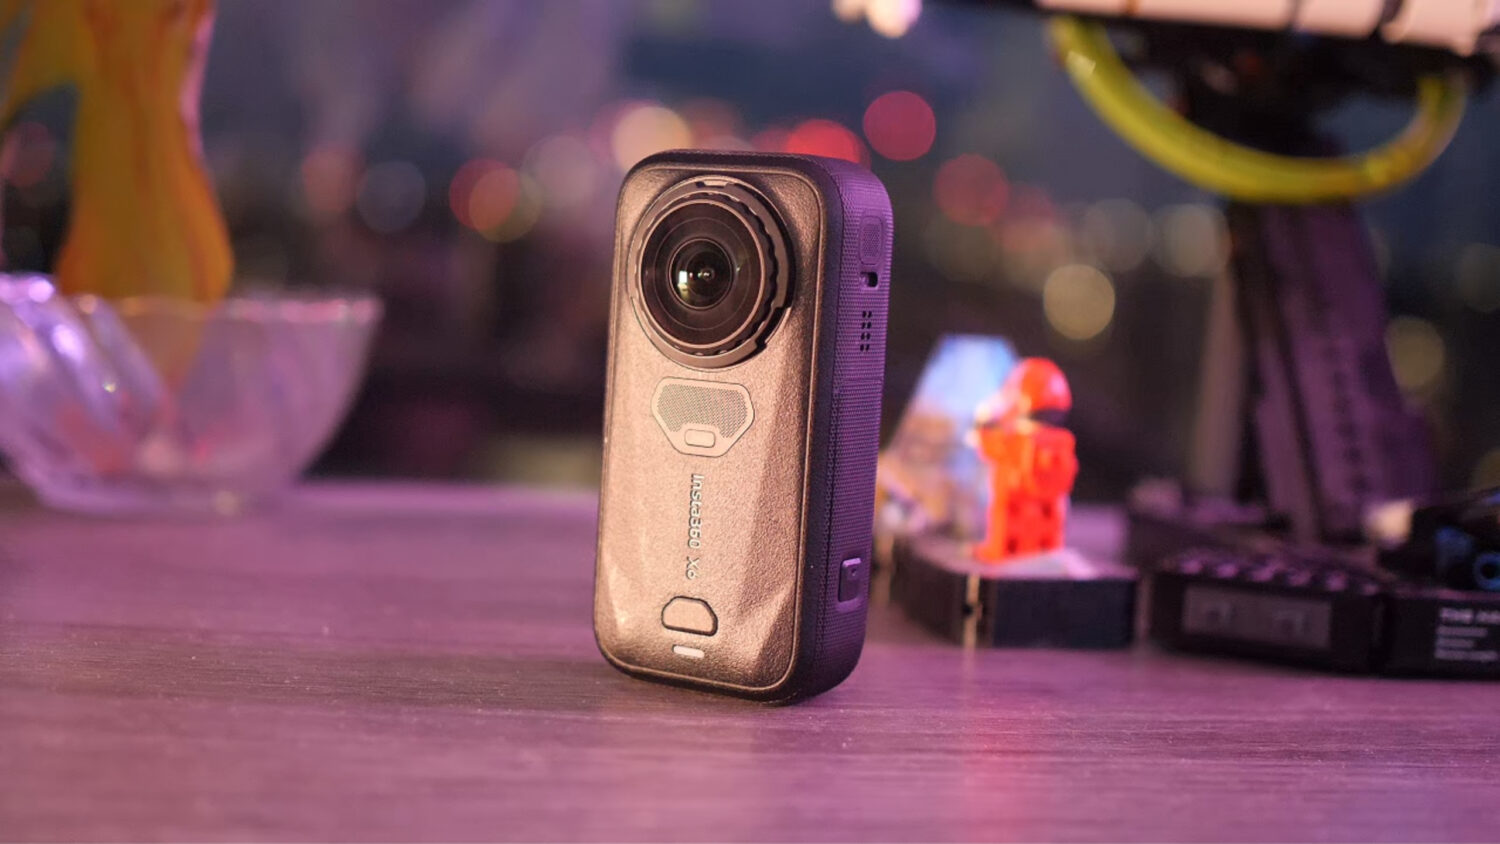
Insta360 X3 Low Light Video: Best Settings, Tips & Tricks


360 cameras can be used to create amazing unique shots that are not possible with any other type of camera; however one of the biggest weaknesses of these types of cameras is their ability to shoot good looking video in low light.
Most 360 cameras of the past have shipped with small sensors which means they struggle to take in enough light in darker environments. The camera needs to compensate by artificially brightening the video which makes it looks grainy and overexposed.
In order to get excellent quality video when shooting at night you need to be aware of the correct settings to use. The difference between setting up the camera manually for low light video and just allowing it to do it itself is astonishing.
In this article I’ll show you how to set up your Insta360 X3 for shooting low light video as well as some tips and tricks to ensure your video remains smooth, sharp and fluid.
Insta360 X3 Low Light Video
New Sensors
One thing to consider before setting up your camera is that the Insta360 X3 is an excellent choice for shooting low light 360 video.

The Insta360 X3 features sensors that are twice the size of those found in most other consumer 360 cameras. This allows the camera to take in more light and ensure video quality remains even in difficult conditions.
The X3 also has a large touch screen which allows you to easily change camera settings and preview the results. You will be able to see what effect your changes will have on your video before you start shooting.
Auto vs Manual
The Insta360 X3 has both an automatic shooting mode and a manual shooting mode. Automatic mode allows the camera to set itself up for shooting and works great during the day.

At night the automatic mode works less well; the camera will usually overexpose video in low light situations. This is where you should switch to manual mode and select your own settings.
ISO, Shutter Speed, White Balance
Let’s go through the different settings, what they mean and what happens when you change them.
ISO: This refers to the cameras sensitivity to light. The higher the value the more sensitive to light and therefore the brighter your video will be. The value usually begins at around 100 and goes up to 3000. You should try and keep ISO as low as possible as a high value will result in grainy video.
Shutter Speed: This refers to how long the shutter of your camera is open and is presented as fractions of a second. Shooting at a shutter speed of 100 is displayed as 1/100, this means the shutter be be open for a hundredth of a second per frame.
Shutter speed effects both the brightness of your video as well as how smooth your video appears when moving.
White Balance: This refers to the colour of your video, whether it appears more yellow, blue or neutral. A lower value will make your video appear more blue in hue and a higher value will make it appear more yellow.

Best Settings for Still Video
Let’s get into the best settings for you Insta360 X3 video in low light. The videos I shoot in these examples are at night but with plenty of artificial light.
The goal is to keep the dark areas dark and the lights crisp, colourful and properly exposed. The actual settings will depend on how much light is available, but the below is a good starting point.
Firstly, regardless of still or moving video, you should ensure the camera resolution is set the maximum 5.7K.
Still Video Low Light: When shooting still video go into manual mode and select a shutter speed of 1/50. This a fairly low shutter speed and will allow your camera to take in more light.
Thanks to the lower shutter speed you will be able to set the ISO to a lower setting. In most cases between 200 and 320 would be ideal. A lower ISO setting will result in less noise and an overall clearer video.

Still Video Very Low Light: In more difficult conditions you will want to keep your shutter speed at 1/50 however you should increase the ISO up to between 400-500. The resulting video will be more grainy but should still be useable.
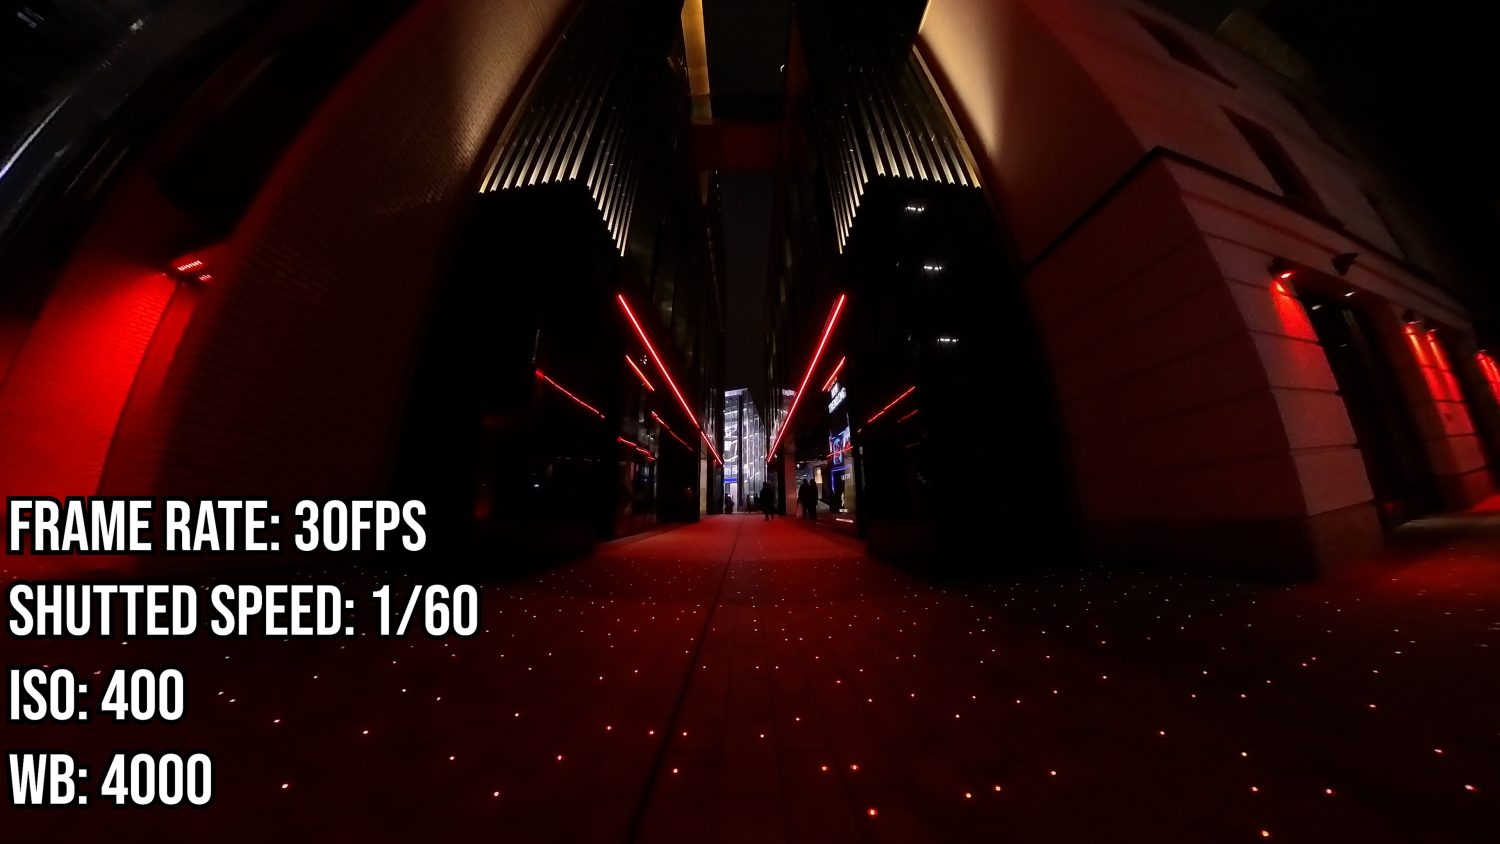
Best Settings for Moving Video
Moving Video Low Light: Shooting moving video in low light is more challenging for the camera. You want to ensure that any lights in your video aren’t shaky or blurred, which is almost certain to happen when shooting in auto mode.
The shutter speed should be set to higher setting, between 1/100 and 1/160 depending on the level of light available.
A higher shutter speed will result in darker video but will allow moving lights to appear crisp. In order to compensate for a higher shutter speed you’ll also have to increase the ISO slightly to around 500.
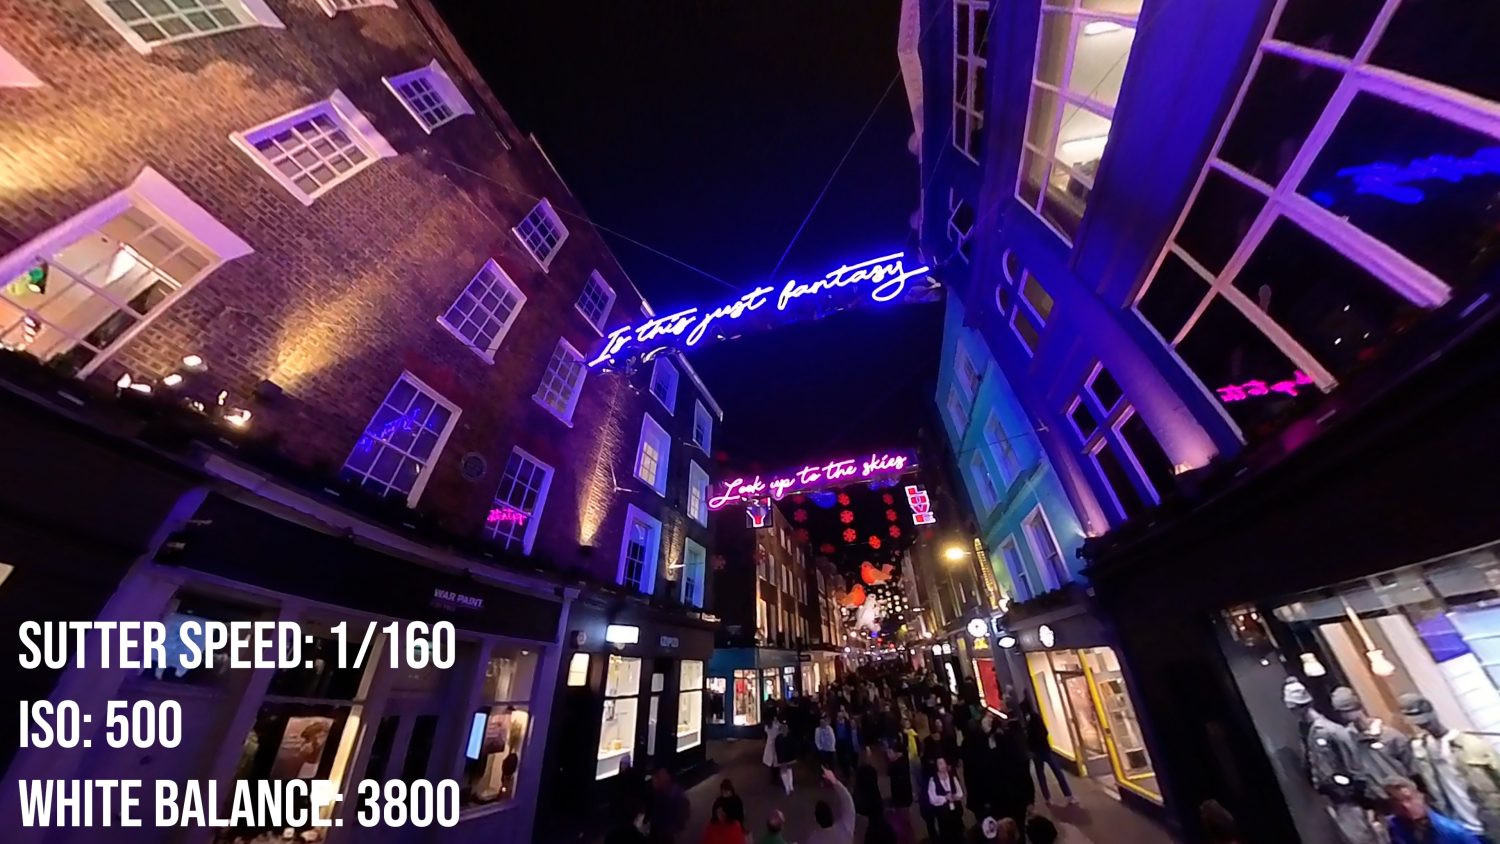
Moving Video Very Low Light: This is the most challenging type of video for the X3 to shoot. You can get some decent footage but it will be lower quality.
Set your shutter speed once again to between 1/100 and 1/160 however you’ll need to set your ISO to between 800-1000.

If your video is still not bright enough then you can push the ISO even higher, but the further you do the more grainy the final video will appear. In some situations it’s just not worth it; remember these are action cameras not DSLR’s.
White Balance
In all cases it’s preferable to set a continuous white balance. This means selecting one of the values in the camera rather than allowing it to change continuously.
The choice of white balance will depend of the effect you are trying to achieve. A general rule is if most of the available light is white then a lower white balance is preferable, between 2400 – 3000.
For colourful lights you should choose a more neutral light balance of around 3800 – 4000.
To achieve a warmer effect choose a higher value such as 5000.
Tips & Tricks
There are some general tips and tricks for shooting low light video with 360 cameras like the Insta360 X3.
Using a tripod with a thick base: For moving video you should always use some kind of tripod or monopod, something like this. You should ideally use one with a thick base or with large legs. This type of tripod will help to absorb and vibrations your may make while moving with your camera and reduce the likelihood of shaky video.
Tense your core and move smoothly: Another way to avoid shaky low light video is to use your body as a kind of vibration dampener. By tightening your core muscles and gliding, rather than stomping, will further reduce vibrations reaching your camera.
The above settings are not definite but they serve as a good starting point to shoot good quality low light video with your Insta360 X3.
See Also: