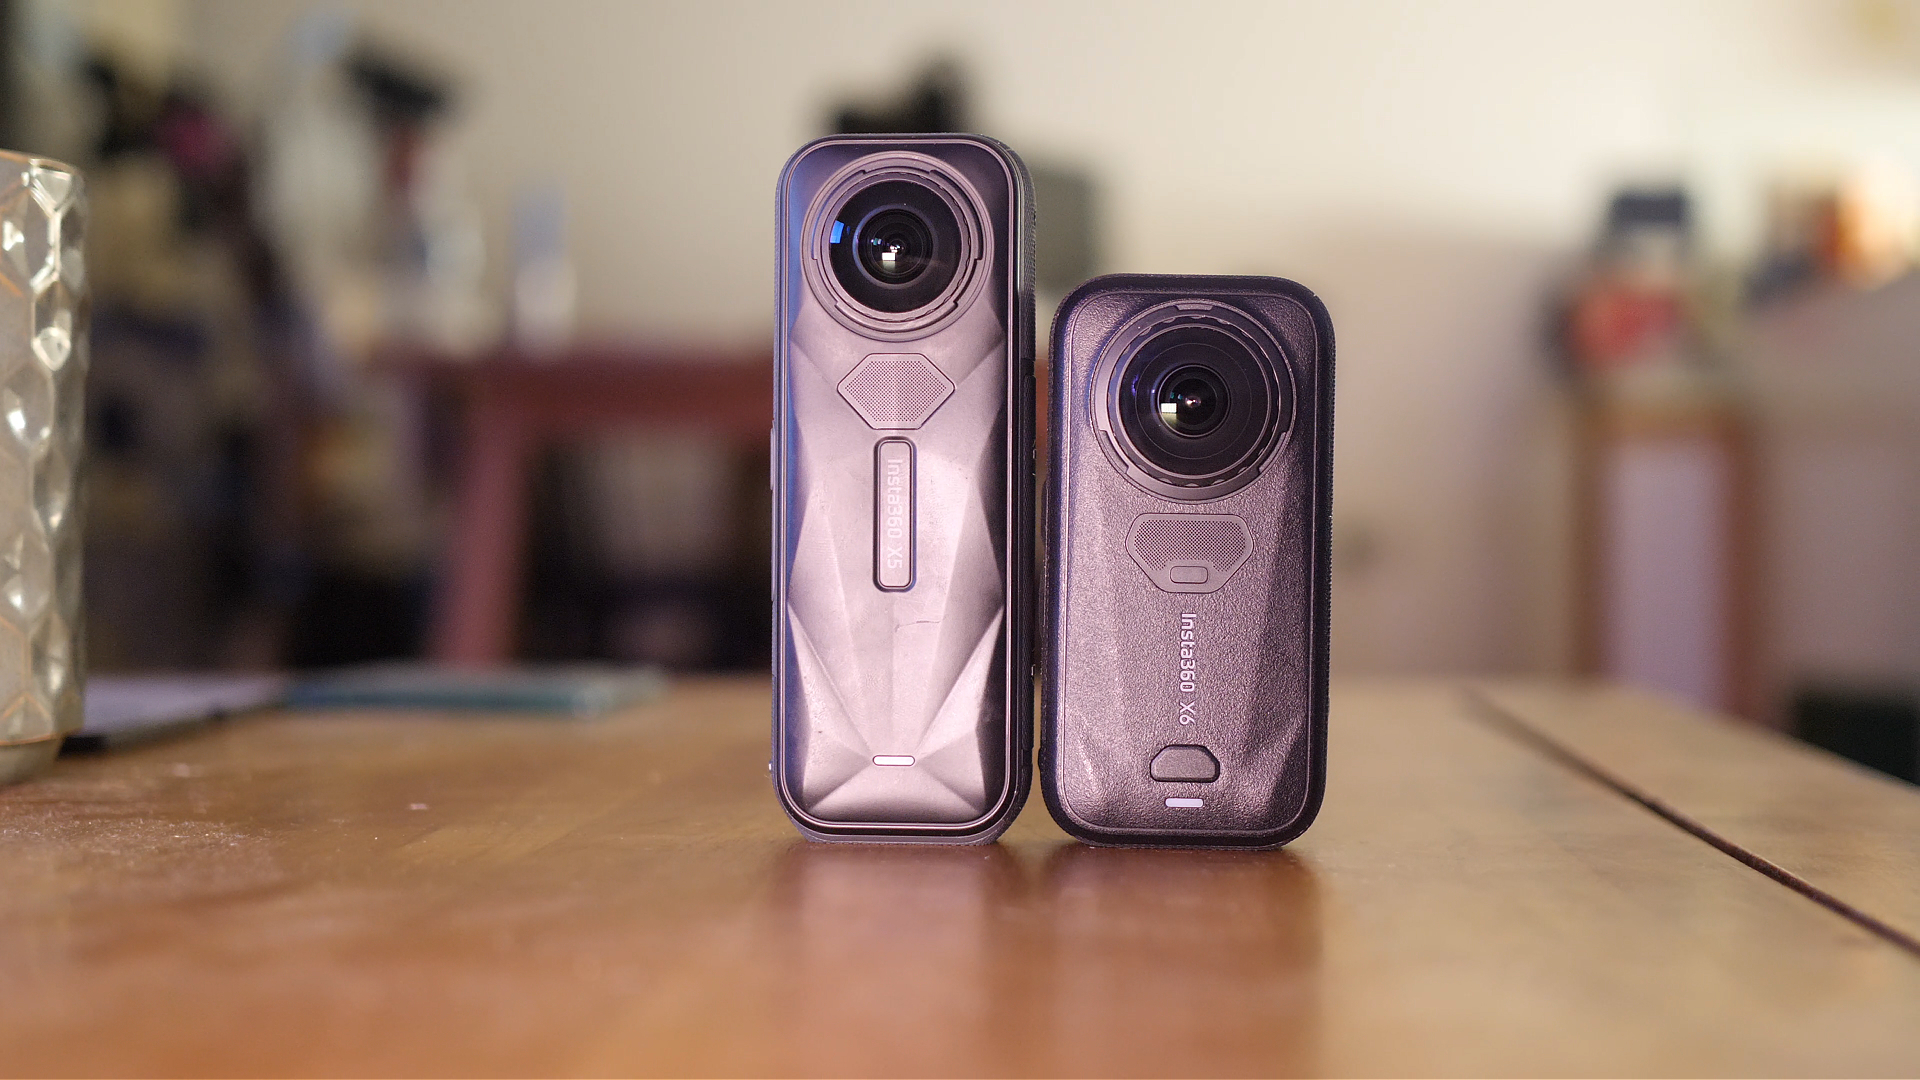


Want to get started using your Insta360 X3? This guide will show you exactly what you need to know to start shooting epic content.
What’s In The Box & Start-Up
The Insta360 X3 comes with a case, a USB C charging cable and a small guide book. In order to use your Insa360 X3 you’ll need a microSD card. I recommend the fastest Sandisk Extreme Pro. Bare in mind 360 videos are very large so smaller storage SD cards can get full quickly.
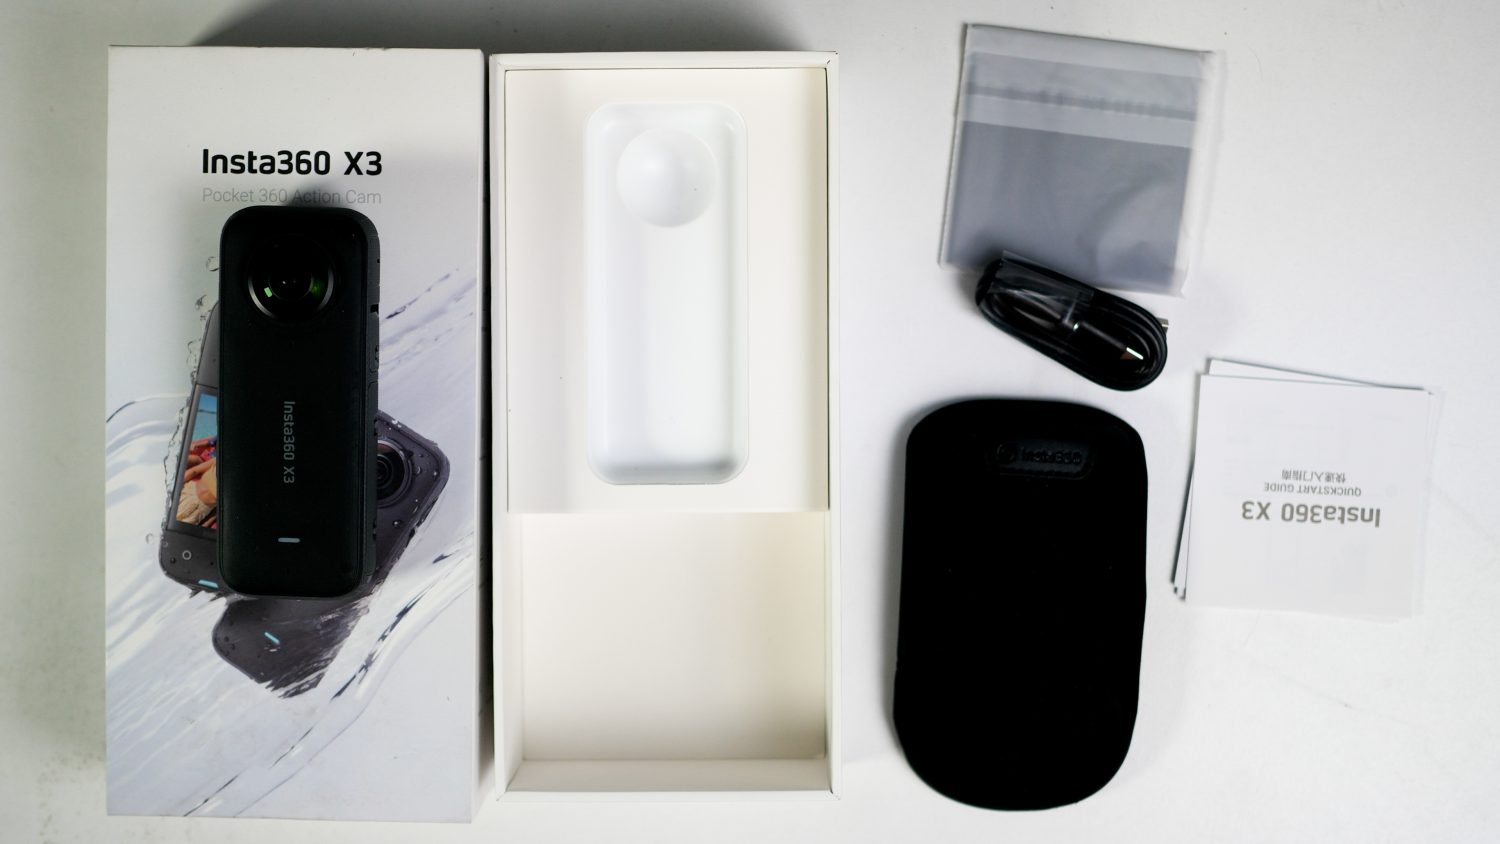
Yu can charge the X3 by plugging the USB cable into the charging slot on the side of the camera. A full charge should take around 90 minutes.
The power button is on the side of the camera. Once pressed the camera screen will activate you you will be asked to active the camera via the Insta360 App.
Connecting To The App
Download the App on your phone and turn on both Bluetooth and WIFI. Activate the app and press the connect to camera option.
Your phone will look for the camera and when it detects it will show. The App will ask you to confirm you want to active the camera. Go to your camera and confirm activation. The camera is now ready to go.
Camera Design & Controls
The Insta360 X3 is first a foremost an action camera. It’s small, light and has rubber grips. Along with the power button you’ll find a quick menu button, shutter button and media button.

The shutter doors conceal the microSD card slot, removable battery and charging port. Make sure when these doors are closed that you can’t see any of the yellow marking, this ensures the doors are fully closed and the camera is water tight.
The camera features a quarter inch mount compatible with dozens of accessories
The 2 Inch Touch screen dominated the camera and allows you to control all options. Let’s take a look at them now.
Camera Menus & Options
There are several modes for both 360 and single lens mode. The most common mode you’ll use is the 360 video mode. In this mode you’ll be able to manually change settings such as ISO, Shutter Speed and Exposure.
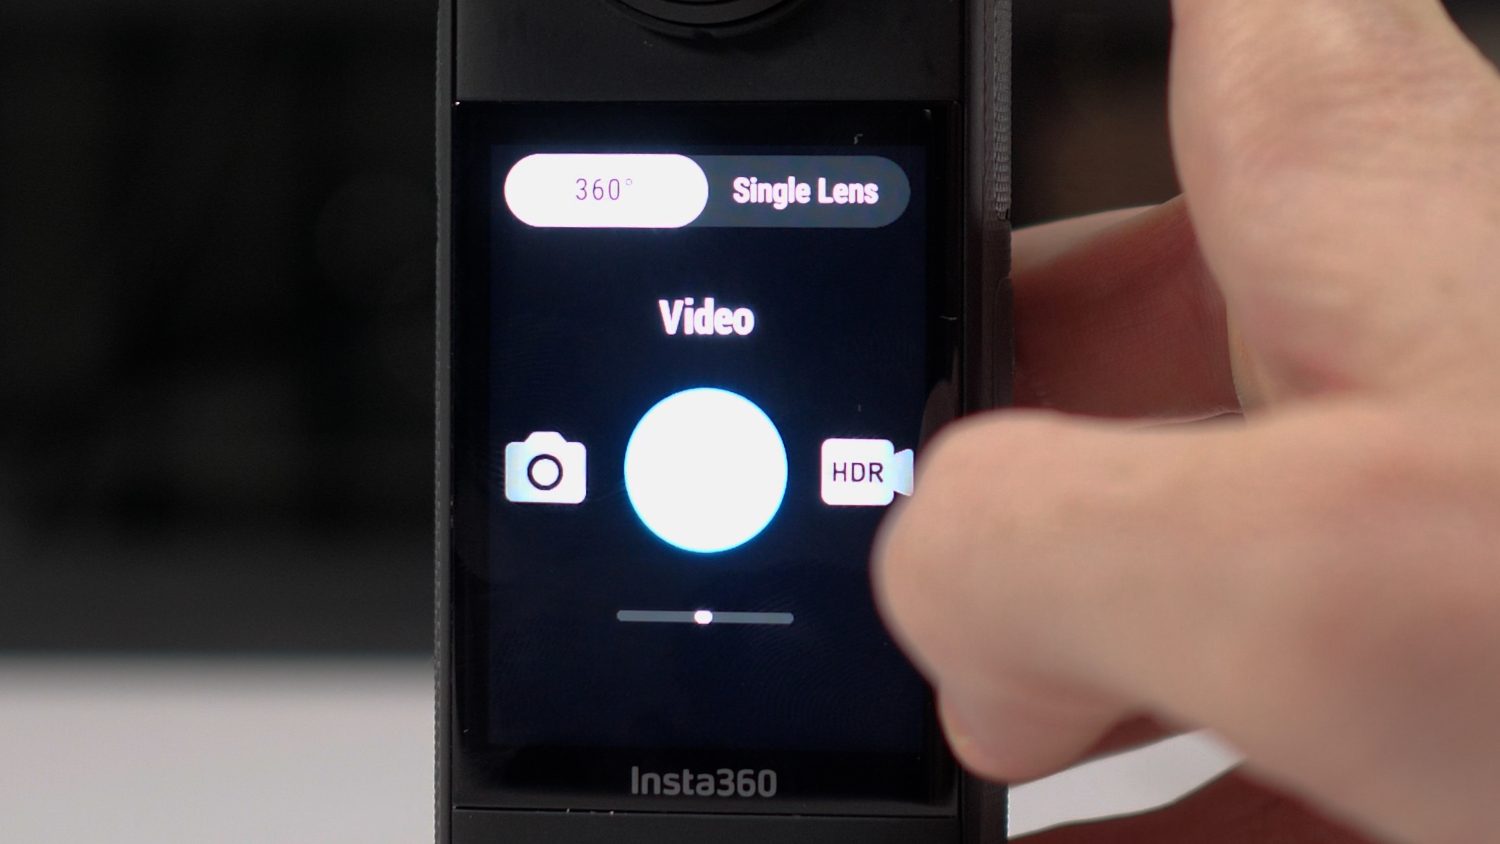
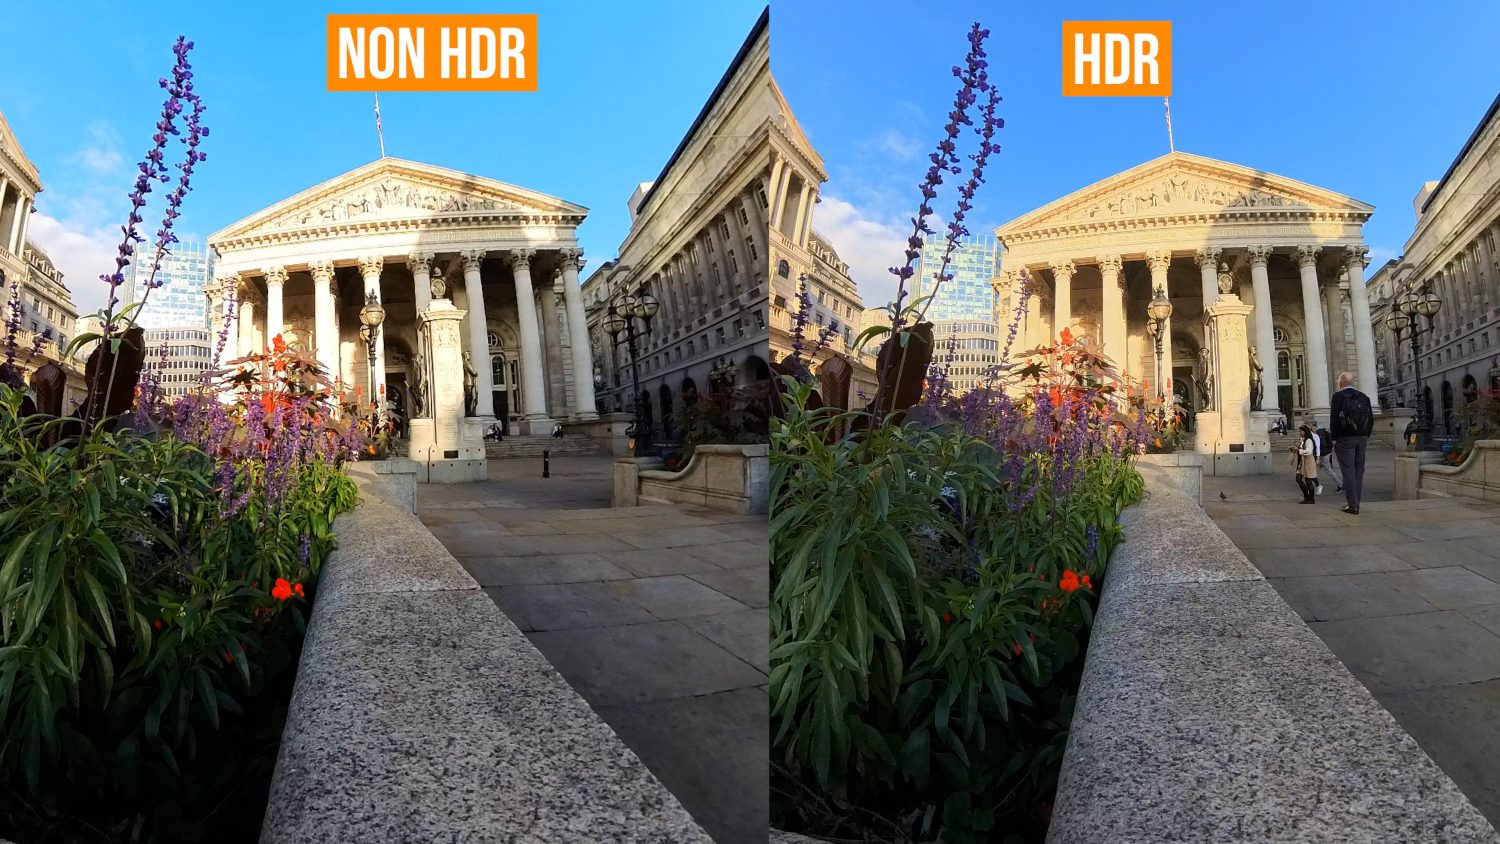
HDR video mode enables you to boost the quality of your video without any editing, however the manual controls aren’t available.
The photo modes follow a similar pattern where you can manually control settings in the 360 photo mode and HDR photos are higher quality but have less manual options.
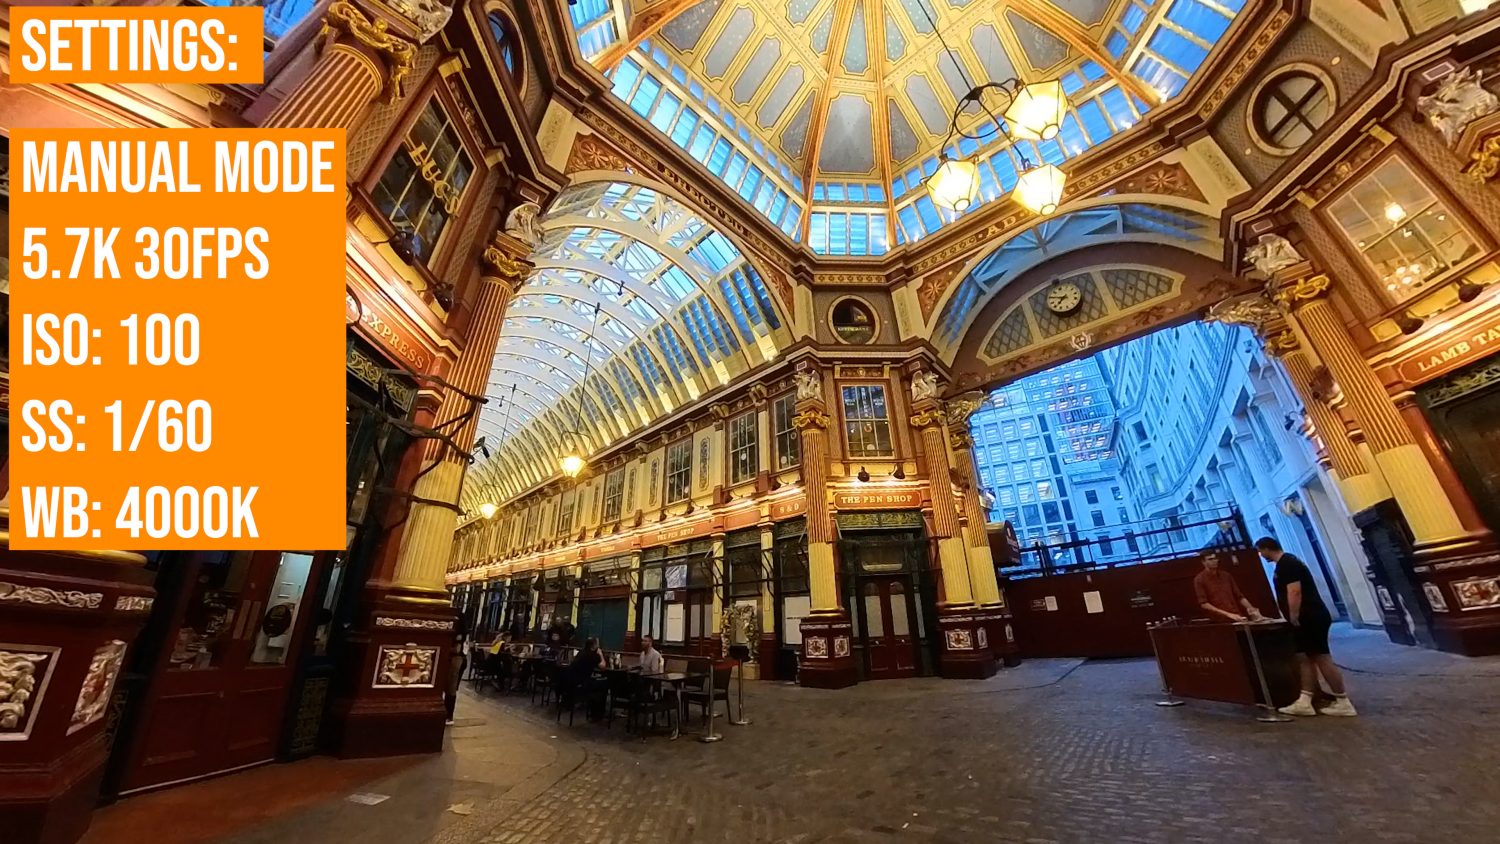
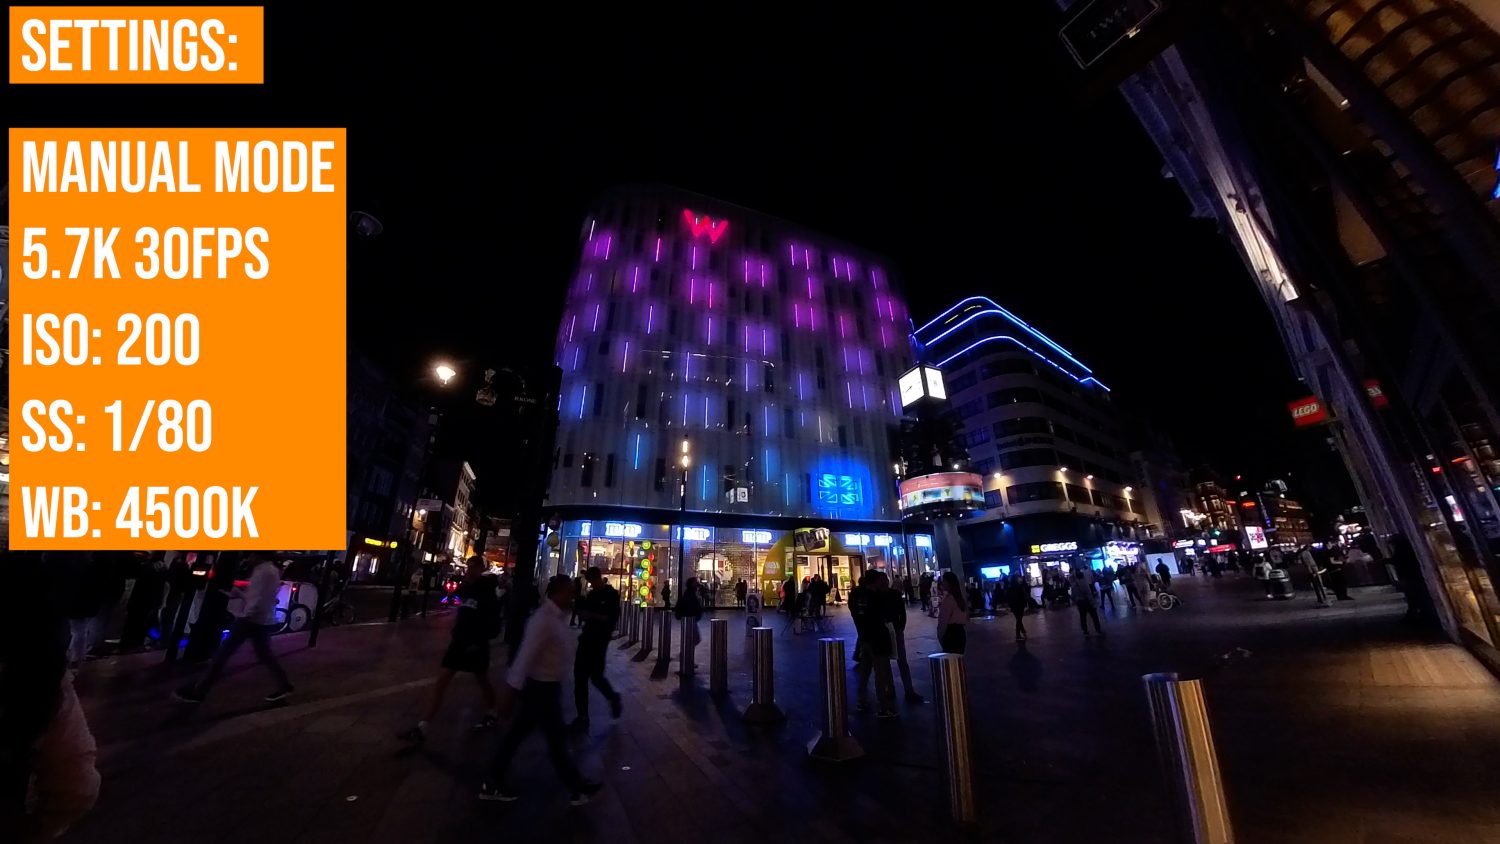
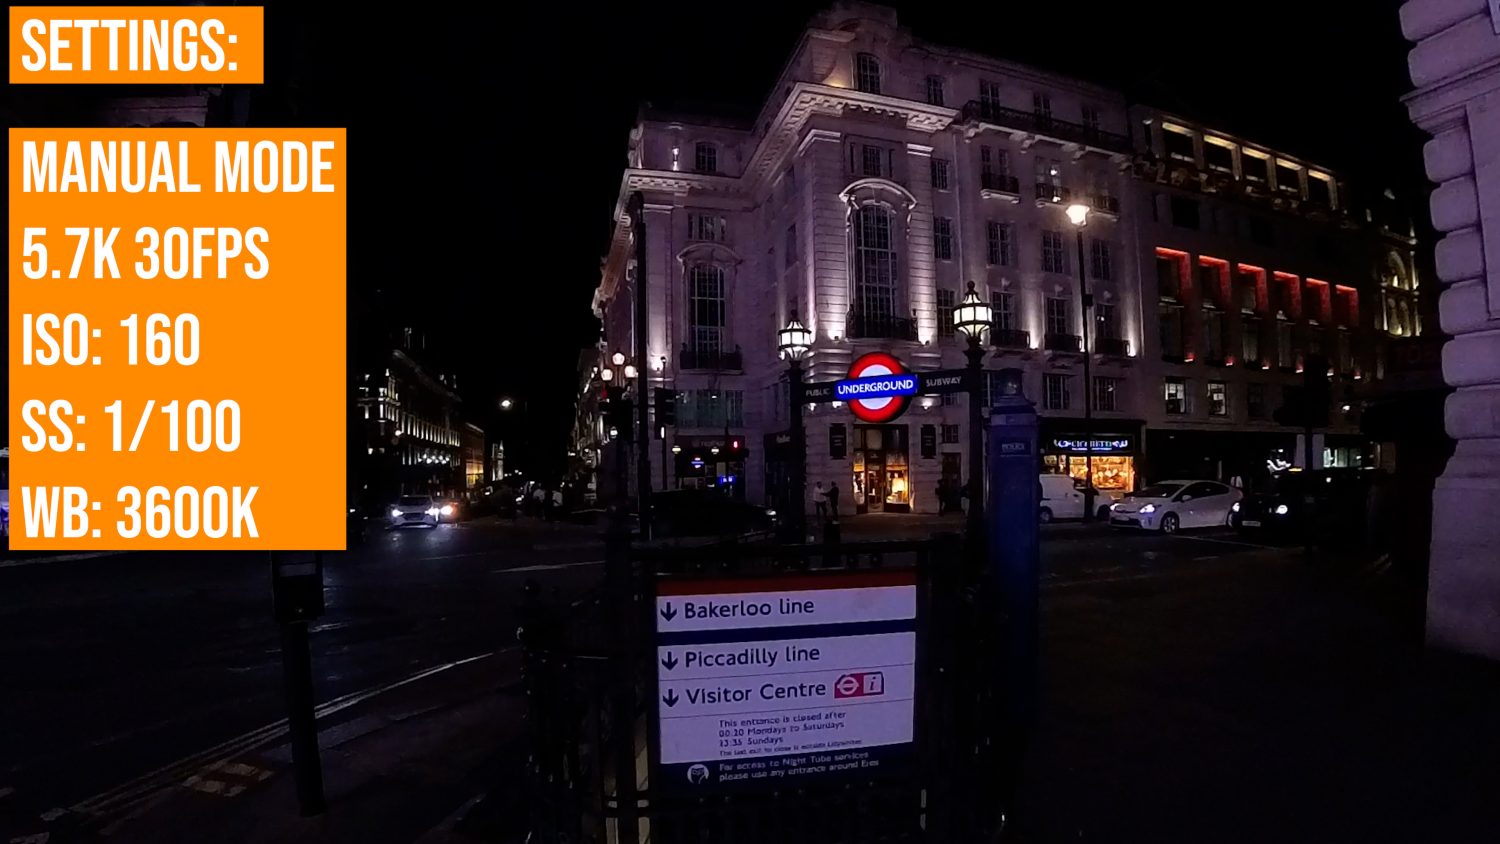
Overall I recommend using HDR modes in daylight but switching to manual mode for night or indoor shots.
Here are some examples of manual settings I used in various scenarios:
Recommended Accessories
My number 1 recommended accessory is the invisible selfie stick. This is pretty much essential for shooting 90% of the shots I make with the Insta360 X3.
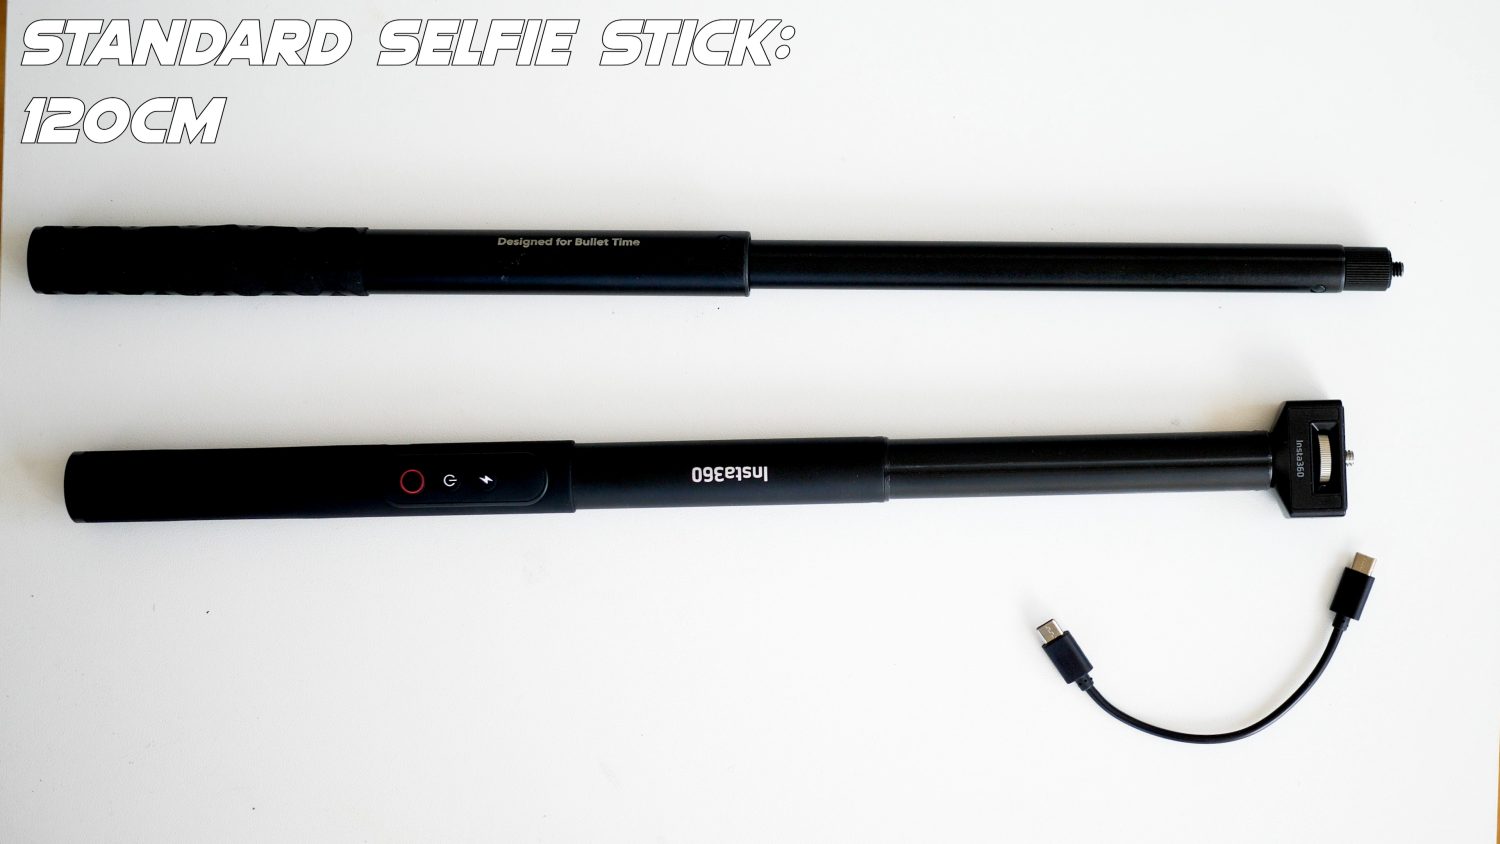
There are a few types available from Insta360 or other providers but you really need one to get the most out of this camera. You may also like to get a mini tripod for still video.
There are dozens of other accessories but these are optional depending on what kind of videos you are going to shoot
Shooting Your First Videos
Take your camera somewhere outside in good lighting conditions. The camera can also be used indoors and in low light but this requires more advanced tweaking of camera settings which is beyond this beginners guide. Subscribe and more advanced tutorials will be coming soon.
Make sure the highest resolution 5.7K is selected. In good lighting conditions you can keep the rest of the settings on Automatic
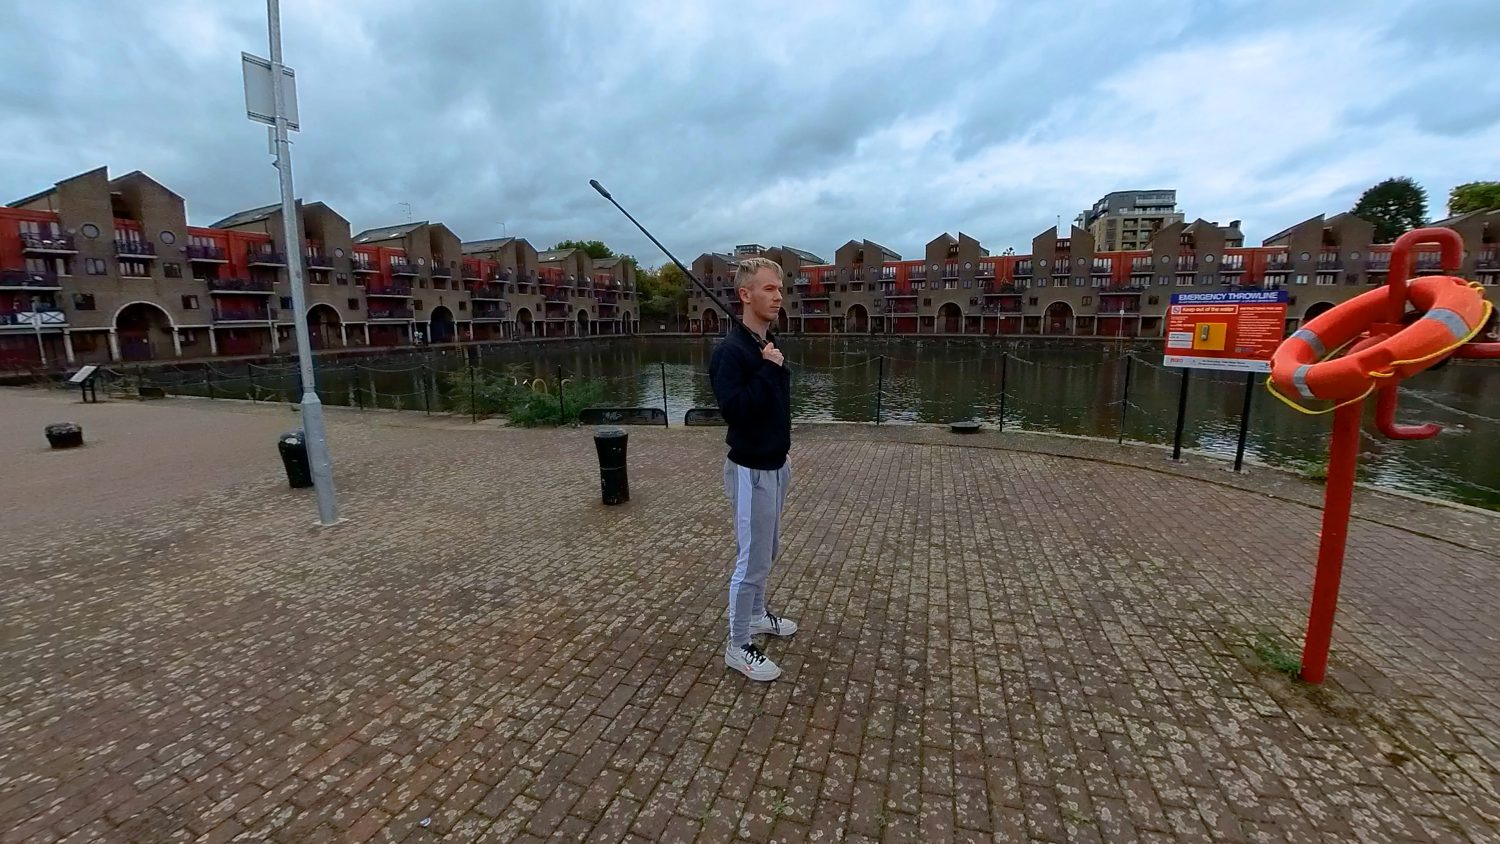
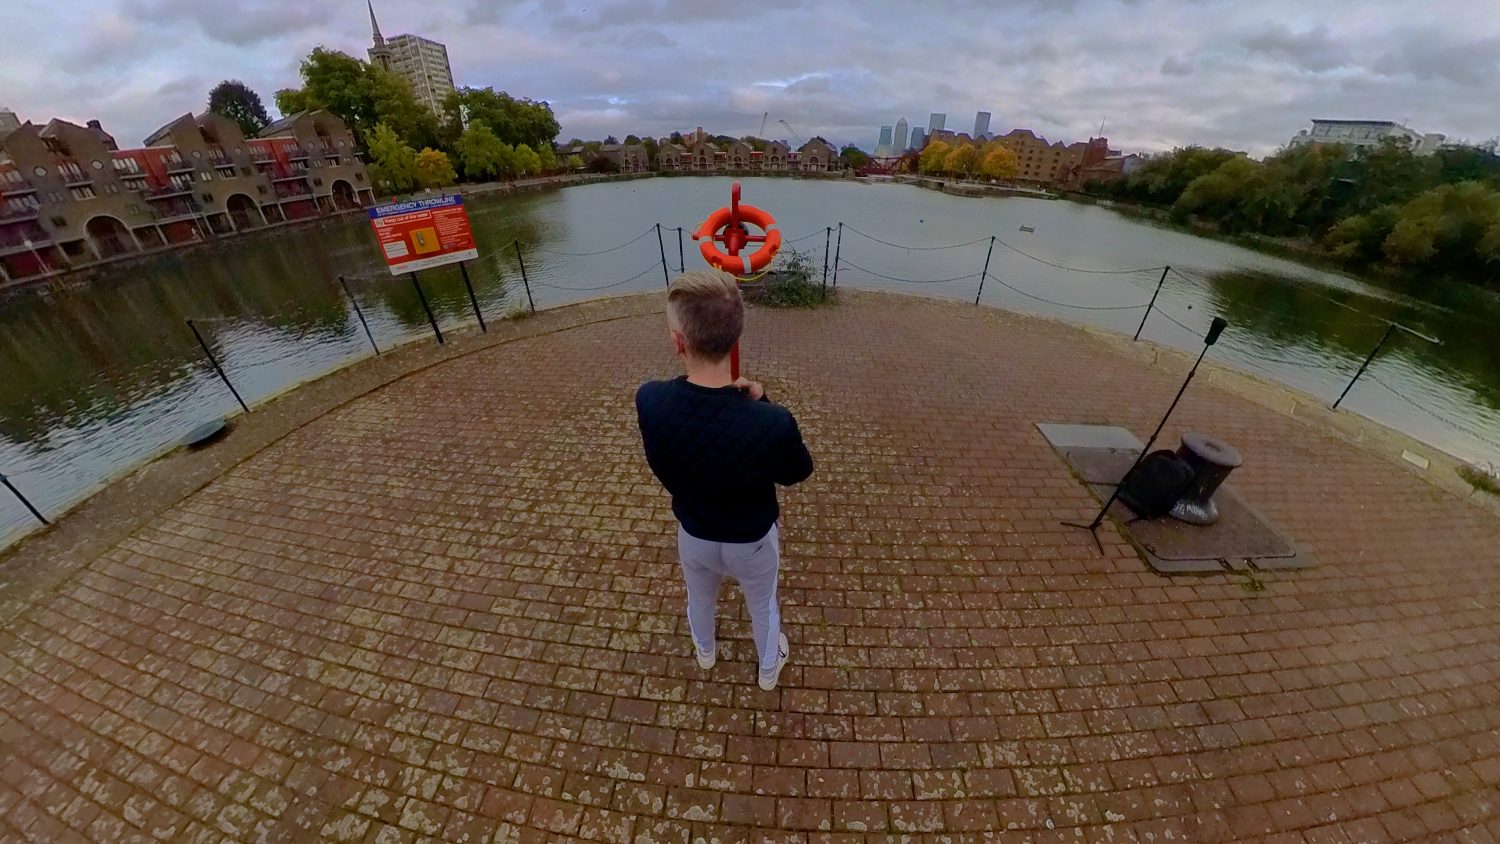
Attach your camera to your invisible selfie stick and extend it to between half and full length. In order to shoot third person videos place the selfie stick diagonally behind you. For first person shots hold the stick in front of you.
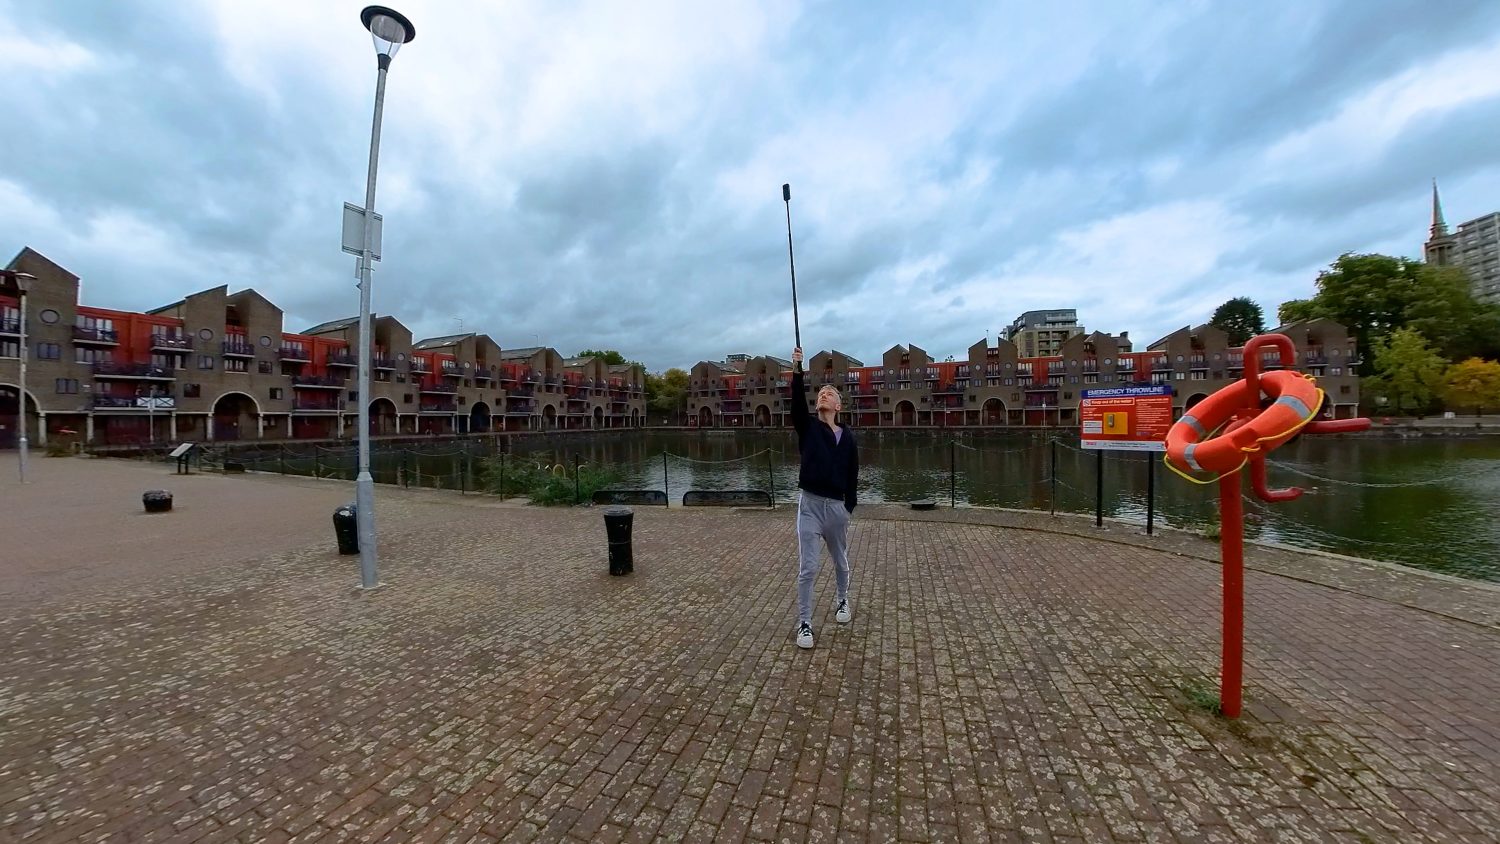
If you are surrounded by interesting features, hold the stick straight up for 20 – 30 seconds.
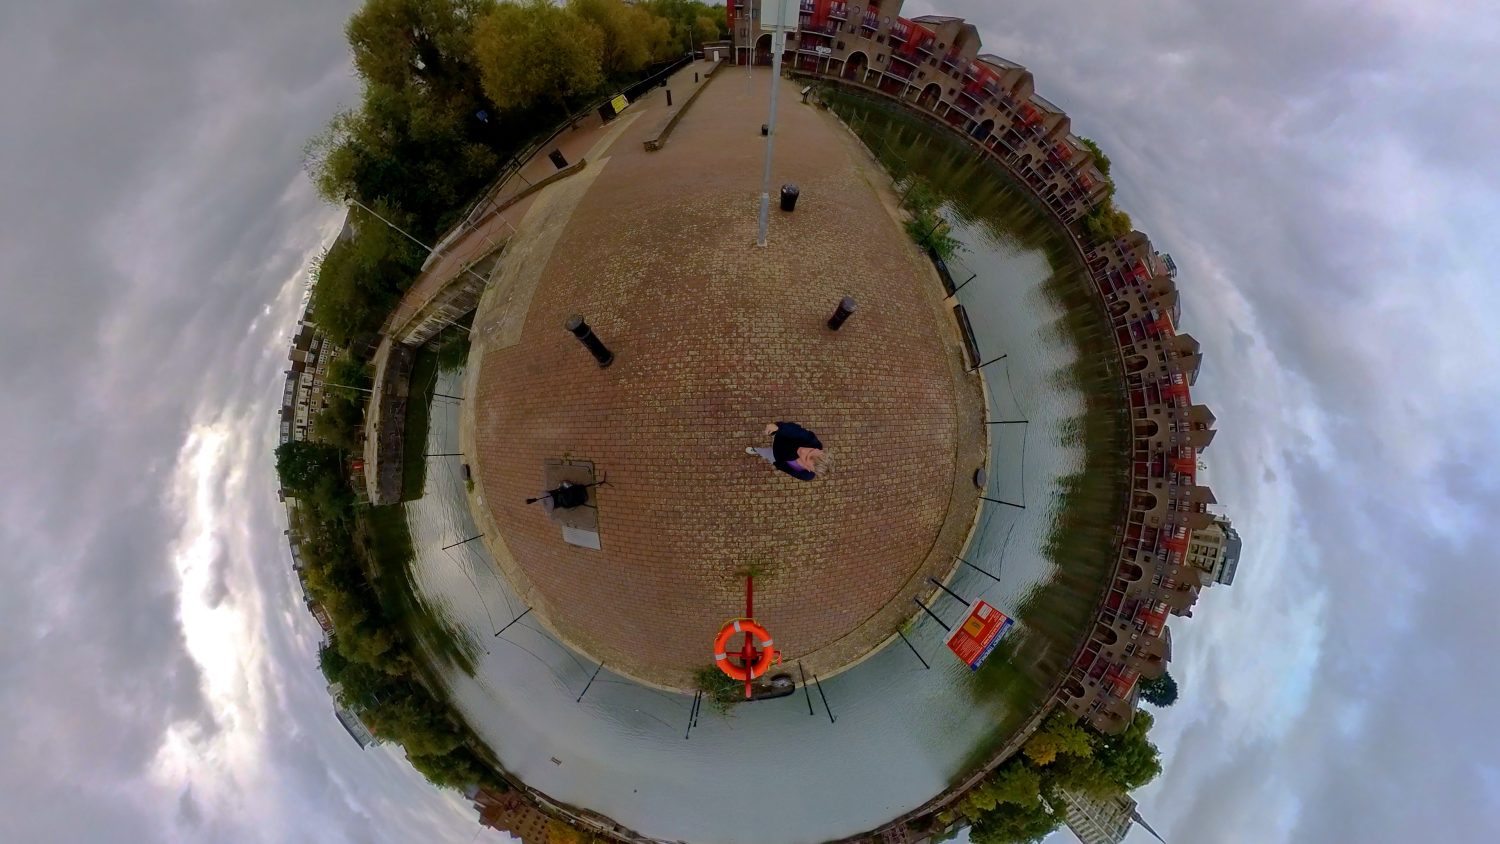
If you have a tripod then you can shoot longer still videos. Leave the camera for a minute or so. You can change the height of the tripod to achieve a slightly different effect.
these are the basic 360 camera shots which allow you to capture yourself with the invisible selfie stick effect as well as the environment around you.
Of course you can also be moving when you take these shots. The X3 features excellent stabilization so you can use these techniques while walking, running, or on a bike, scooter, skates etc.
There are dozens of other shooting techniques for capturing unique video with your Insta360 X3 but it’s good to start with these more basic shots and experiment from there
When using single lens mode you shoot with the camera like you would with your phone or a GoPro. The main option to be concerned with is choosing the field of view, which ranges from more natural Linear to widescreen action.
Editing Your First Videos
Most of the creativity when creating videos with the X3 is done in the editing process. Connect your X3 to the Insta360 App. Go to the gallery where you can see your clips. Select your first clip. You have two reframing options; snap edit and manual.
Snap edit allows you to physically move your phone to reframe your video. It’s like using your phone as a camera to point where you want in your shot.
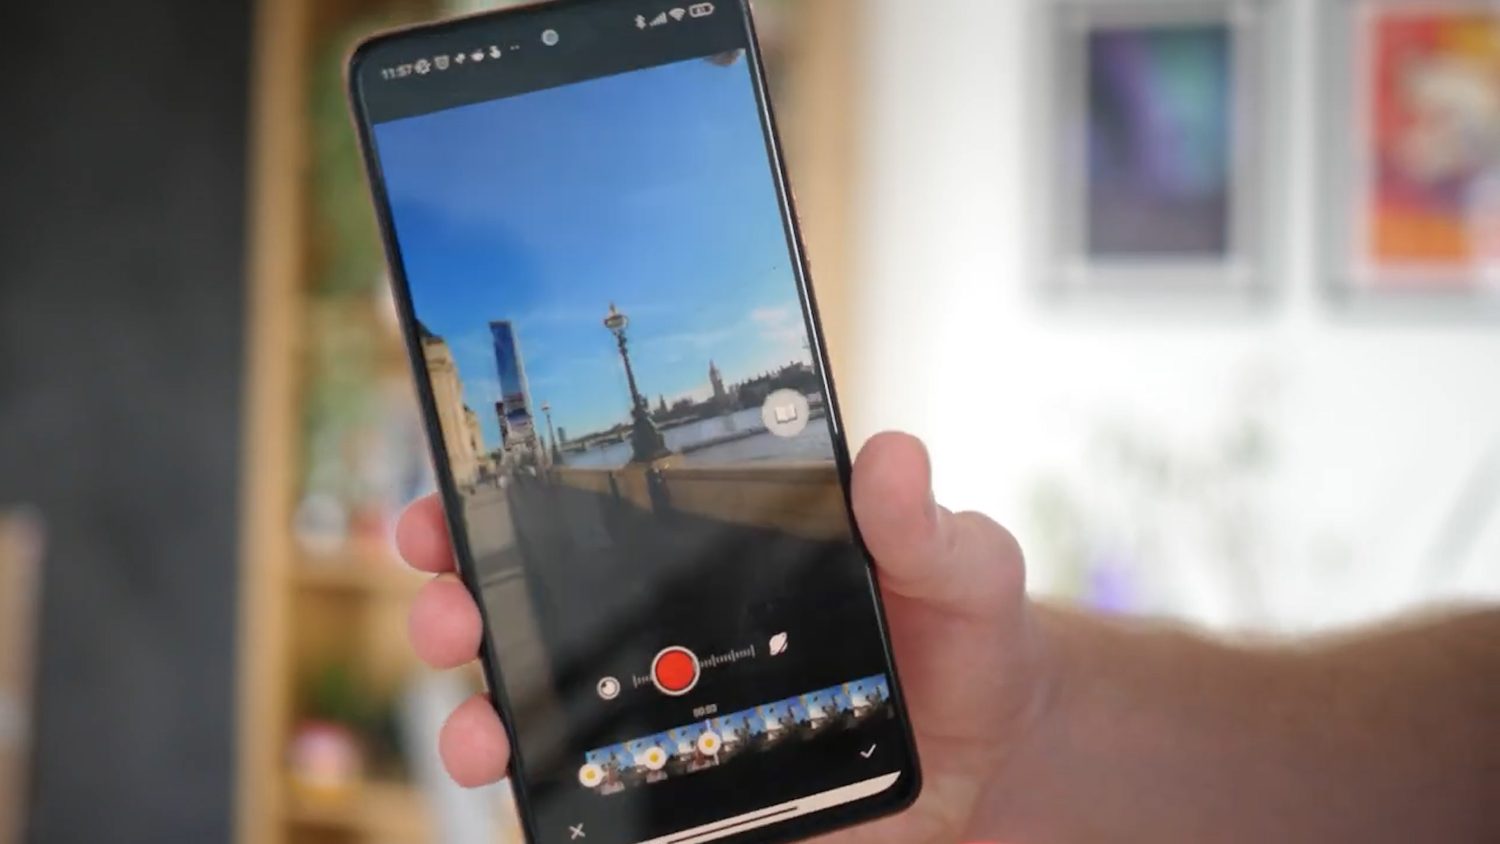
Manually reframing allows you to select keyframes along your video which will slowly pan from one point to another. In both of these modes you can also zoom in and out. In the manual reframing editor you have a lot more options including changing speed, trimming and colour correction.
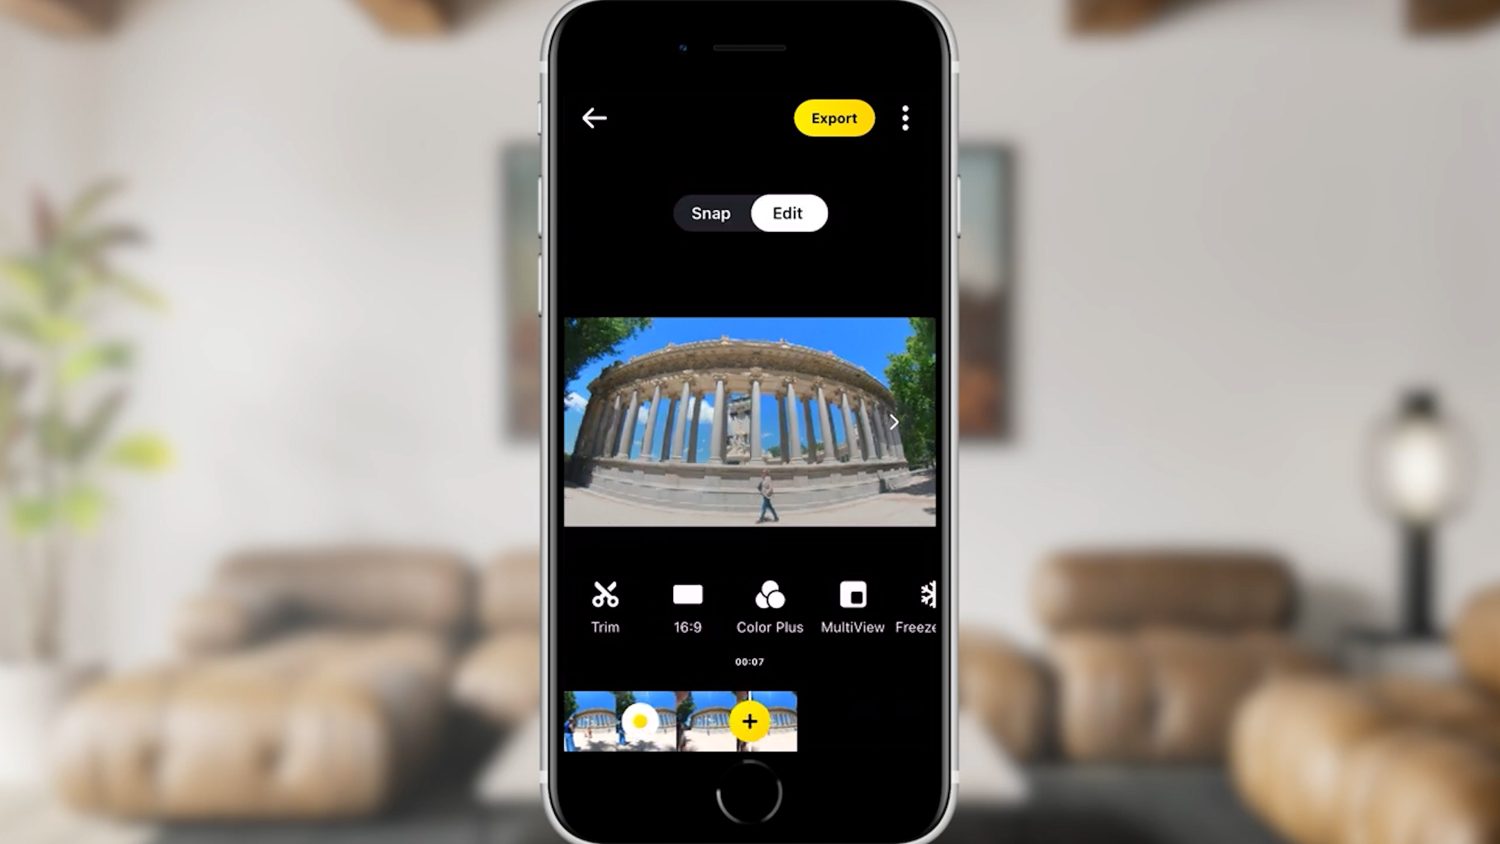
I have a whole video that goes through the whole editing process. Check the description to watch it.
Export Your Videos
Once you’ve finished editing you can tap the export button and select reframed video. You should tap on “quick export” and select “custom”. Here you can select settings for higher quality video. Choose the highest resolution and a bitrate of at least 60MBPS.
Video Guide
This guide is also available in video form which you may find easier to follow.