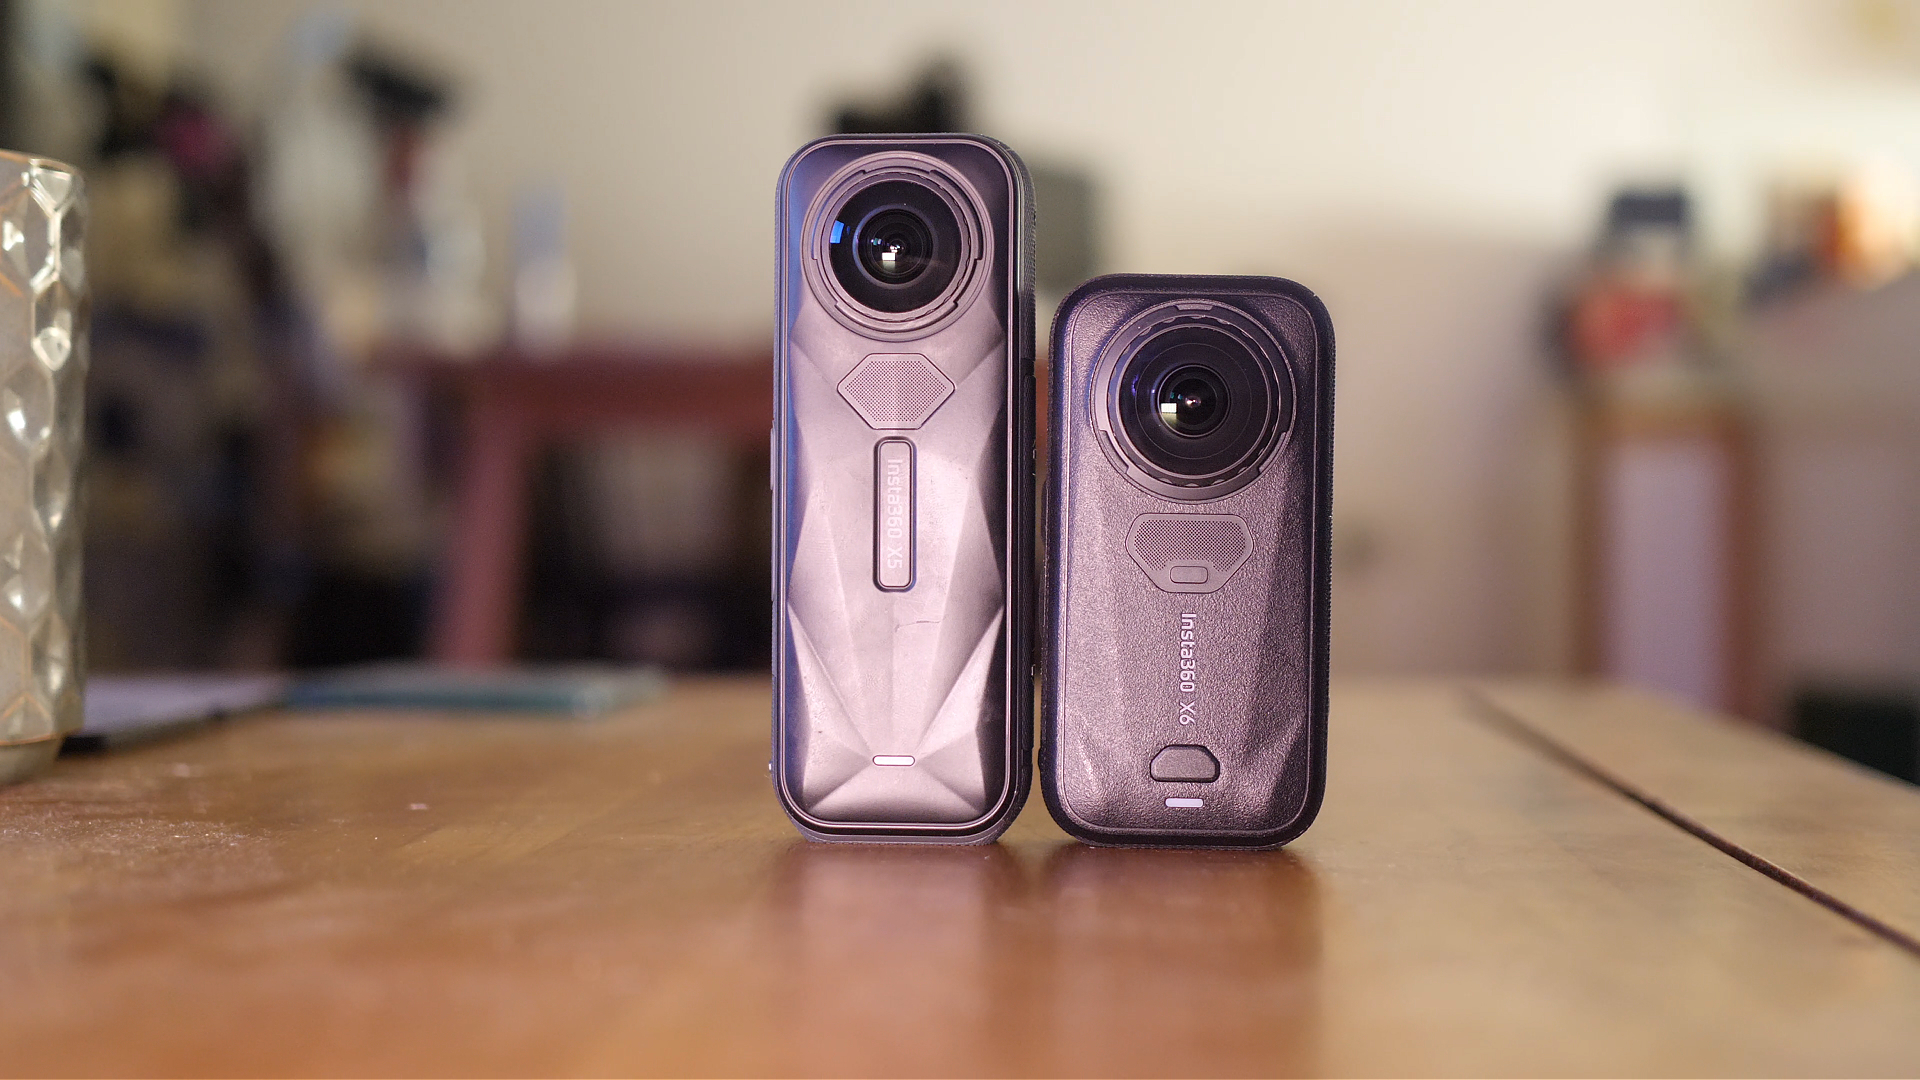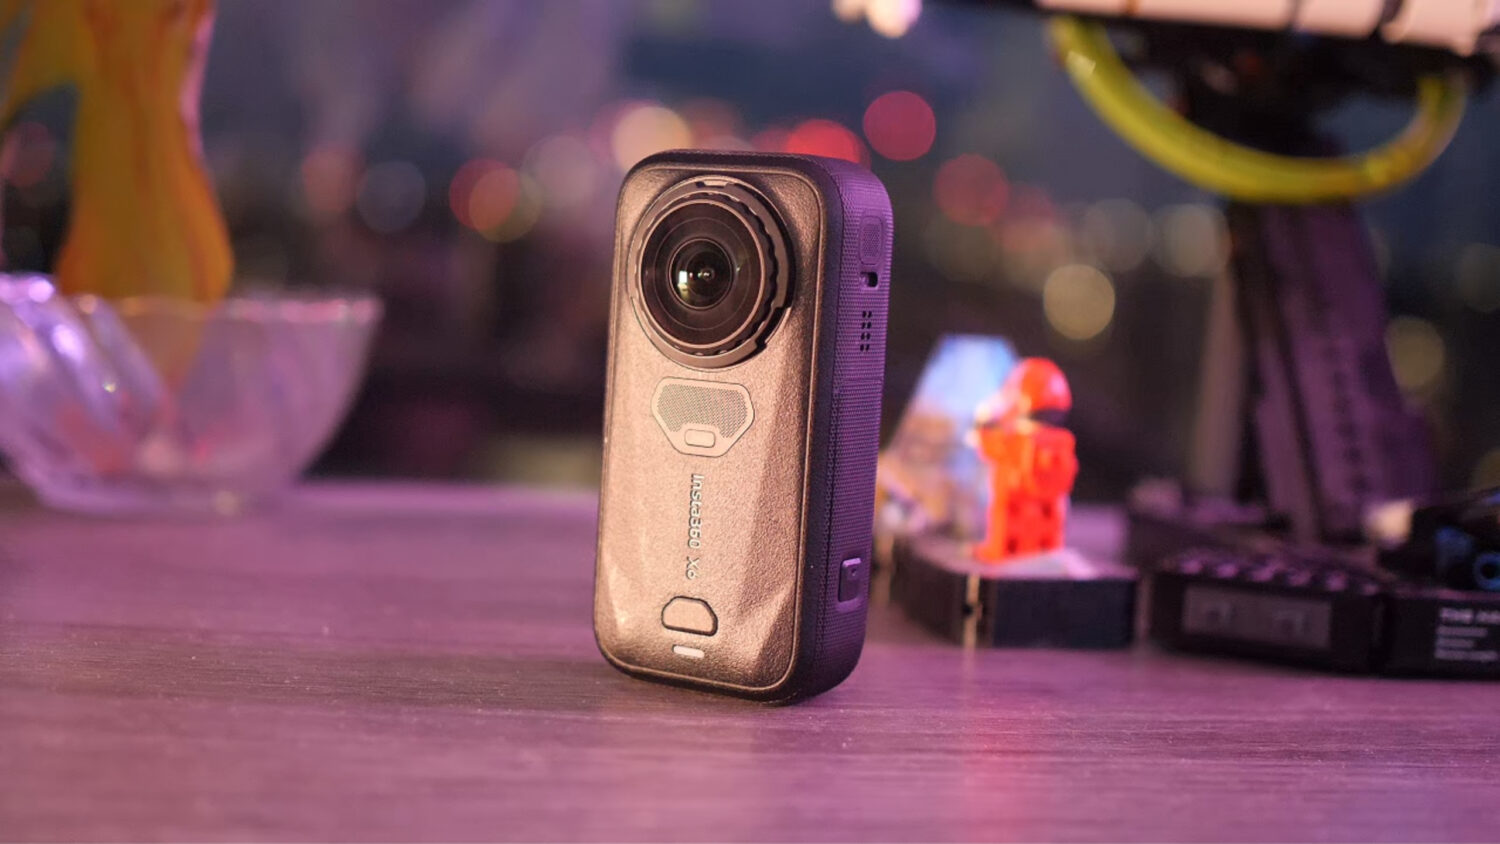


Insta360 recently release the V4 of their free desktop software the Insta360 Studio. You can use this program to edit, reframe and render your raw 360 video files from cameras like the Insta360 One X2 or Insta360 One R. You can also apply effects like horizon correction and improve stitching quality. This is a follow up from my last tutorial of this software.
The new version of this software represents the biggest change since the software first came out. In this post I’ll be showing you the most important new features as well as a full guide on how to use the Studio software effectively.
New UI
Insta360 Studio comes with a brand new user interface including redesigned work area with new tabs and layout. The new design looks much more modern and is far better organised than the previous versions.

Automatic Import
If you open the Insta360 studio with your Insta360 camera plugged in the program will now automatically detect the camera files and will ask you if you want to import them automatically, saving you a bit of time dragging and dropping the files yourself.
Undo Function
A long request function for the Studio was an Undo and Redo button. A simple function that comes with almost all editing programs has been missing for years but is now finally here. Editing 360 footage can be complex so it’s great to finally see this useful function added.

Project Management
A new project management tab allows you to create several projects from the same video. 360 video allows for multiple editing option with the same video and now it’s possible to save several options, compare them and render them all without having to start over and over again.
Export Queue
You can now export your video and photo files while still continuing to work thanks to an Export Queue which will also display the progress of your exports.
Mac M1 Compatibility
Finally, the Insta360 Studio is now fully compatible with the M1 Macs.
User Guide
Now I’ll take you through a guide on how to use the Insta360 Studio, what all the settings do and how to use all of the features.
Import & Preview Footage
One of the new features of the V4 Insta360 Studio is the automatic import. If you select this option all your footage will be imported to the studio, otherwise you can grad and drop specific files. Once imported the files will be shown on the left hand panel where you can also preview them by dragging your cursor over the images.

Settings Tabs
There are 5 settings tabs on the right hand pane where you can make some adjustments to the entire video. I’ll take you through what they do.

Stabilisation Type
Here is where you can turn the stabilization setting on or off and also activate direction lock.
In pretty much every situation I keep the stabilization on, regardless if the camera is moving or not this setting will still correct any horizon issues.
Direction lock is more interesting and will change how the stabilization works. When off the camera view will remain pointed in the same direction regardless of whether you moved it when shooting. When on the camera view will move depending on how you moved the camera when shooting.
I find it easier to have direction lock off when reframing 360 videos. The exception may be when you wish to do minimal editing, such as using the camera to shoot dashcam footage of if attached to a bike or surfboard.
Stitching
On this tab you can change the stitching type depending on if you have utilised any accessories. If you haven’t used any of them then you won’t been to change these settings. Th next option is stitching optimisation; i recommend turning on both “dynamic stitching and ” Chromatic calibration”. This should improve the accuracy of the stitching line.
For further improvement you can click the calibrate button which should further remove any appearance of the stitching line.
Media Processing
The Aqua vision option should only be turned on if using the camera underwater. True audio options may increase the volume and clarity of the audio in your video. You can try them out and play back to see if the change is positive.
Logo
You can add your own logo to the nadir of your video or use one of the Insta360 default ones.
Project Management
This is a new area of the Studio where you can save several projects for the same video. Once saved you can quickly clock between them.
Timeline
The redesigned timeline is now much more similar in appearance and function to programs like Premiere Pro. When you hover your cursor over the timeline you will now notice a preview of whichever frame you are on. You can also drag alone the timeline to any point quickly and easily.

You can trim your video on the timeline by dragging each end, or using a shortcut key which is shown on the edit menu. You can also zoom into the timeline to more accurately select the correct frame.
You may also wish to change the aspect ratio setting at this stage, which is also possible using the top of small 3 icons on the bottom right hand side of the preview screen.
Below this you’ll see three more icons. They represent the keyframe, deep track and timeshift features, which I will go into more detail later.
Reframing
This is the main reason to use the Insta360 Studio. Reframing allows you to transform your 360 video into a normal video while choosing where the camera is pointing at any one time.
In order to start reframing make sure you are on the Reframe view as opposed to 360 view. Both options are just above the preview window.
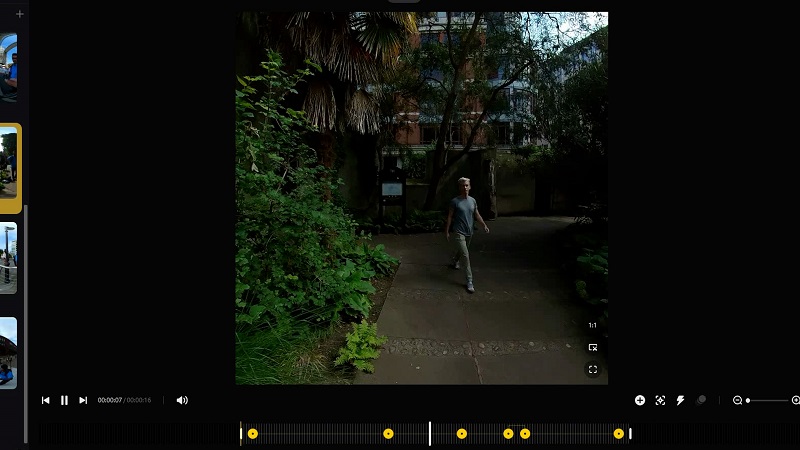
Go to your timeline and choose where you want your camera to be pointing a that time. Now press the Reframe Button ( a + icon in a circle). Now choose a later point on the timeline and move the preview to a different point and press the reframe button again.
If you play back the image will now move depending on what point you selected. Keep repeating this process across the whole video. You are able to move the image either by dragging the preview or using the manual controls in the tab that pops up when adding a new keyframe.
You may also wish to alter the transition settings between your keyframes. To do this just click on the line between each keyframe and select your preferred transition.
Deep Tracking
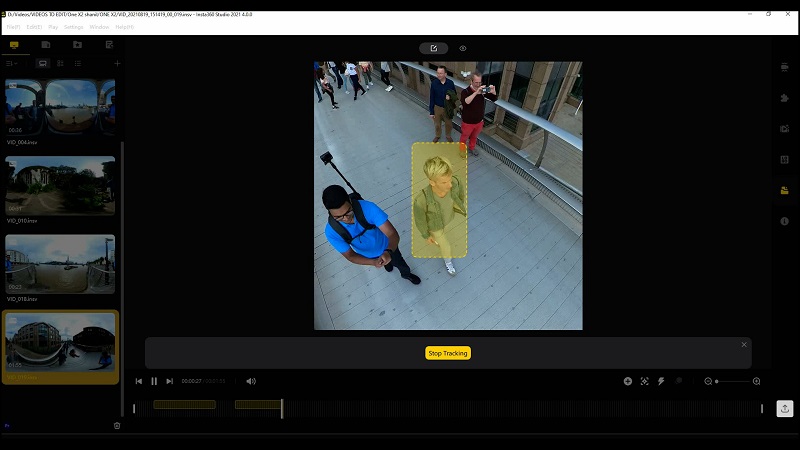
Deep track allows you to focus on a specific object or person for a specific amount of time. To use it just select the Deep Track button and click and drag the cursor over what you want to track. The timeline will play until it loses tracking or you tell it to stop. When you play back the footage your camera angle will follow the object or person you selected.
Timeshift
Using this button you can alter the speed of your video. Press the Timeshift button and select where on the timeline you want to change your speed, now drag on the timeline to where you wan to end the timeshift. You will now see speed options from 1/4 speed to 60X.

Lowering the speed will induce slow motion. Speeding up, particularly 16X and above, will create a hyper lapse effect when combined with keyframes.
Export
Now you are ready to export your video which can be done by pressing the yellow square button on the bottom right of the program. You have several options however the only ones that may impact quality is bit rate and resolution.
It’s usually not worth upscaling the resolution above 1920 X1080 and you should keep the bit rate around 60, otherwise you are just creating a larger file for no extra quality.
You can now add the file to the export queue and start editing a new video while it works.