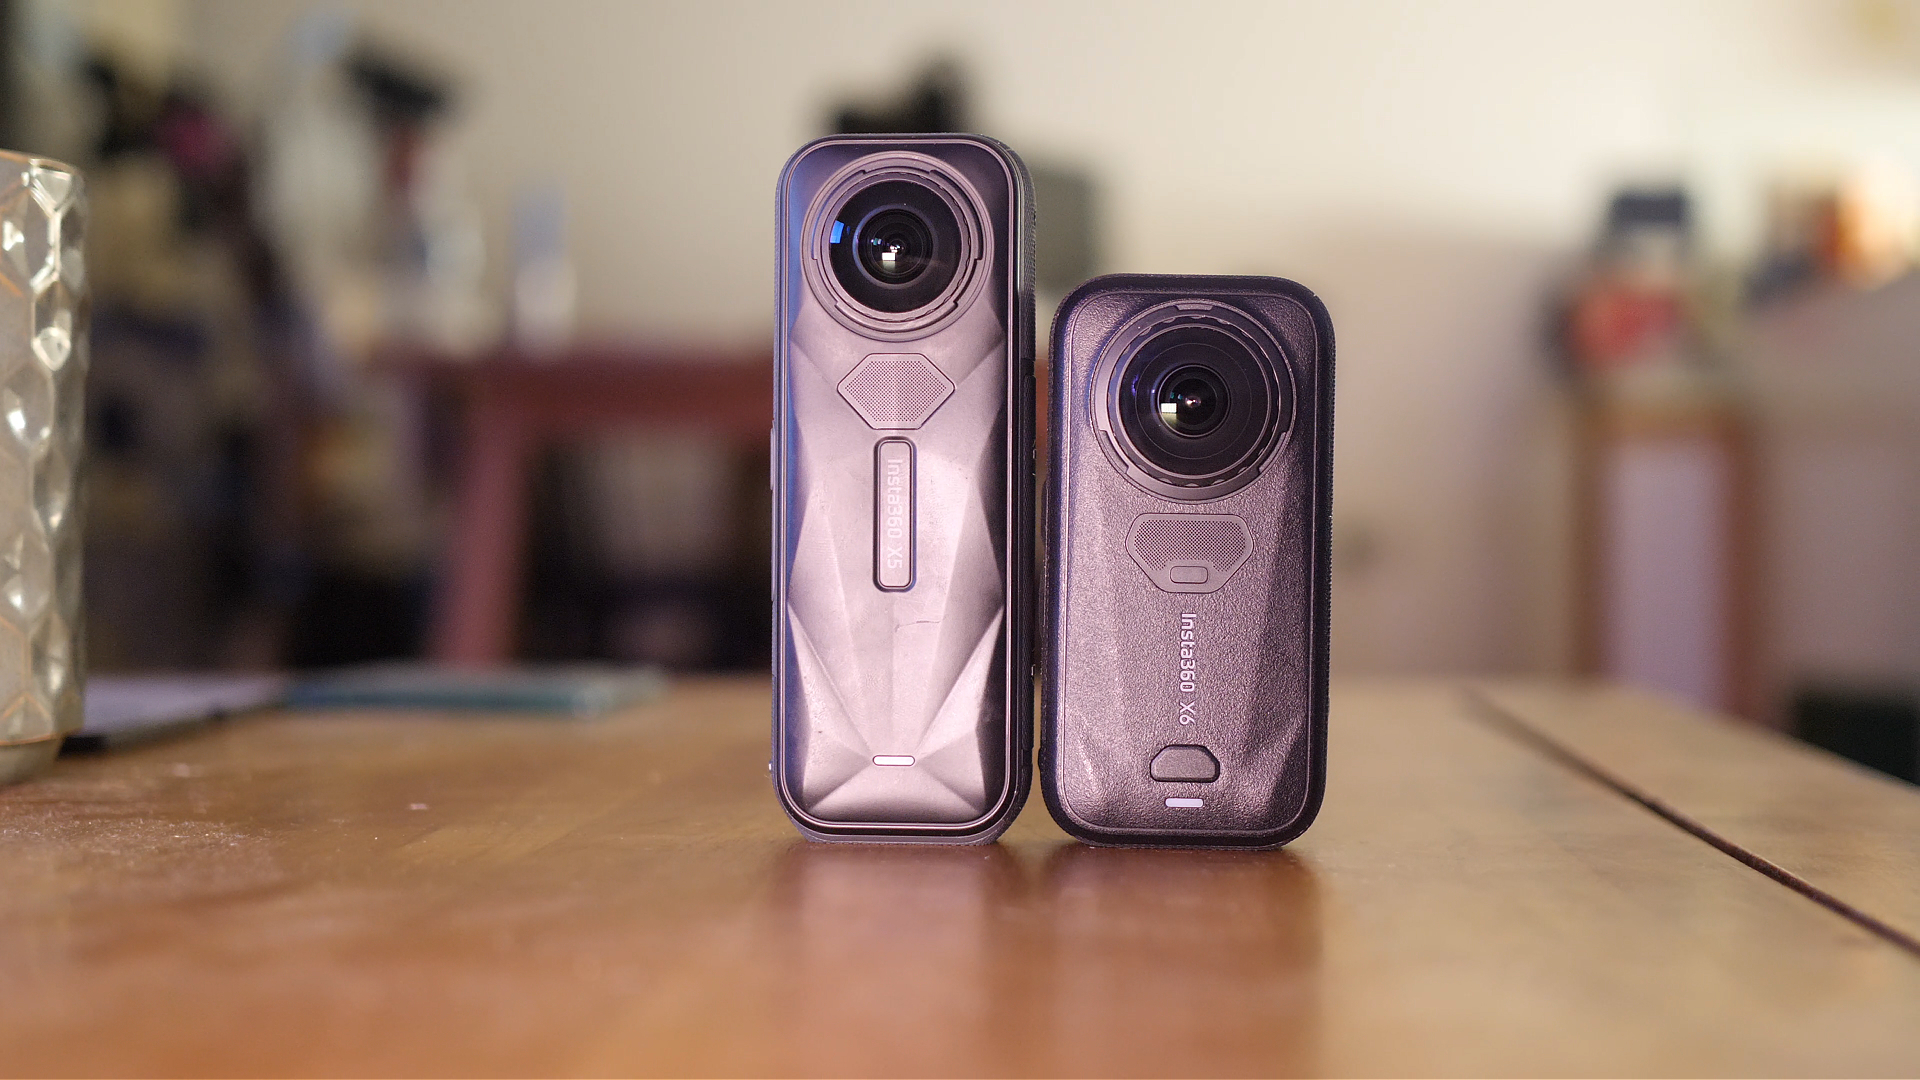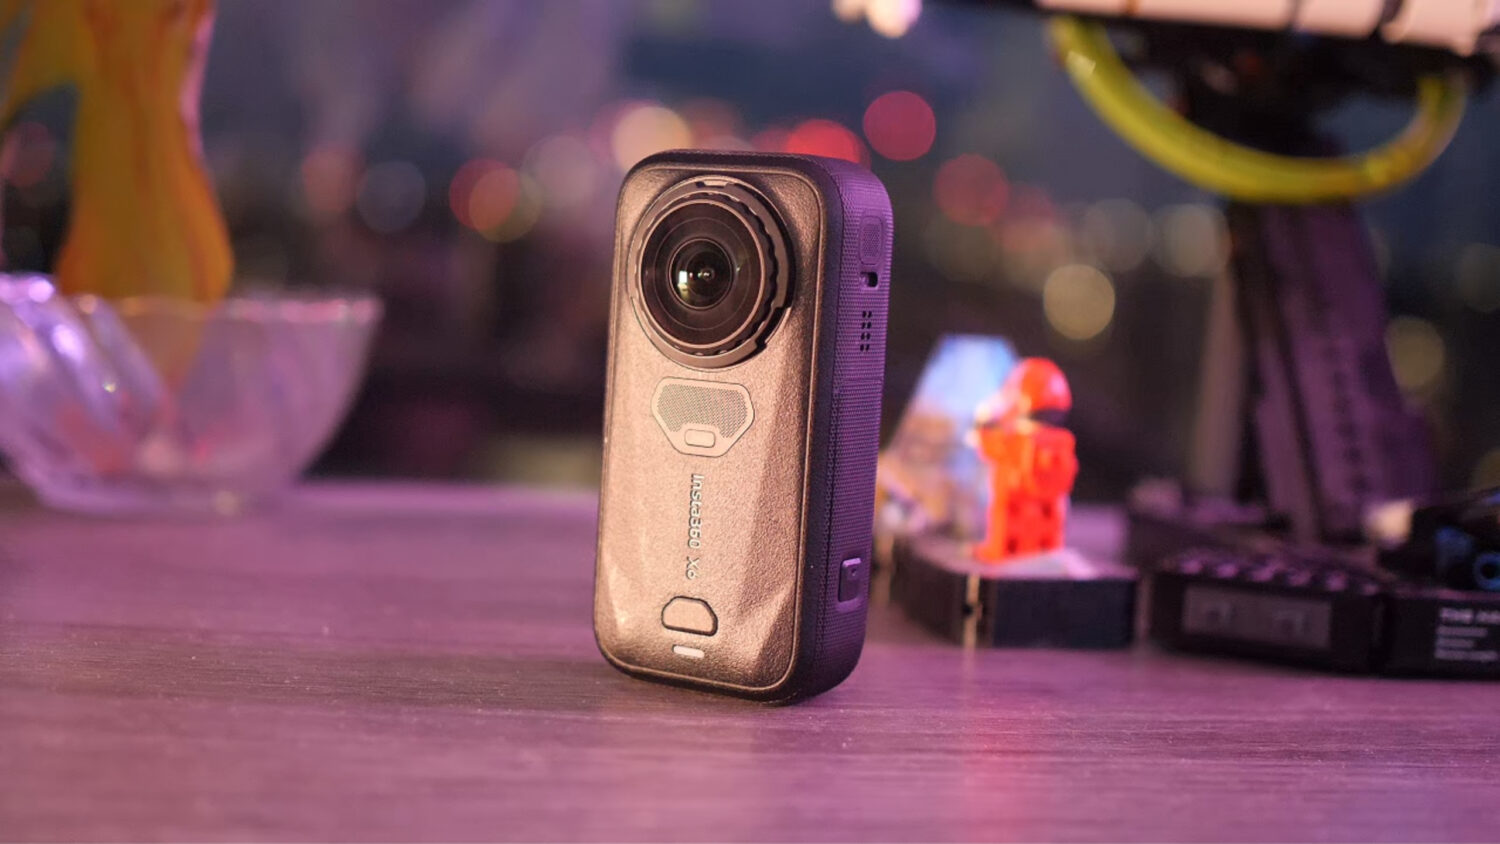


If you’ve just downloaded the latest version of Insta360 Studio 2025 and you’re wondering how to use it, this guide is for you. Insta360 Studio is the free desktop editing software that works with every Insta360 camera, from the flagship Insta360 X5 to the smaller X4, X3 and Go series.
In this article I’ll break down everything you need to know about the software, including how to import footage, reframe 360 video, apply stabilisation, tweak colour, and export in the best quality for YouTube, TikTok, Instagram or VR.
To make things easier, I’ve also created a full video walkthrough where I take you step by step through the entire workflow:
What is Insta360 Studio?
Insta360 Studio is the official desktop app from Insta360. Unlike the Insta360 mobile app, which is designed for quick edits on the go, Studio is built for more precise editing on a larger screen. It works on both Windows and Mac, and you can download it for free from the Insta360 website.
With Insta360 Studio you can:
Reframe 360 video into standard 16:9, 9:16 or 1:1 formats
Apply FlowState stabilisation to smooth out shaky footage
Use horizon lock so your video always stays level
Keyframe camera movements after shooting for maximum creative control
Tweak colour, exposure, and white balance
Export in up to 8K resolution, perfect for YouTube or VR
It’s a lightweight program, but don’t let that fool you — it’s powerful enough to handle everything most creators need.
How to Import Footage
The first step is getting your footage into Studio. You can either:
Connect your Insta360 camera directly via USB-C, or
Transfer your files from the memory card to your computer
Once inside Studio, you’ll see your footage listed in the media library. One important thing to note is that Insta360 files often come in the .insv format, these are the raw 360 files. Don’t delete or rename them until after you’ve exported your final video.
Tip: If you shoot Pro mode on cameras like the X5 or X4, make sure to also copy the LRV proxy files — they make playback and editing smoother on slower computers.
Reframing & Editing in Insta360 Studio
The real magic of Insta360 Studio comes from reframing. This allows you to decide where the “camera” is pointing after you’ve already shot your footage.
Here’s how it works:
Open a 360 clip and switch to the “Reframe” mode.
Set keyframes at different points in your video to direct the view.
Drag and rotate the view to control the angle you want.
Studio will smoothly animate between your keyframes, creating dynamic camera moves.
This is especially useful if you want to turn immersive 360 footage into a flat 16:9 video for YouTube, or into vertical 9:16 for TikTok and Instagram Reels.
Adjusting Settings (Stabilisation, Colour & More)
Once you’ve reframed your footage, you can fine-tune it with a few essential settings:
FlowState Stabilisation – Keeps your footage smooth even if you were running, cycling, or filming handheld.
Horizon Lock – Keeps the horizon perfectly level, no matter how much the camera rotates.
Colour Adjustments – Tweak brightness, contrast, saturation, and temperature.
Speed Controls – Add speed ramps for creative effects (slowing down or speeding up sections).
Pro tip: If you’re exporting for colour grading in Premiere Pro or DaVinci Resolve, you can turn off the colour corrections and just export a flat image.
Exporting Your Final Video
Exporting correctly is one of the most important parts of the process. Insta360 Studio 2025 has improved export options that give you more control over resolution, bitrate, and encoding.
Here’s what I recommend:
For YouTube: 4K or 5.7K H.264 or H.265, 60 Mbps or higher bitrate
For TikTok/Reels/Shorts: 1080p or 4K vertical (9:16), 20–40 Mbps bitrate
For VR headsets: Stick with 5.7K or 8K equirectangular, H.265 for smaller file sizes
You can also export ProRes for the highest quality, but keep in mind the files are massive.
Why Learn Insta360 Studio First?
Even if you plan on editing in more advanced software like Adobe Premiere Pro, DaVinci Resolve, or Final Cut, Insta360 Studio is usually the best place to start. That’s because:
It applies the proprietary FlowState stabilisation better than third-party tools
It can handle 360 stitching automatically (no plugins needed)
You can reframe and create multiple versions of the same clip for different platforms
The learning curve is much gentler than jumping straight into pro editing software
Basically, you get a polished, stabilised, ready-to-use clip that you can then refine further if you need to.
Insta360 Studio 2025 FAQs
Do I need Insta360 Studio if I use Premiere or DaVinci Resolve?
Yes, at least for stabilisation and basic reframing. You can export from Studio and then do the rest of your edit in other software.
Can I edit ProRes video in Insta360 Studio?
Yes, Insta360 Studio supports ProRes import and export, but the file sizes are large, so make sure your computer can handle it.
Is Insta360 Studio free?
Yes, completely. You just need an Insta360 camera to make use of it.
Can I use Insta360 Studio without an Insta360 camera?
Technically yes, but it only really works with Insta360’s own file formats.
Final Thoughts
Learning Insta360 Studio 2025 is the best way to get the most out of your camera — whether you’re shooting with the X5, X4, X3 or any other Insta360 model. Once you’ve nailed the basics of importing, reframing, stabilisation and exporting, you’ll have full control over your footage.
But if you really want to go beyond the basics and unlock the full potential of your Insta360, my Ultimate Insta360 Course is the next step.
In the course, I cover everything in detail:
Pro-level editing workflows for Studio, Premiere Pro & DaVinci Resolve
Cheat sheets for the best settings in every shooting scenario
Step-by-step tutorials for X5, X4, X3 and more
Advanced tips on accessories, workflows and creative shots
It’s the most complete Insta360 learning resource out there, and it’s regularly updated as new cameras and features come out.
Click here to check out the Ultimate Insta360 Course and take your Insta360 skills to the next level.