 The 360 Guy
Have you just bought a GoPro Hero 11 (read my review) and want to get the most out of it? The Hero 11 has a huge array of settings, options and features which can be confusing for beginners, and the Hero 11 out of the box isn’t necessarily set up to maximise the cameras capabilities.
I’m going to take you through 5 settings you should instantly change to get the most out of you camera and boost video quality.
Tip 1: Turn off GPS & Front Screen
One of the main criticisms of the Hero 11 is the relatively poor battery life. You can expect around an hour or so of continuous shooting, so if intend to be out for a whole day then there’s a good chance the camera could die prematurely.

The best way to instantly improve the battery life of the Hero 11 is to turn off both the front screen and the GPS. These are both great features but they drain the battery heavily. The front screen is only really necessary when trying to film a selfie video; it allows you to frame yourself correctly. To turn the front camera off simply swipe down from the top of the camera screen and tap the bottom left icon; this will reveal the front screen options.
When the GPS is turned on you’ll be able to track speed, hight, velocity as well as other metrics. You can then have this displayed on your video via the GoPro Player desktop editor. This looks great when shooting fast paced shots like offroad biking. To turn the GPS off you need to go into the camera preferences and scroll down to the GPS section.
Tip 2: Turn on Pro Controls
When you first turn off your Hero 11 you may not realise that there are many options hidden away; this is because you haven’t turned on Pro Controls. To turn on Pro Controls and access all the camera options simply swipe down from the top of the screen, swipe left and you’ll see the controls setting. You can then select Pro Controls.
Once selected you’ll see that many new options are available on video screen. You can now see all the available pre-set video modes as well as change the frame rates, resolution and the dozens of settings in the manual controls.
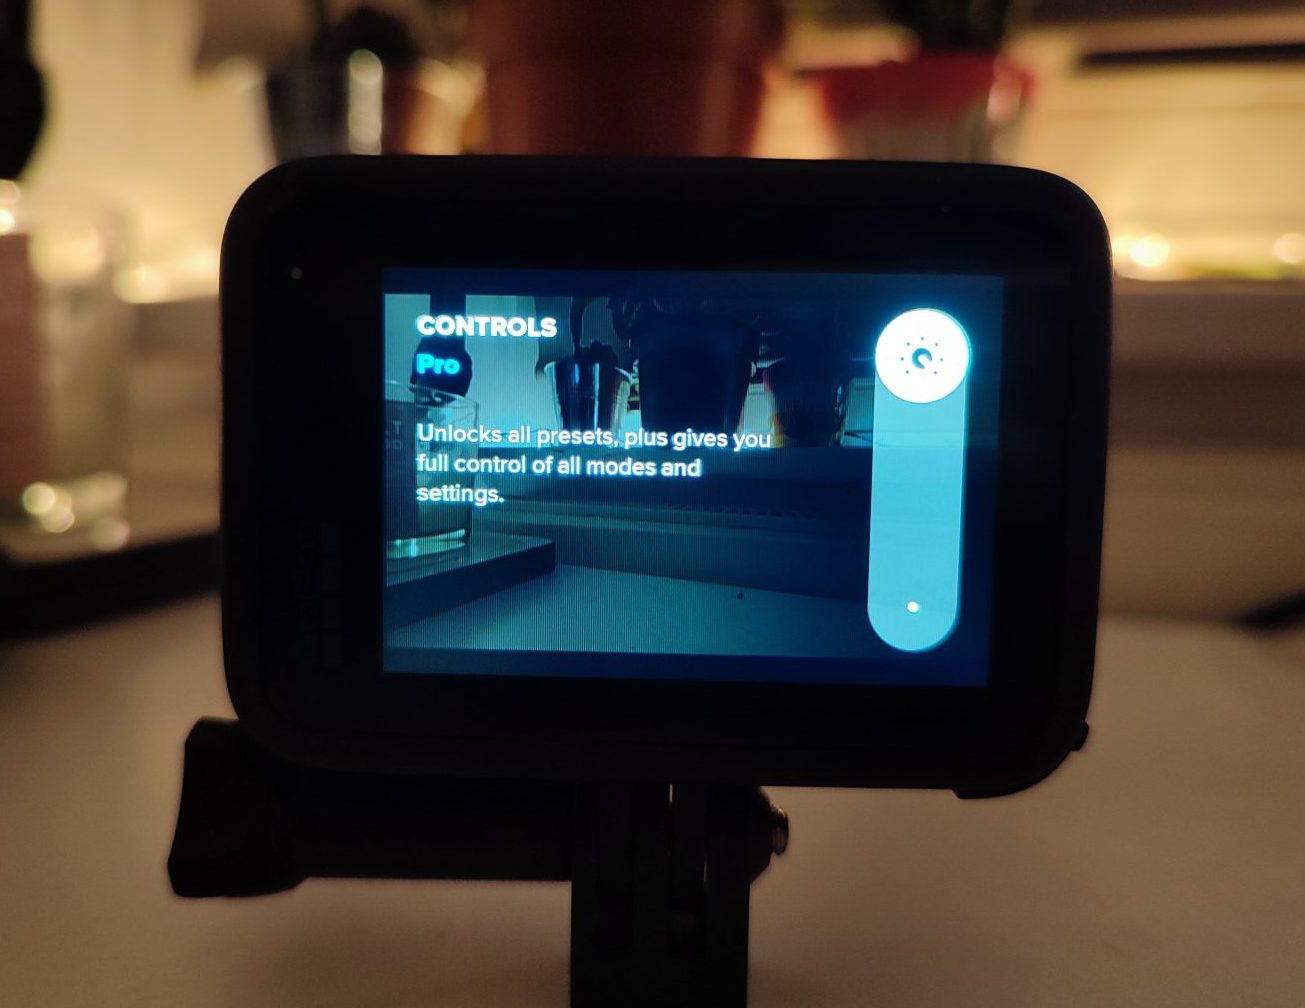
While for beginners the many options here may be overwhelming it’s certainly worth exploring and learning what they do; you can get so much more out of the camera by playing around with these setting .
Tip 3: Set Bit Rate to High
Now that you have your Pro Controls on, you’ll be able to set a high bit rate. With a high bit rate the Hero 11 will insert more information into each video, meaning that it will generally look higher quality. This is particularly important when shooting moving video as the more information the camera has the smoother your video will look.
Another option you might be interested in is right next to Bit Rate and that’s 10Bit Colour. Turning this option on boosts the number of colours available in your video from millions to billions. In order to make the most of this you’ll need to use a editing program like Premiere Pro so it’s not for everyone. Bare in mind turning on these options will increase the size of your video file sizes.
Tip 4: Change White Balance to 5500K
White balance impact the colour profile of your videos. It’s measured in Kelvin and a lower option will result in a more cool (blue) video and a higher value will be warmer (yellow). The camera by default is set to Auto White Balance, which means the camera will dynamically change the white balance as you move. Unfortunately the Hero 11 isn’t particularly good as choosing the select white balance, so changing to a fixed option usually results in better quality video.
The 5500K setting is a great option for both overcast and sunny days and in my experience it’s the best option in most situations. Probably the one exception is when shooting at night, where a cooler tone bay be more appropriate.
Tip 5: Choose the Right Field of View + Stabilization Option
For the past several generations of GoPro cameras you have been able to select from a range of field of view options. Field of view refers to how wide angle you shot is and how much of the scene you can capture. In the Hero 11 the options range from Linear to HyperView and you can see the difference below.
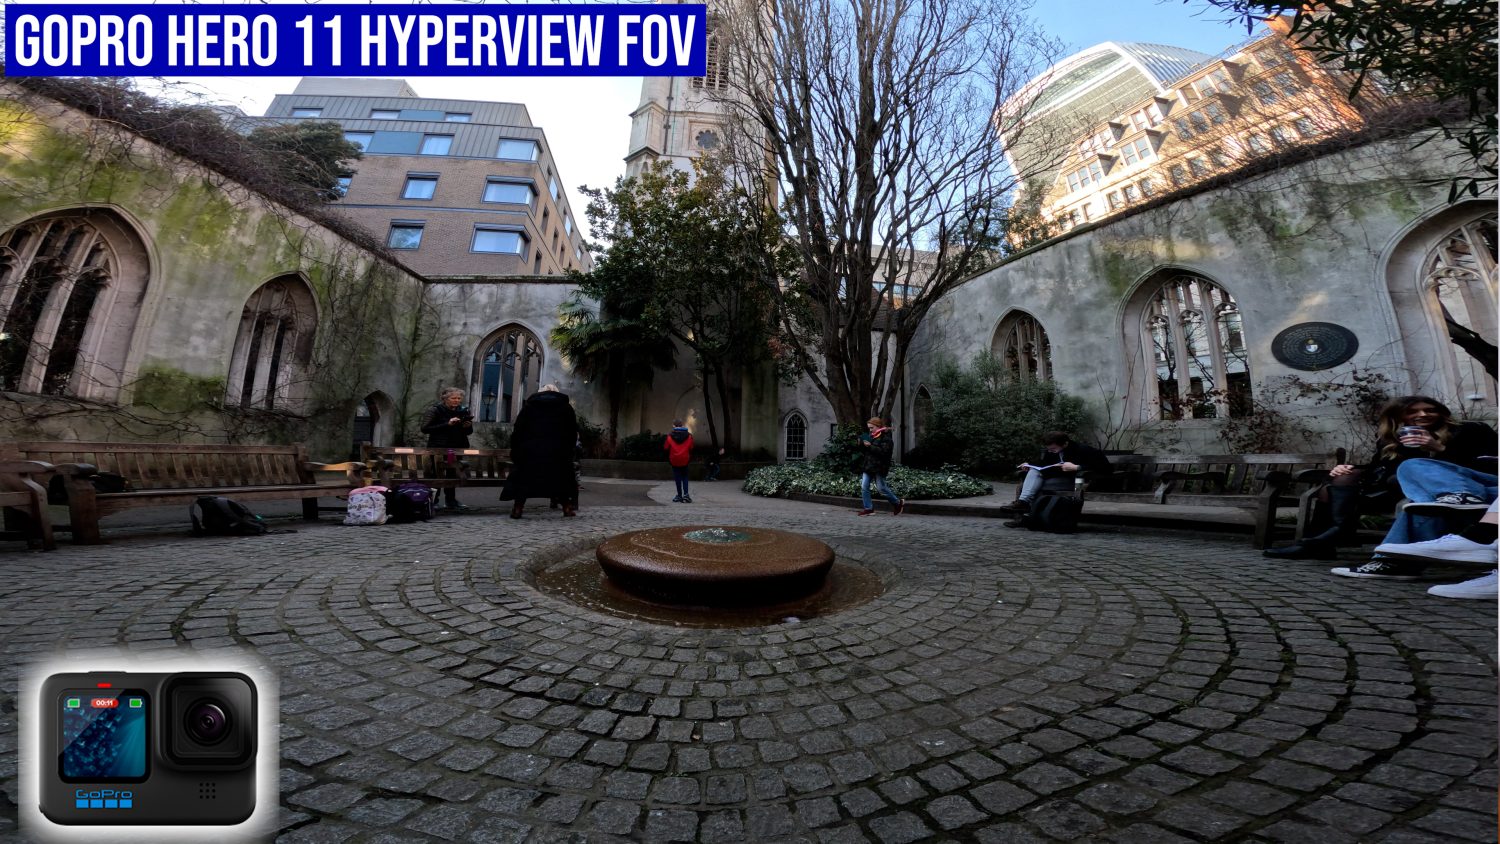
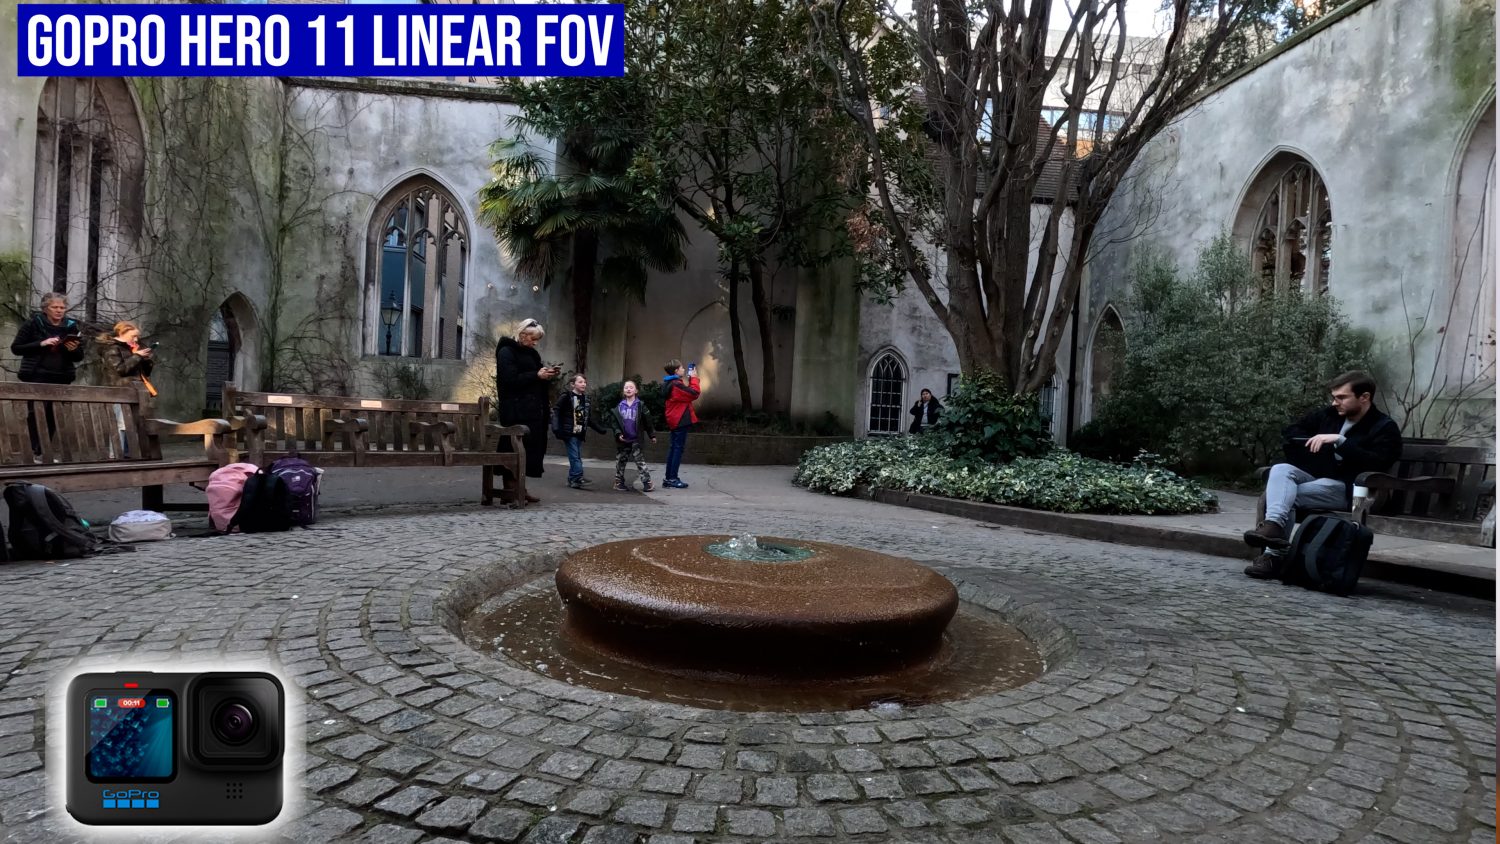
Depending on the type of video you want to shoot you’ll want to select an appropriate field of view or “Lens” option. For the most extreme shots that have a lot of movement then the best option is the Linear + Horizon Lock; this will keep the video smooth and stable.
If you want to exaggerate speed, for example FPV shots or motorbike/car, then the HyperView option is a great option and makes movement in your video appear much faster than reality. For vlogging I recommend the Wide Lens option which should allow to capture more scenery but still look fairly natural.
It’s worth experimenting with the Lens options as each one results in a slightly different type of video.
See Also: GoPro Hero 11 vs Insta360 X3


Owner of threesixtycameras.com. Writer, photographer and videographer. You can see my YouTube channel for guides of how to shoot 360 video. I've written for The Times, Digital Photography School and Sunday Express.