Insta360 1 Inch 360 Edition: Cinematic Video Tutorial


The 1 Inch 360 Edition is capable of shooting high quality 360 video thanks to its 1 Inch sensors and 6K resolution, putting it near the top of the pack. The perfect stabilization and ability to reframe your clips means that cinematic video is easier to achieve with a 360 camera than with other types.
I’m going to show you some easy tips and tricks so you can achieve a more cinematic effect with your video.
Insta360 1 Inch 360 Edition: Cinematic Video Tips & Tricks
Check out this post in video form to see the cinematic video effects discussed here:
Settings
Let’s start by selecting your settings prior to shooting. You should select the highest resolution of 6K in any situation. Frame rate should be set to 24fps which is considered a more “cinematic” framerate, although in reality it doesn’t make a huge difference in these types of cameras.
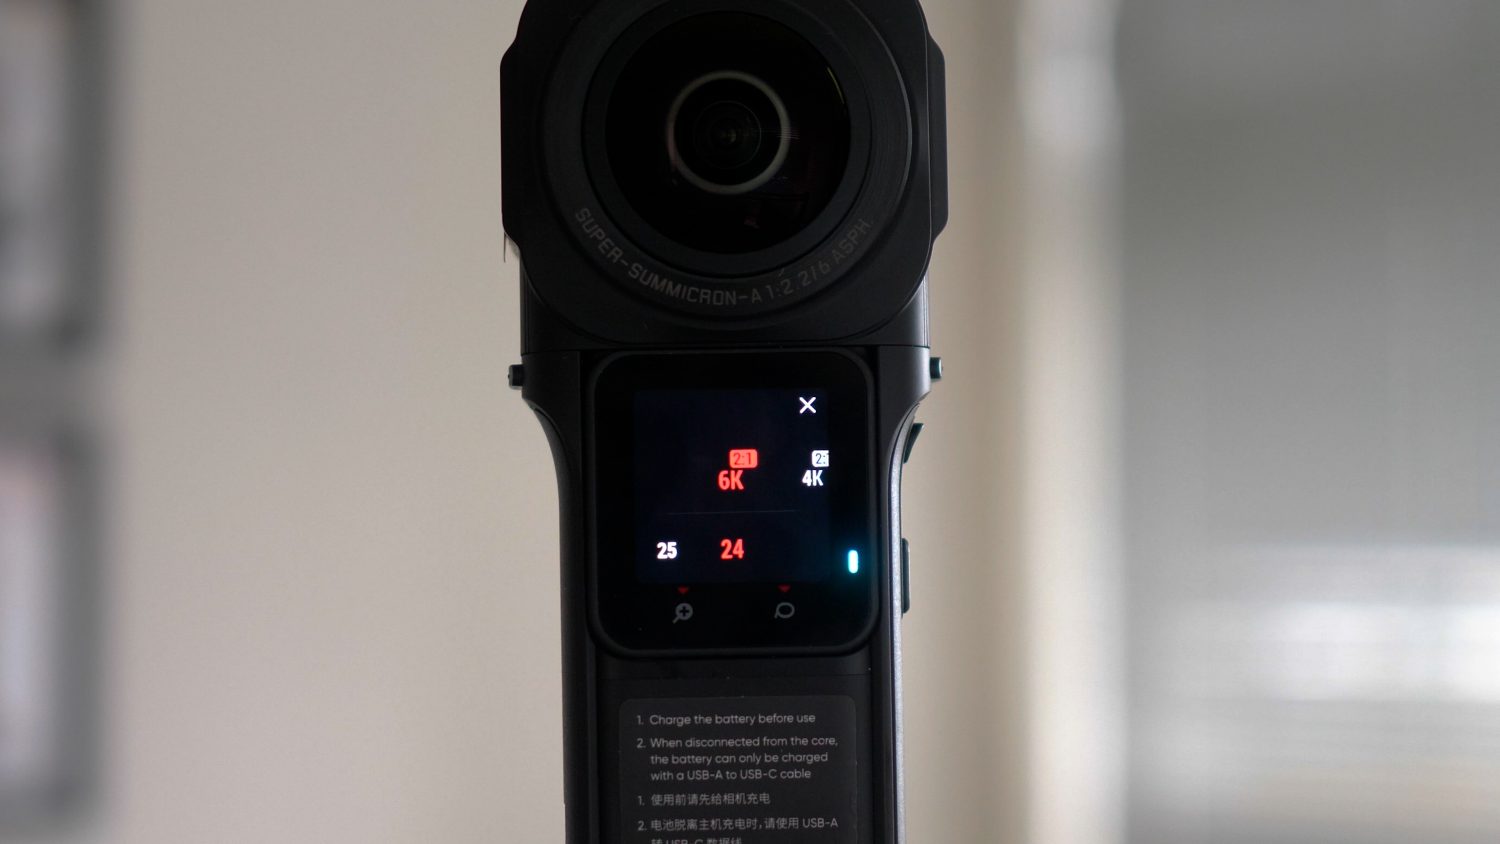
When shooting in daylight you can leave settings on automatic. When shooting in low light conditions shoot in manual mode and try to keep ISO around 400 or below and change your shutter speed depending on how much natural light is around.
If you want full control over colour in the editing process then you should select LOG mode in the camera settings.
Shooting
Shooting “cinematic” video is somewhat subjective. I tend to find a mix of speeds, movements and transitions to be key to achieving video that some might call cinematic. Using the Insta360 invisible selfie stick along with the excellent stabilizaion allows you to achieve unique effects not possible with most other types of cameras, or at least it’s much easier.
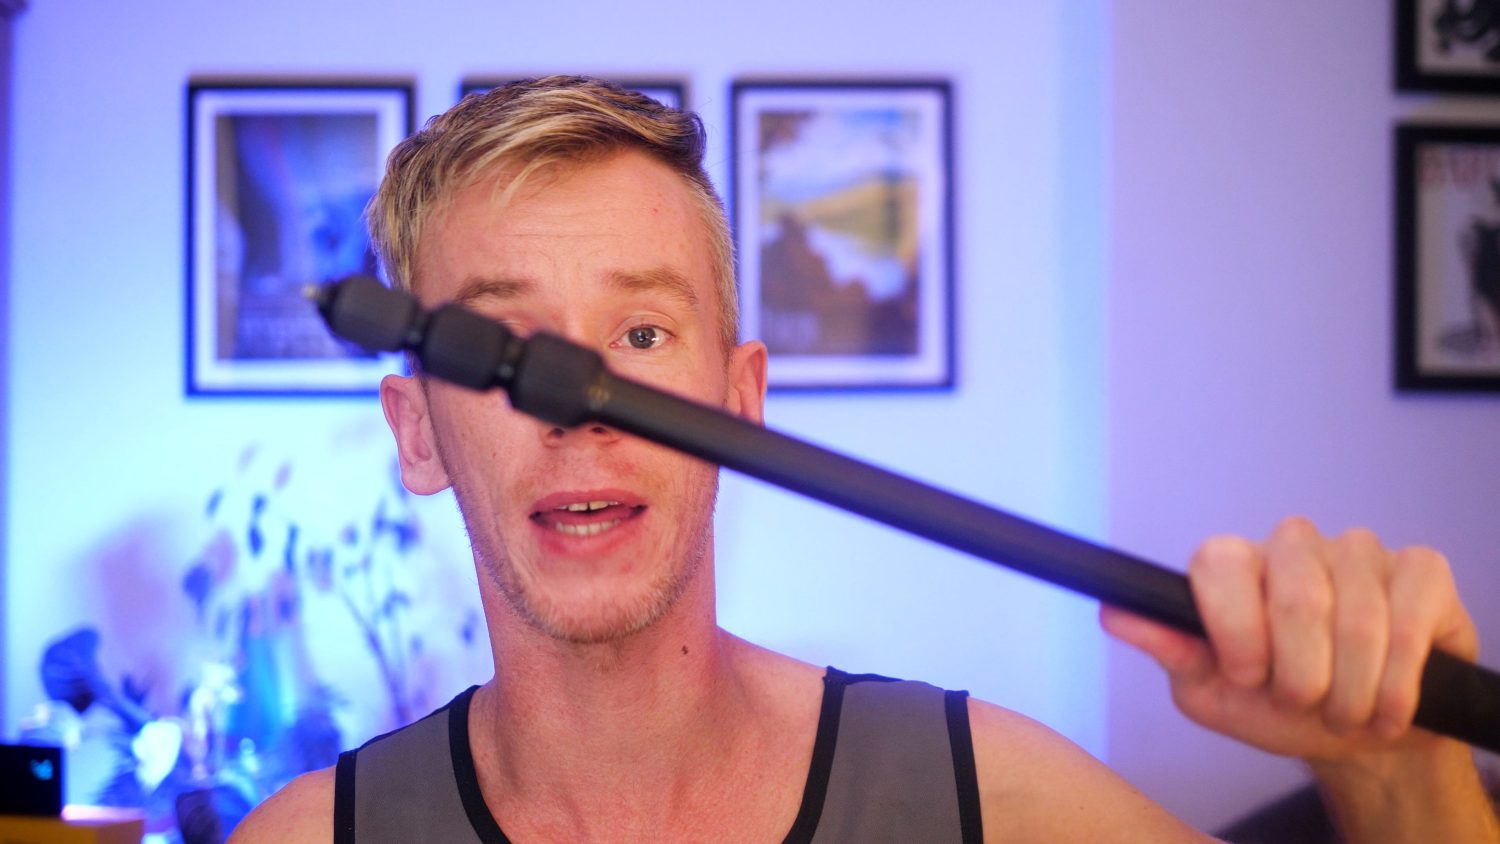
This sped up effect is pretty awesome and is created mostly by the Insta360 App. The shooting process is basically to hold your camera above your head and walk through an interesting area for at least 5 minutes. Then do the same thing in a different location.
I have another video on my channel offering some tutorial on more specific cinematic shots. To be honest most of the work is in the editing,. For shooting you should just vary your camera position, sometimes shoot from near the ground and sometimes above your head. To be honest most of the work is in the editing, so let’s get into that now.
Editing
Here is where you can really get control over your videos and get some cinematic effects. Re-framing your 360 video in their the app or the desktop studio allows you achieve the kind of shots you see here. This is also where you can select the more cinematic 2.39:1 aspect ratio which does go a long way to achieve the cinematic look.
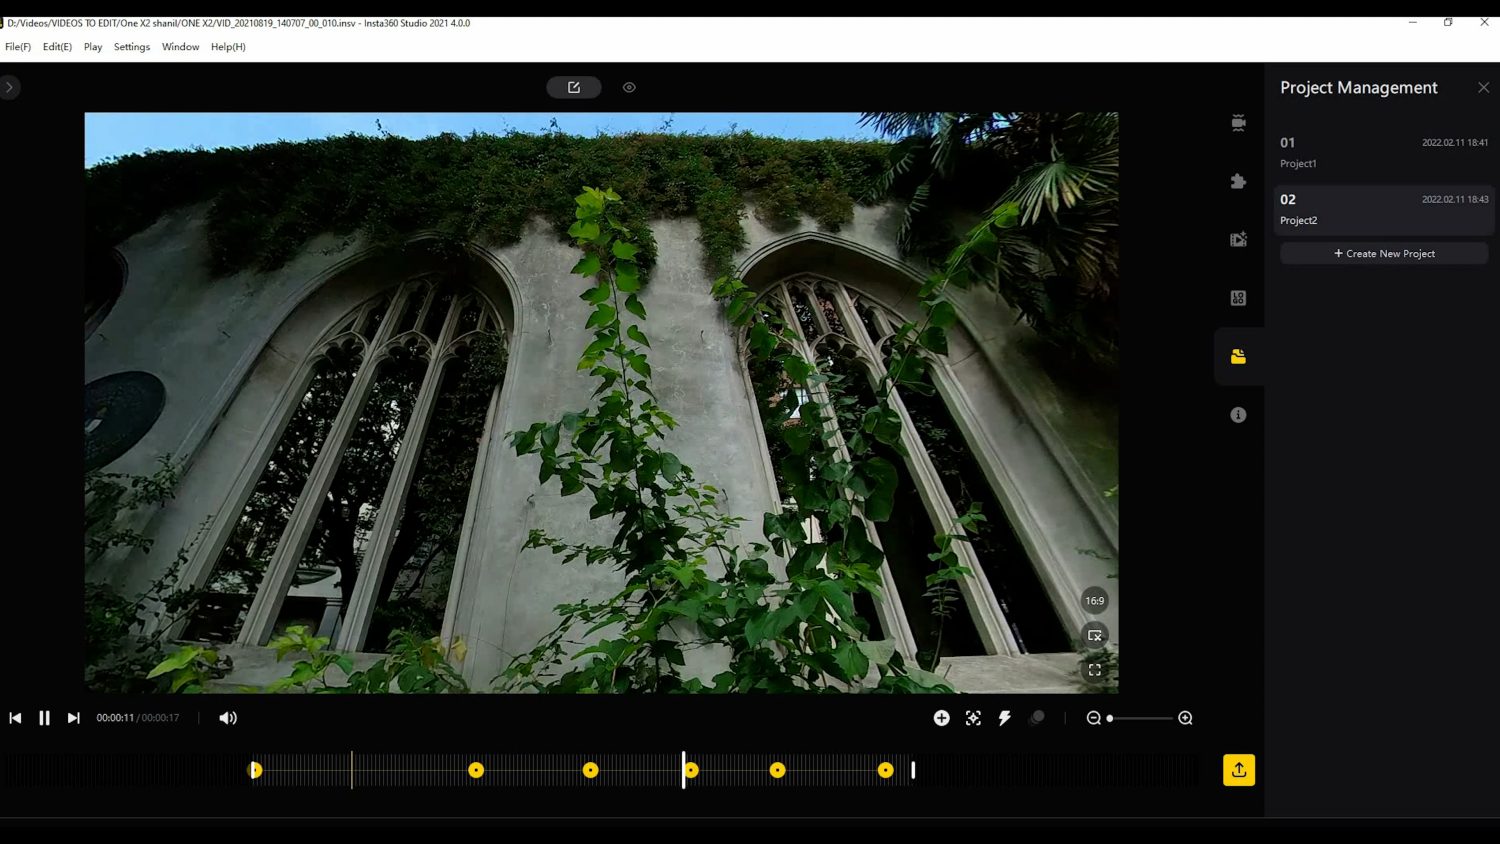
Finally, adjusting the colour of your clips goes a long way to making your videos look higher quality overall. Admittedly the most effecting way to colour correct your video is to shoot in LOG mode and use a program like Premiere Pro to add a LUT. There are many available for free online or you can create your own. You should use the same or similar LUT on all of your clips.
If you don’t have access to Premiere Pro then there is a more basic colour adjuster in the Insta360 App. Despite this being far more simple, you can massively improve the quality of your clips with just a few adjustments.
These are some basic tips to achieve a more cinematic effect with a 360 camera. Like I said, the 1 Inch 360 Edition is the best 360 camera right now when it comes to video quality, so you are more likely to impress your viewers if you use this camera.