Can You Use The Insta360 1-Inch 360 Edition for Virtual Tours [Tutorial]


The Insta360 1-Inch 360 Edition was released about a month ago. This higher end camera from Insta360 features two 1 inch sensors allowing it to capture higher quality 360 photos and videos compared to other Insta360 cameras.
The only other all-in-one 360 camera featuring 1 Inch sensors is extremely popular for shooting virtual tours due to the fact that larger sensors provided close to DSLR quality images in a much smaller and easy to use design.
I’ve been testing the Insta360 1-Inch 360 Edition to see if it can be used for virtual tours, what the shooting options are, how quick the workflow is and whether the image quality is good enough for professional use. If you were wondering whether this camera can be used for virtual tours read on to find out!
Insta360 1 Inch 360 Edition for Virtual Tours
Specs
[wpsm_comparison_table id=”92″ class=””]
Looking at the specs sheet it does seem like the Insta360 1 Inch 360 Edition has a good shot at being a decent virtual tour camera. As well featuring the large 1 Inch sensors, the camera can shoot 21 Megapixel photos. This resolution isn’t necessarily the best in the business, but it’s higher than average and acceptable for many types of Virtual Tours.
What makes the Insta360 1 Inch 360 a potentially good choice is the ability to shoot RAW images, as well as two automatic HDR modes which can also be shot using a RAW file format. These modes allow the camera to combine several exposures and retain as much detail as possible.
What You Need
In order to shoot virtual tours with the 1 Inch 360 you’ll obviously need the camera itself. The 1 Inch 360 Edition is actually an upgrade to the modular Insta360 One RS; if you already have this camera then you can upgrade by buying the 1 Inch sensors, battery and mounting bracket. The entire kit is also sold together.
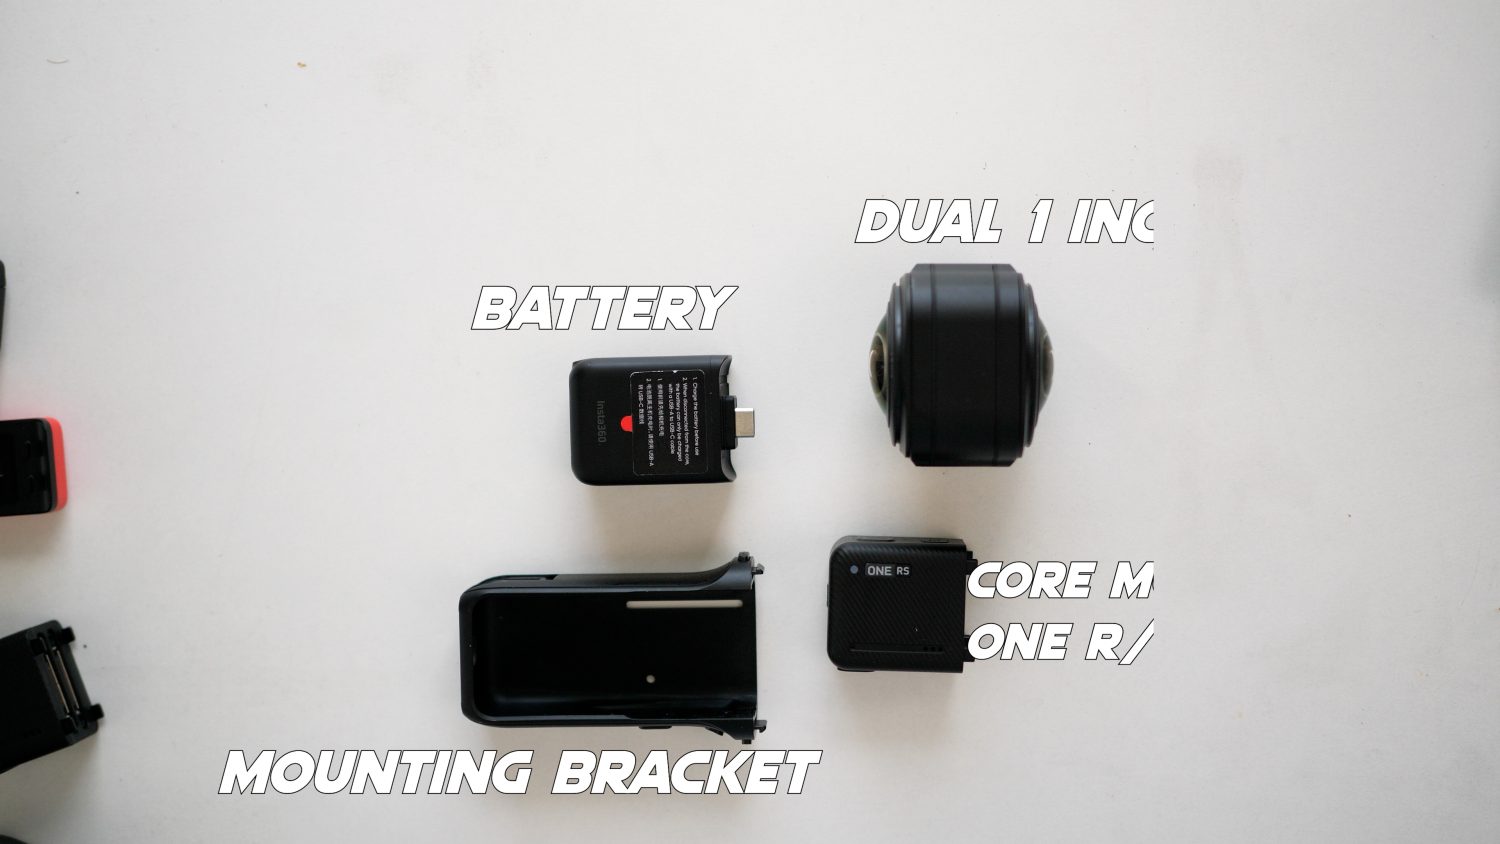
The design of the camera makes it a great choice for virtual tours. It’s relatively small (compared to a DSLR), features a removable battery, expandable memory and a touch screen. You can control all camera settings from the screen which saves battery compared to connecting to the mobile app.
You’ll also need a tripod of monopod to attach your camera to. The idea tripod for shooting VR tours is thin with a small base and nothing protruding at the top. Insta360 sells a VR tour kit with appropriate accessories, or you can shop around for similar options.
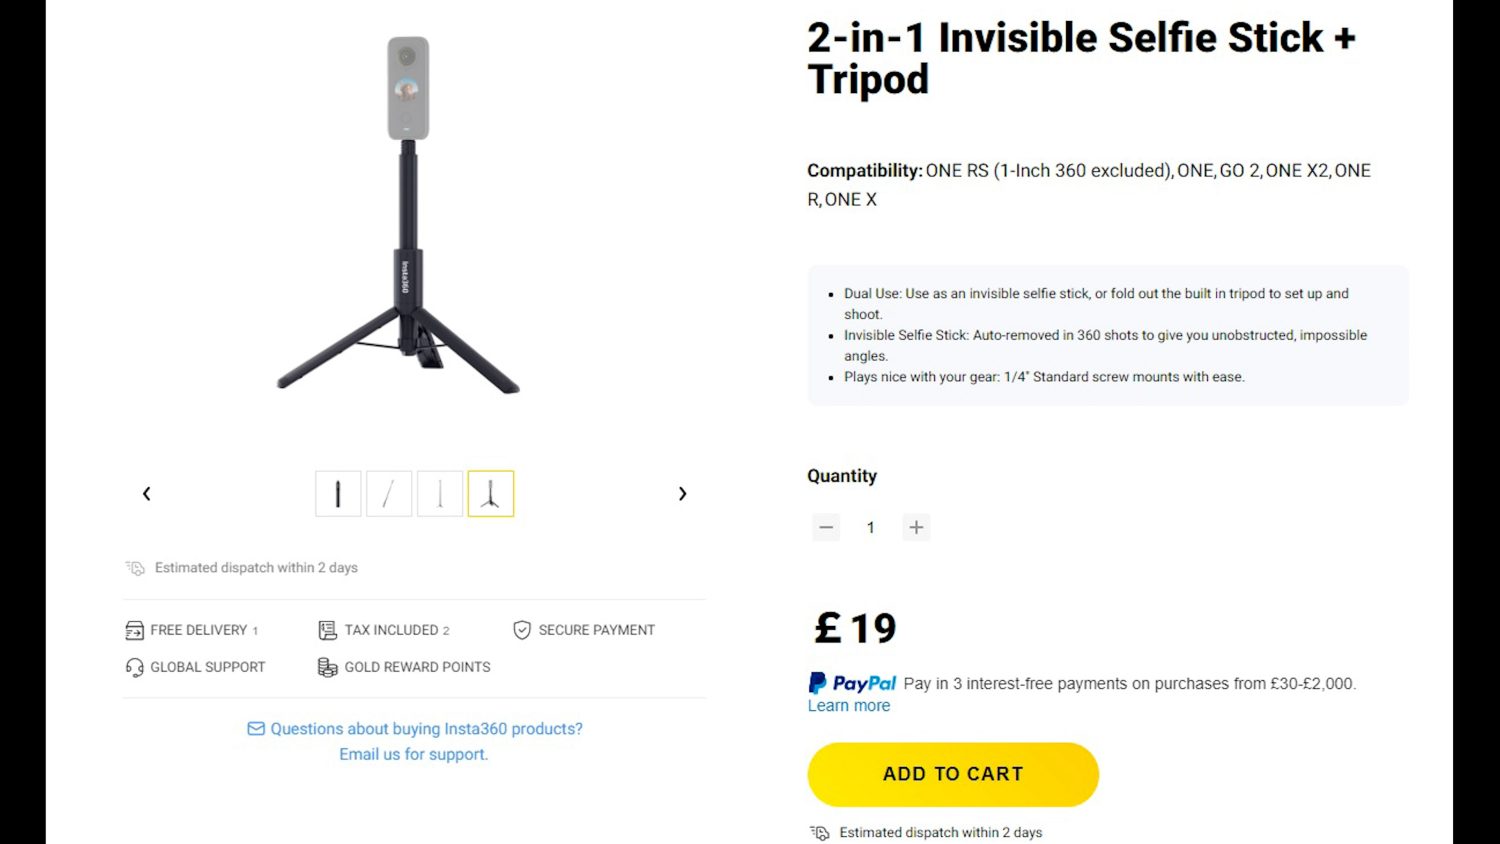
Photo Modes
Let’s take a look at the various shooting modes that the 1 Inch 360 Edition has. There are three in total and each one results in different quality images and has a slightly different workflow.
Pureshot
The Pureshot mode is potentially the best option for anyone who doesn’t want to send time editing their images but still wants excellent quality. When Pureshot mode is selected the camera will shoot several exposures (light, normal, dark) and combine them together, resulting in a much improved image with better dynamic range and colours.
See the difference with Pureshot turned off and on below (image quality compressed).
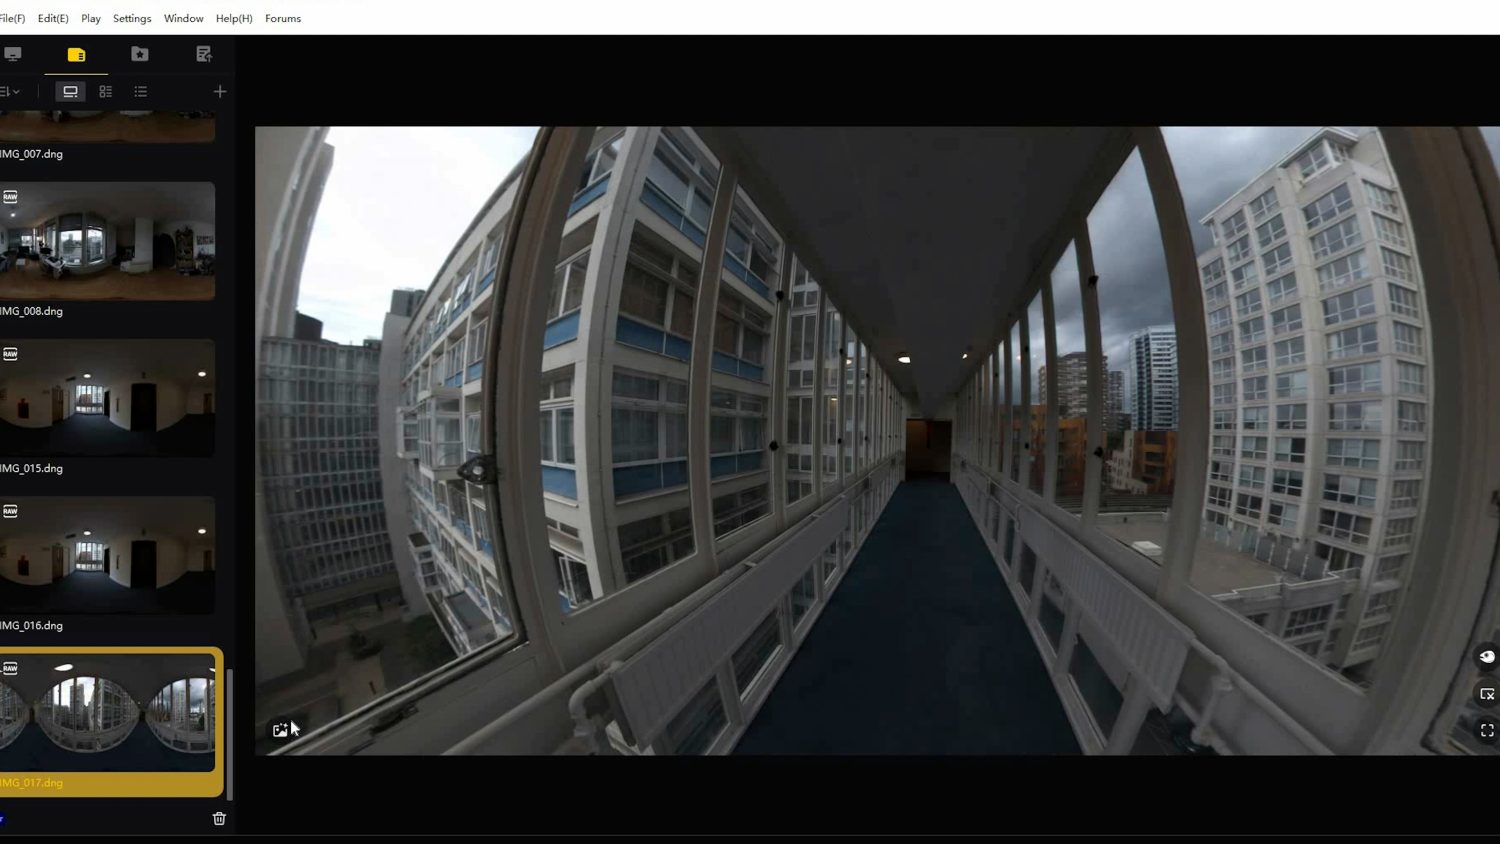

Pureshot 360 photos are far better than the standard shots and I see no reason not to use it in every scenario. All you need to do to get the Pureshot effect is select the option in the camera settings. After shooting you need to connect your camera to a laptop/PC and drag the files into the Insta360 Studio. The software will automatically apply the Pureshot effect and you will be able to see the difference when turned on or off.
This mode is the quickest and easiest way to get reasonably high quality 360 images quickly and efficiently. You can create good quality Virtual Tours without any editing experience; if you needed to shoot VR tours in a high volume then this would probably be the mode to use.
See Also: Insta360 1 Inch 360 Edition Review
You are also able to get DNG RAW Pureshot images, allowing you to further improve your images in an editing program like Lightroom should you choose to.
The downside to this mode is you have less intricate control over your images. In some situations the camera can over or underexpose your images as the exposures are set automatically, however this only seems to be an issue in extreme circumstances.
HDR Photo
This photo mode, as you can probably guess, allows you to shoot HDR photos. Like the Pureshot mode HDR Photo Mode is a combination of exposures which improves the quality compared to standard photos.
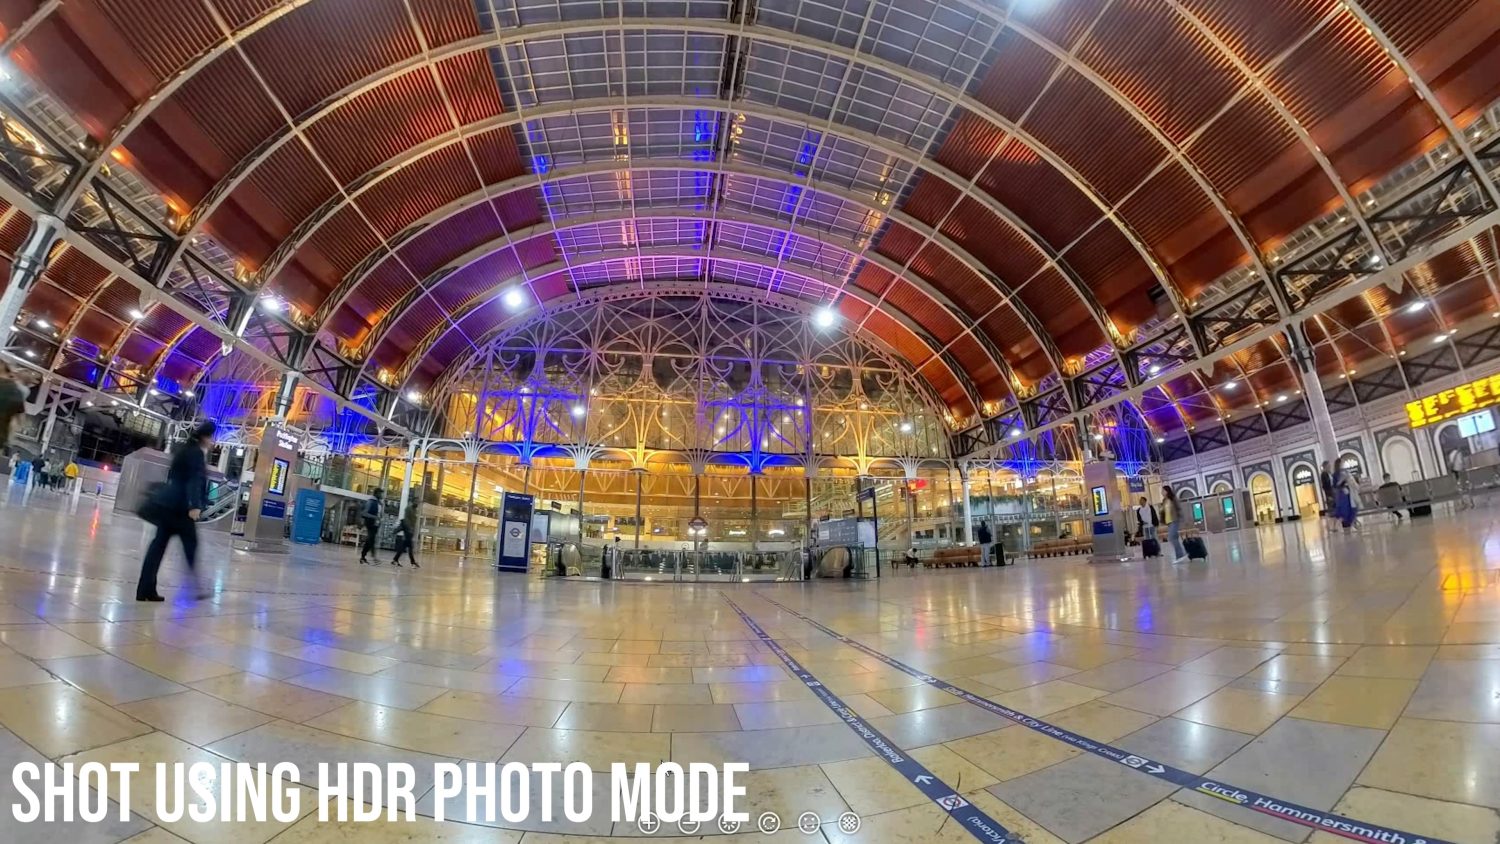
The difference between the two is that HDR Photo Mode allows you to control more settings. You can select how many exposures the HDR photo will be made up on, up to a maximum of 9. You can also control the difference between each exposure in the camera settings.
This mode can result in excellent quality images; probably the best the camera is capable of without any further editing. You do need an understanding of exposure settings & how many to use depending on the envirnment you are in.
If you don’t select the right settings you may get an image that’s far too bright, dark, or simply not realistic looking. If you know what you are doing then this is probably the best mode to use.
DNG RAW
All of the photo modes have a DNG RAW option which tells the camera to create a DNG file which is far larger and contains more information than a normal JPEG. This file type can be edited in a program like Adobe Lightroom and results in much a much better quality image than if the camera applied all of the light and colour settings itself.
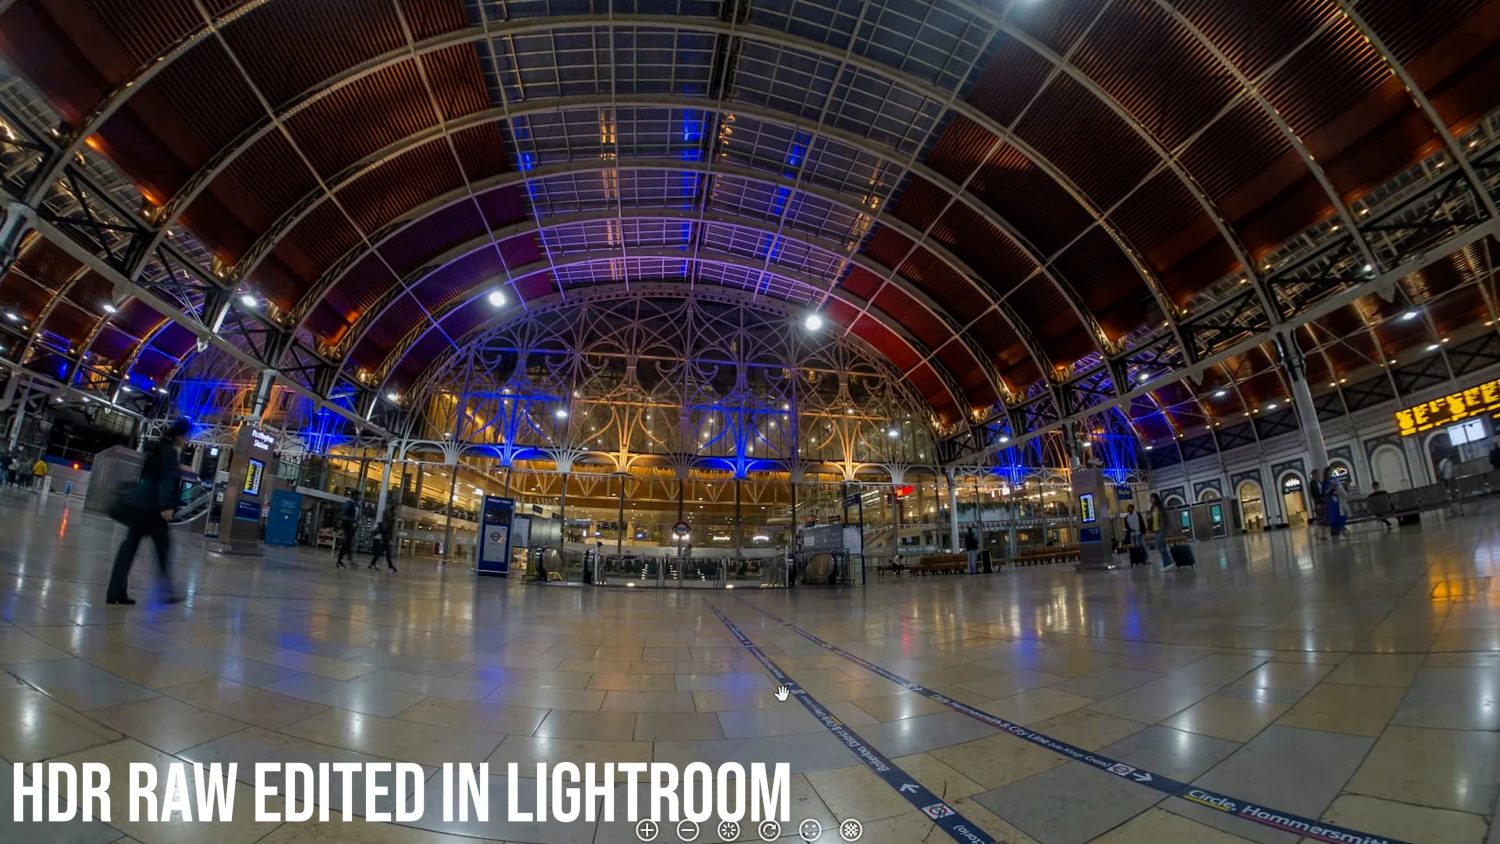
Editing RAW images is definitely the best way to get the maximum quality 360 photos from the 1 Inch 360 Edition, particularly when combined with either the Pureshot or HDR modes. You’ll need access to a photo editor like Lightroom as well as some photo editing knowledge. Editing each individual photo will also considerably increase the workflow for creating a virtual tour, in some cases it might not be worth the extra time.
Image Quality
Let’s take a look at some more examples of 360 images shot with the 1 Inch 360 Edition using the various modes in a proper Virtual Tour viewer. The mode used is indicated in the image title.
<script src=”https://static.kuula.io/embed.js” data-kuula=”https://kuula.co/share/collection/7v165?logo=0&info=0&fs=1&vr=1&sd=1&initload=0&thumbs=1″ data-width=”100%” data-height=”640px”></script>
Good Enough for Virtual Tours?
Having now shot dozens of images in different environments with the 1 Inch 360 Edition I’m confident it could be used for professional virtual tours in many situations. Is this camera a replacement for a DSLR? Certainly not, however the workflow using the Insta360 1 Inch is literally 10 times faster and the quality is around 70-80% as good.
The trade off between quality and time saved means this would be an excellent choice for industries like Real Estate, Construction, Education, Tourism. If you are in an industry where you need to shoot virtual tours at a high volume then this is probably the best option available right now.
Using the automatic Pureshot mode is the easiest way to get good quality 360 images; it’s not much harder than using an iPhone. To get the best quality 360 images from this camera you should use the HDR Photo mode and edit the RAW files in Lightroom. This requires more time, skill and workflow but the resulting images are superior to those you get using the automatic modes.
For those who just wants a 360 camera that does most of the work itself then the 1 Inch 360 is an excellent, if not completely perfect option.
Where to Buy
You can get the 1 Inch 360 Edition and all available accessories from the Insta360 website (delivers to all countries).