5 Things to DOUBLE the quality of your Insta360 Videos


Insta360 cameras are great for creating unique shots or capturing insane stunts; they’ve become the go-to cameras for the most creative content creators.
The down side of using Insta360 cameras, or all 360 cameras in fact, is that the quality of the footage they produce is lower than other types of cameras. This is because 360 videos require so many more pixels to cover the much larger field of view, so the resulting video isn’t as sharp as those shot with a GoPro or a DSLR.
So what can you do to boost the quality of your Insta360 video? Follow these steps and you’ll find your shots looking twice as good.
Clean the Lenses
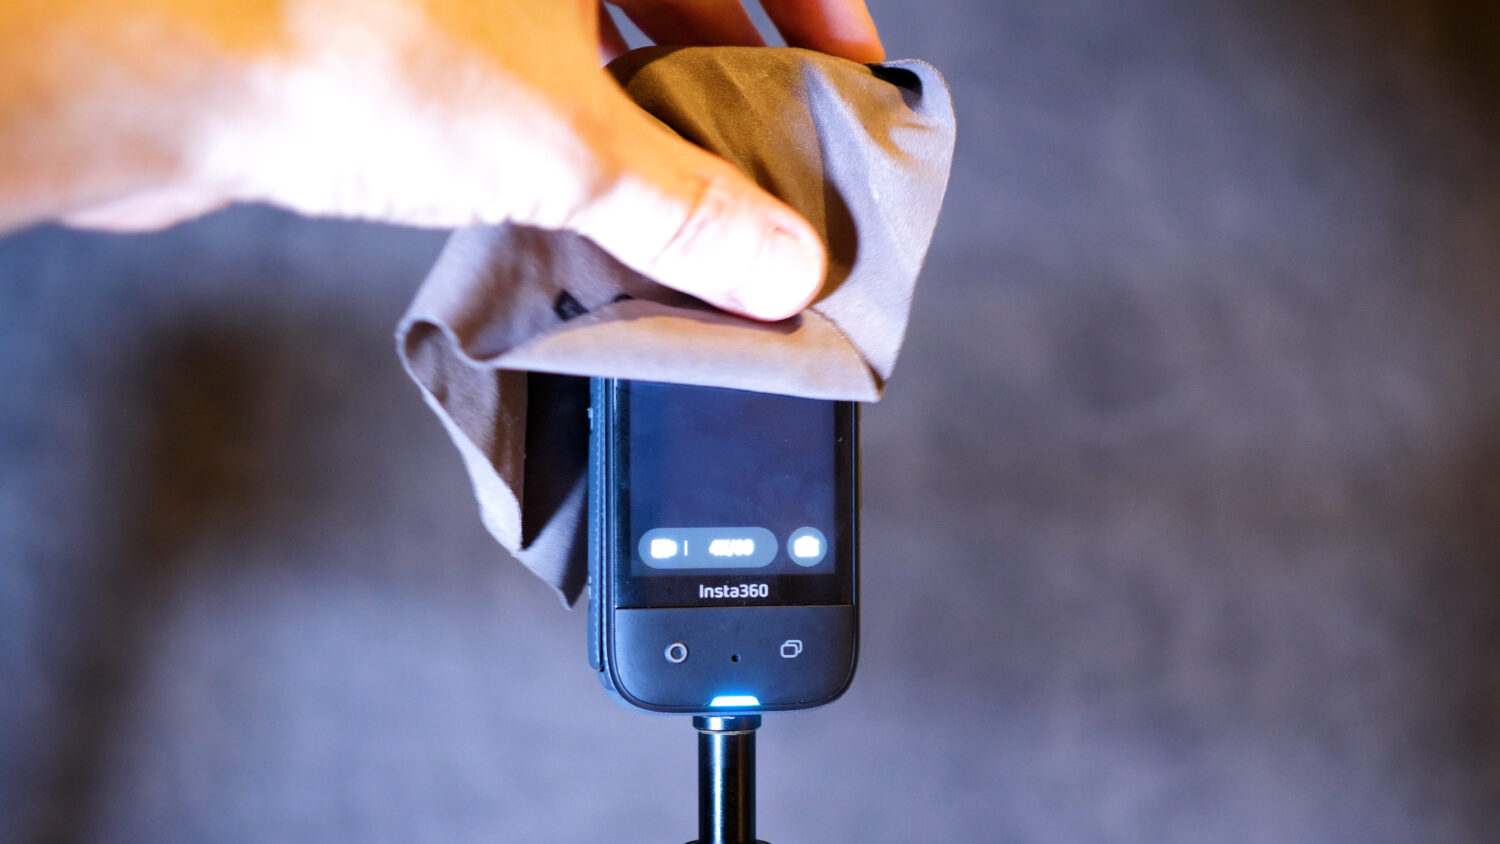
The first thing you should do before shooting anything is make sure both lenses are clear or finger prints, dust or anything else that might impact the quality of your videos. Even a small mark of the lenses can significantly reduce the quality of your shots.
Cleaning your camera with a microfibre cloth EVERY time you shoot is ideal and will ensure perfectly clean lenses.
Choose Correct Settings
Now that your lenses are clear you need to select the correct camera settings to ensure your camera shoots at the best quality possible. Firstly go into the camera settings and change Bit Rate to High, then go into sharpness setting and select Low. Now in the resolution settings select the highest, 5.7K @30fps. These are the settings that should allow for the best quality video.
Shoot in Log Mode
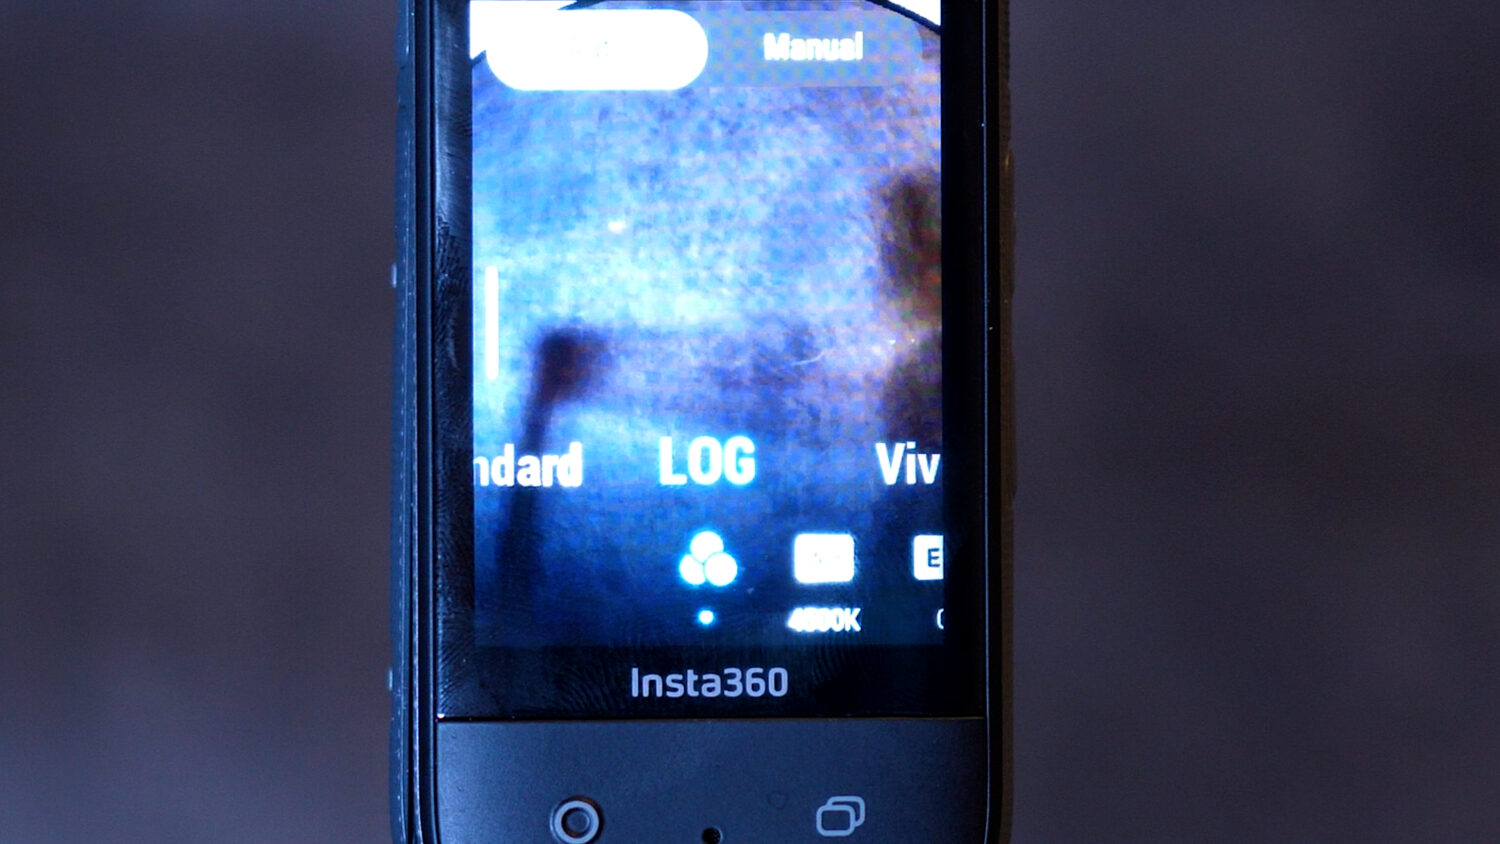
If you want to get the best quality out of your camera then the your best bet is to shoot in LOG Mode which will remove all colour from your shots, you can then add your own colour using a program like premiere pro or DaVinci Resolve. If you don’t have access to these programs then I’ll give you an alternative at the end of this video.
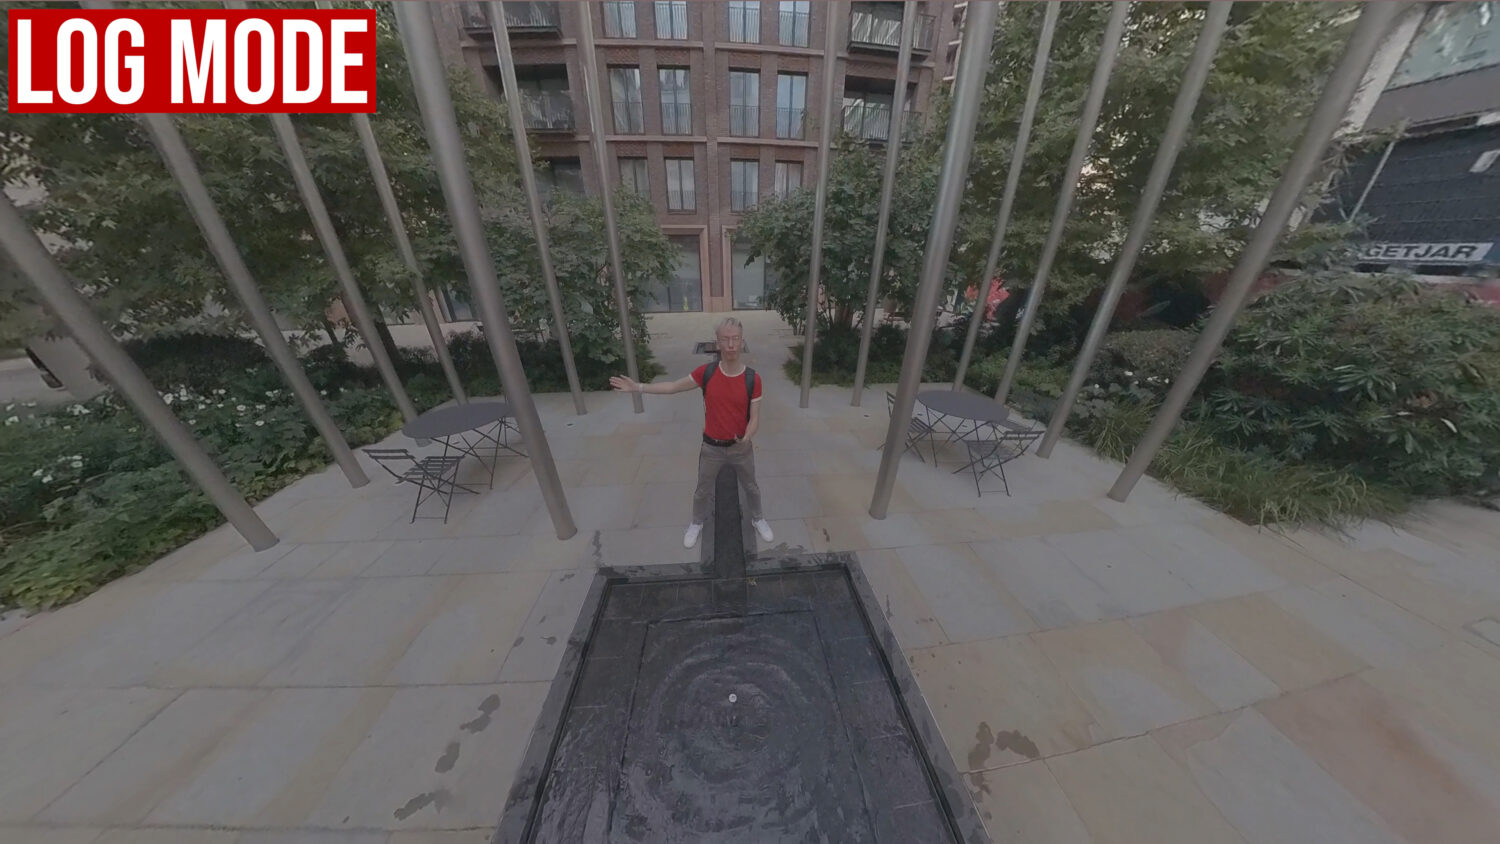
You can select LOG Mode in the video settings and shoot your video as normal.
Colour Correct
If you have access to Premiere Pro and have the Insta360 Plugin installed, then you should be able to drag and drop your Insta360 footage and edit right away.
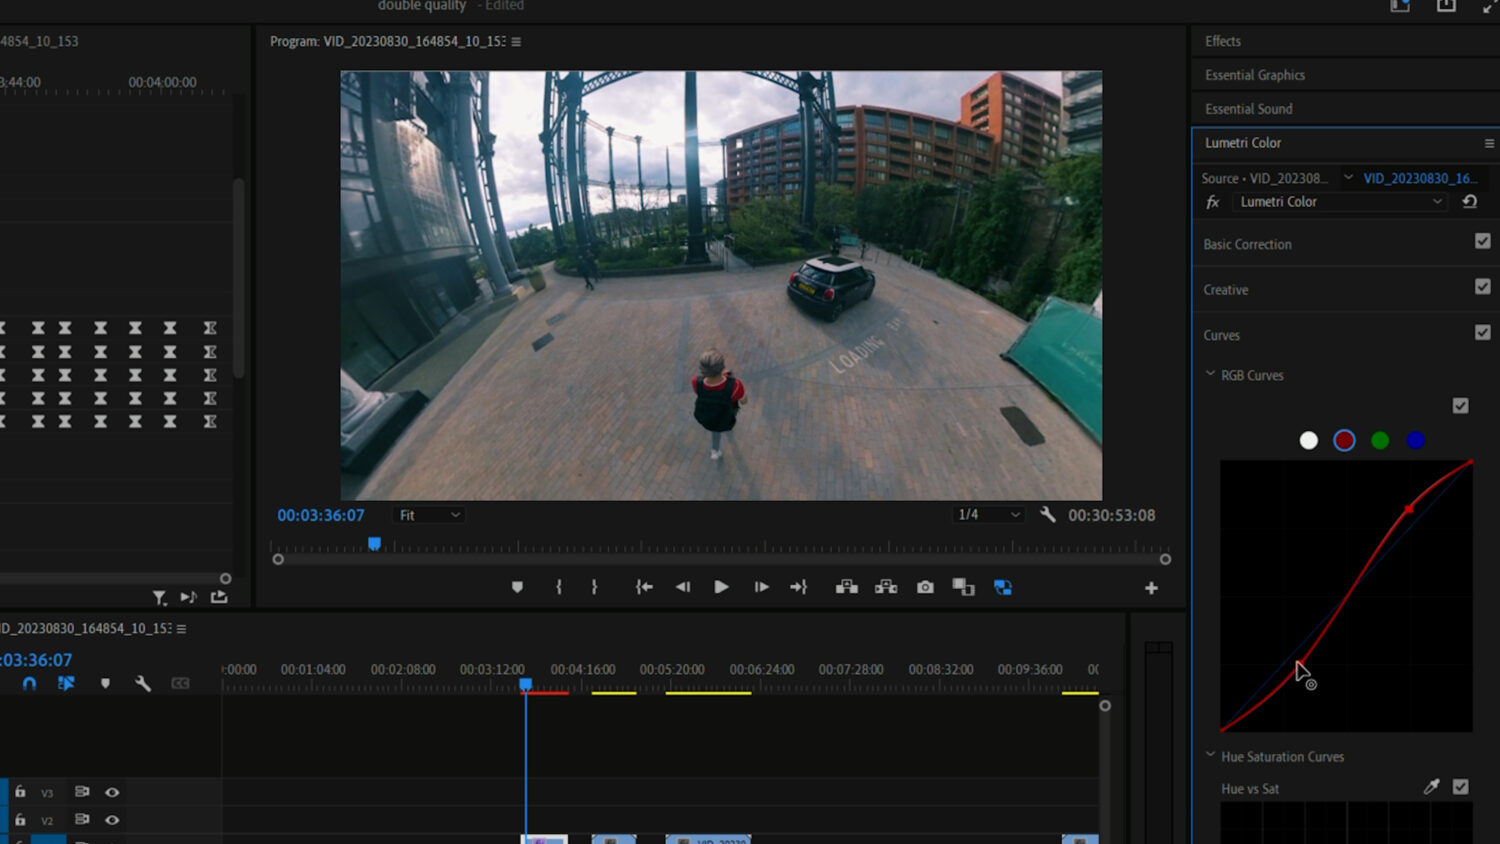
You’ll now be able to access the colour options. It’s difficult to suggest exactly how to adjust these options as it will differ depending on the environment where you shot your clip.
You’ll definitely want to add more saturation, vibrance and play around with increasing the contrast. Follow my tutorial below to see some examples of how I colour correct different clips.
Export in ProRes & Upscale to 4K
The export settings are very important for ensuring your videos look as good as possible. Firstly you should upscale your reframed footage to 4K which should result in slightly sharper footage than the standard 1080p. In the export settings you should select ProRes as the file type, which will keep as much information as possible but result in very large file sizes.
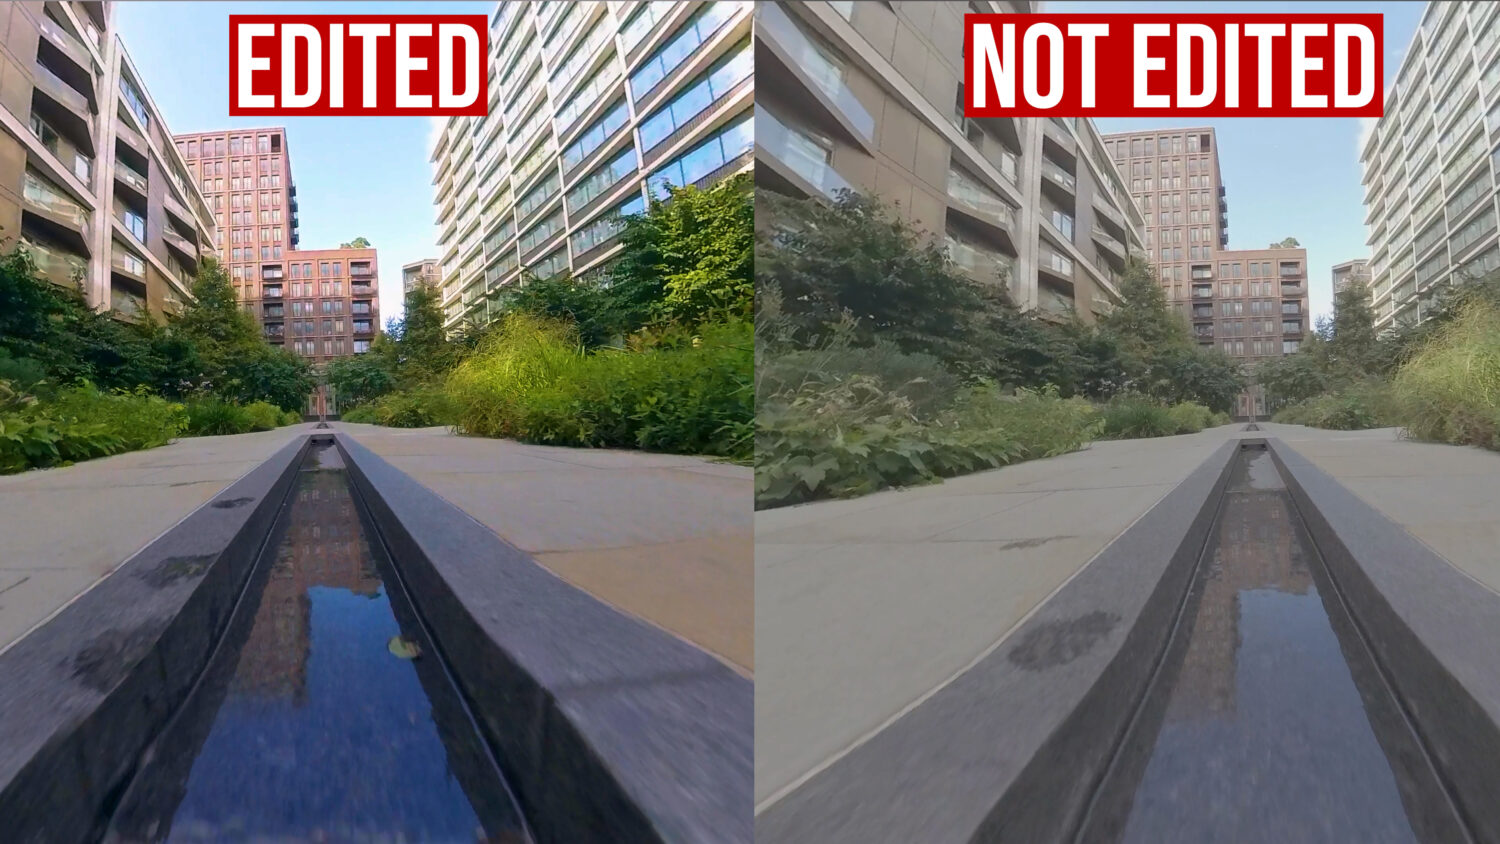
If you don’t want to deal with these huge files then you can stick to the standard MP4 format, but ensure you set the bit rate to at least 100MBPS.
Alternative to Colour Correct: Choose Vivid Colour
If you don’t have access to Premiere Pro then the alternative is to process your shots through the Insta360 Studio. Reframe your shots here and apple the “Colour Plus” option which should add some vibrance to your footage.
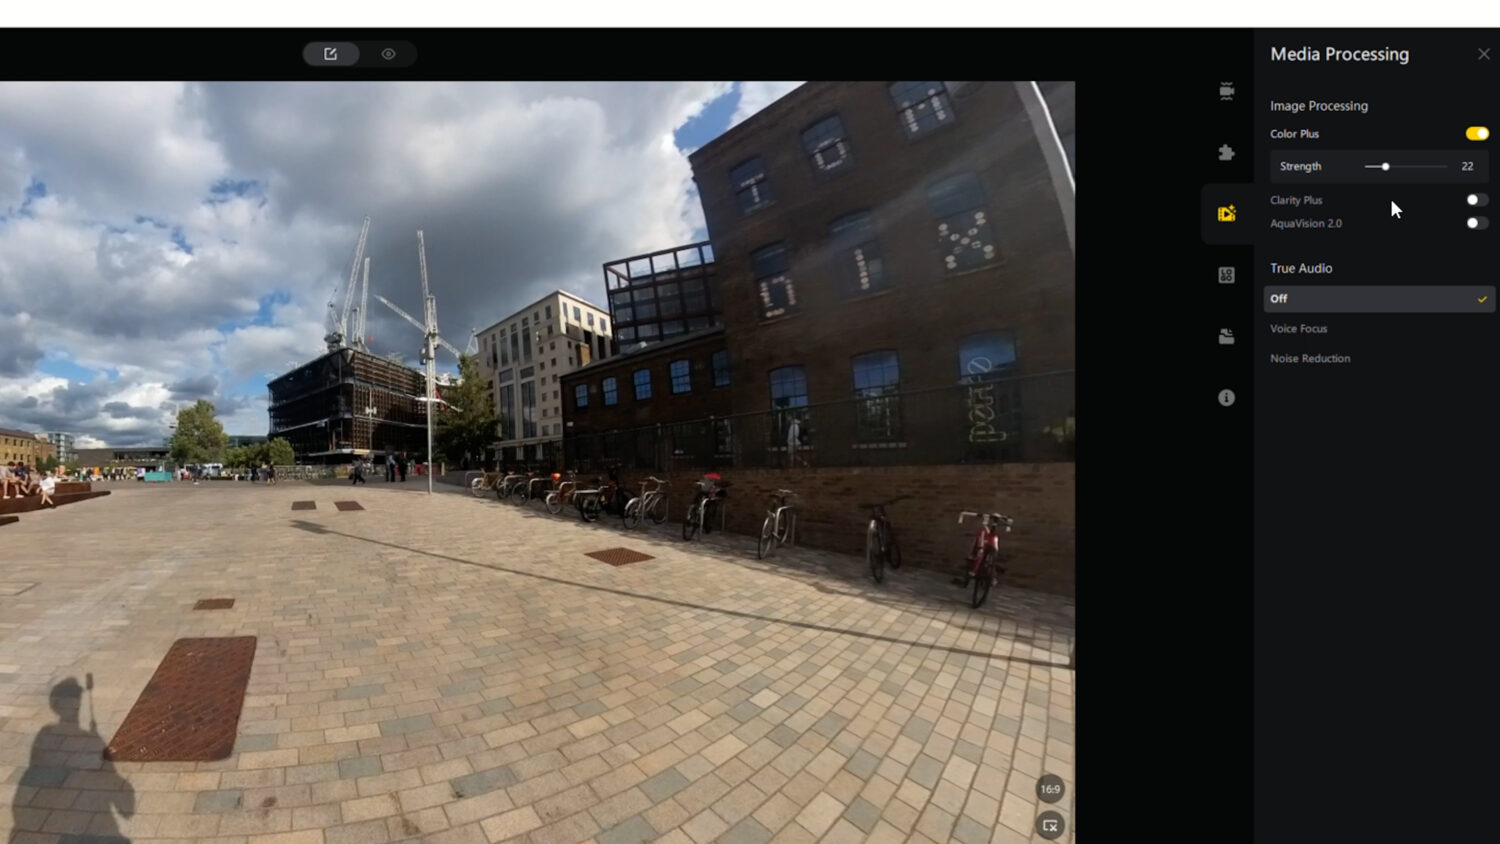
In the export options you should once again upscale to 4K and select either ProRes or MP4 at 100MBPS.
If you follow these steps then your Insta360 videos will look a lot better than if you just shot blind. Your videos will probably won’t match up to non-360 cameras, this would require much larger lenses and a resolution boost, but you’ll definitely notice the difference.
See Also: Half Price off Insta360 Video Course. Learn to create amazing shots with your Insta360 camera.