 The 360 Guy
I’ve tested pretty much every 360 camera and accessory Insta360 has released over the past few years, but nothing has genuinely blown me away like this one. I’m talking about the Invisible Dive Case paired with the Insta360 X5, and I’m not exaggerating when I say it’s the best underwater shooting setup I’ve ever used – not just in the 360 world, but across all cameras I’ve taken into the water.

If you’ve followed my channel or blog for a while, you’ll know I love underwater filming. Snorkelling, diving, jumping into ridiculously clear water whenever I travel, that’s my happy place. So when I say this setup has allowed me to capture some of the best shots I’ve ever made with a 360 camera, I really do mean it.

In this article, I’m going to walk you through why I think the Insta360 X5 + Invisible Dive Case is the best combo for underwater content in 2025, how I set it up, how I shoot, and the quirks you need to know before taking yours into the sea or pool.
This is my genuine experience after shooting underwater on multiple trips, getting hours of footage, and finally achieving the underwater shots I’ve always wanted from a 360 camera.
Why the Insta360 X5 + Invisible Dive Case is the Best Underwater Setup I’ve Used
Let’s just get straight to it: the footage this combo produces is like nothing I’ve ever managed with a GoPro, a normal action camera, or even the previous Insta360 models. The Invisible Dive Case unlocks an entirely different shooting experience.
Check out the video version of this article here and see for yourself some of the shots I captured. I filmed in some cool locations but there are plenty of other places around the world where you could get even better shots.
The magic comes from two things:
The X5’s image quality and stabilisation
The Dive Case completely eliminating refraction issues
Normally, shooting underwater with a 360 camera is a nightmare. Water bends light differently than air, the stitching gets destroyed, and everything looks mushy and blurred. Yes, technically the X5 is waterproof on its own, but you shouldn’t use it underwater without a dive case. The stitching just won’t work.
Once you put the X5 inside the Invisible Dive Case it becomes an entirely different camera. The stitching works perfectly, the detail is sharp, and you suddenly have this magical floating perspective that no normal camera can replicate.

You can literally just stick it on an invisible selfie stick, swim around, and get shots that look like they’re from a drone… underwater.
Setting Up the Dive Case Properly (This Is Important)
If you want to get the best shots possible with your invisible dive case then make sure to spend thr extra couple of minutes setting it up properly and your footage will look a thousand times better.
Here’s how I do it:
1. Clean the inside (seriously, do this every time)
Any dust, smudge, or tiny grain of sand inside the dome is going to show up in your footage. And underwater, imperfections are even more noticeable.
I always:
Unlock the case
Open it completely
Wipe the inside with a microfibre cloth
2. Insert the moisture absorbers
The case comes with little moisture absorbers and you should use them. They slot into the sides. These prevent fogging, which will instantly ruin your footage.
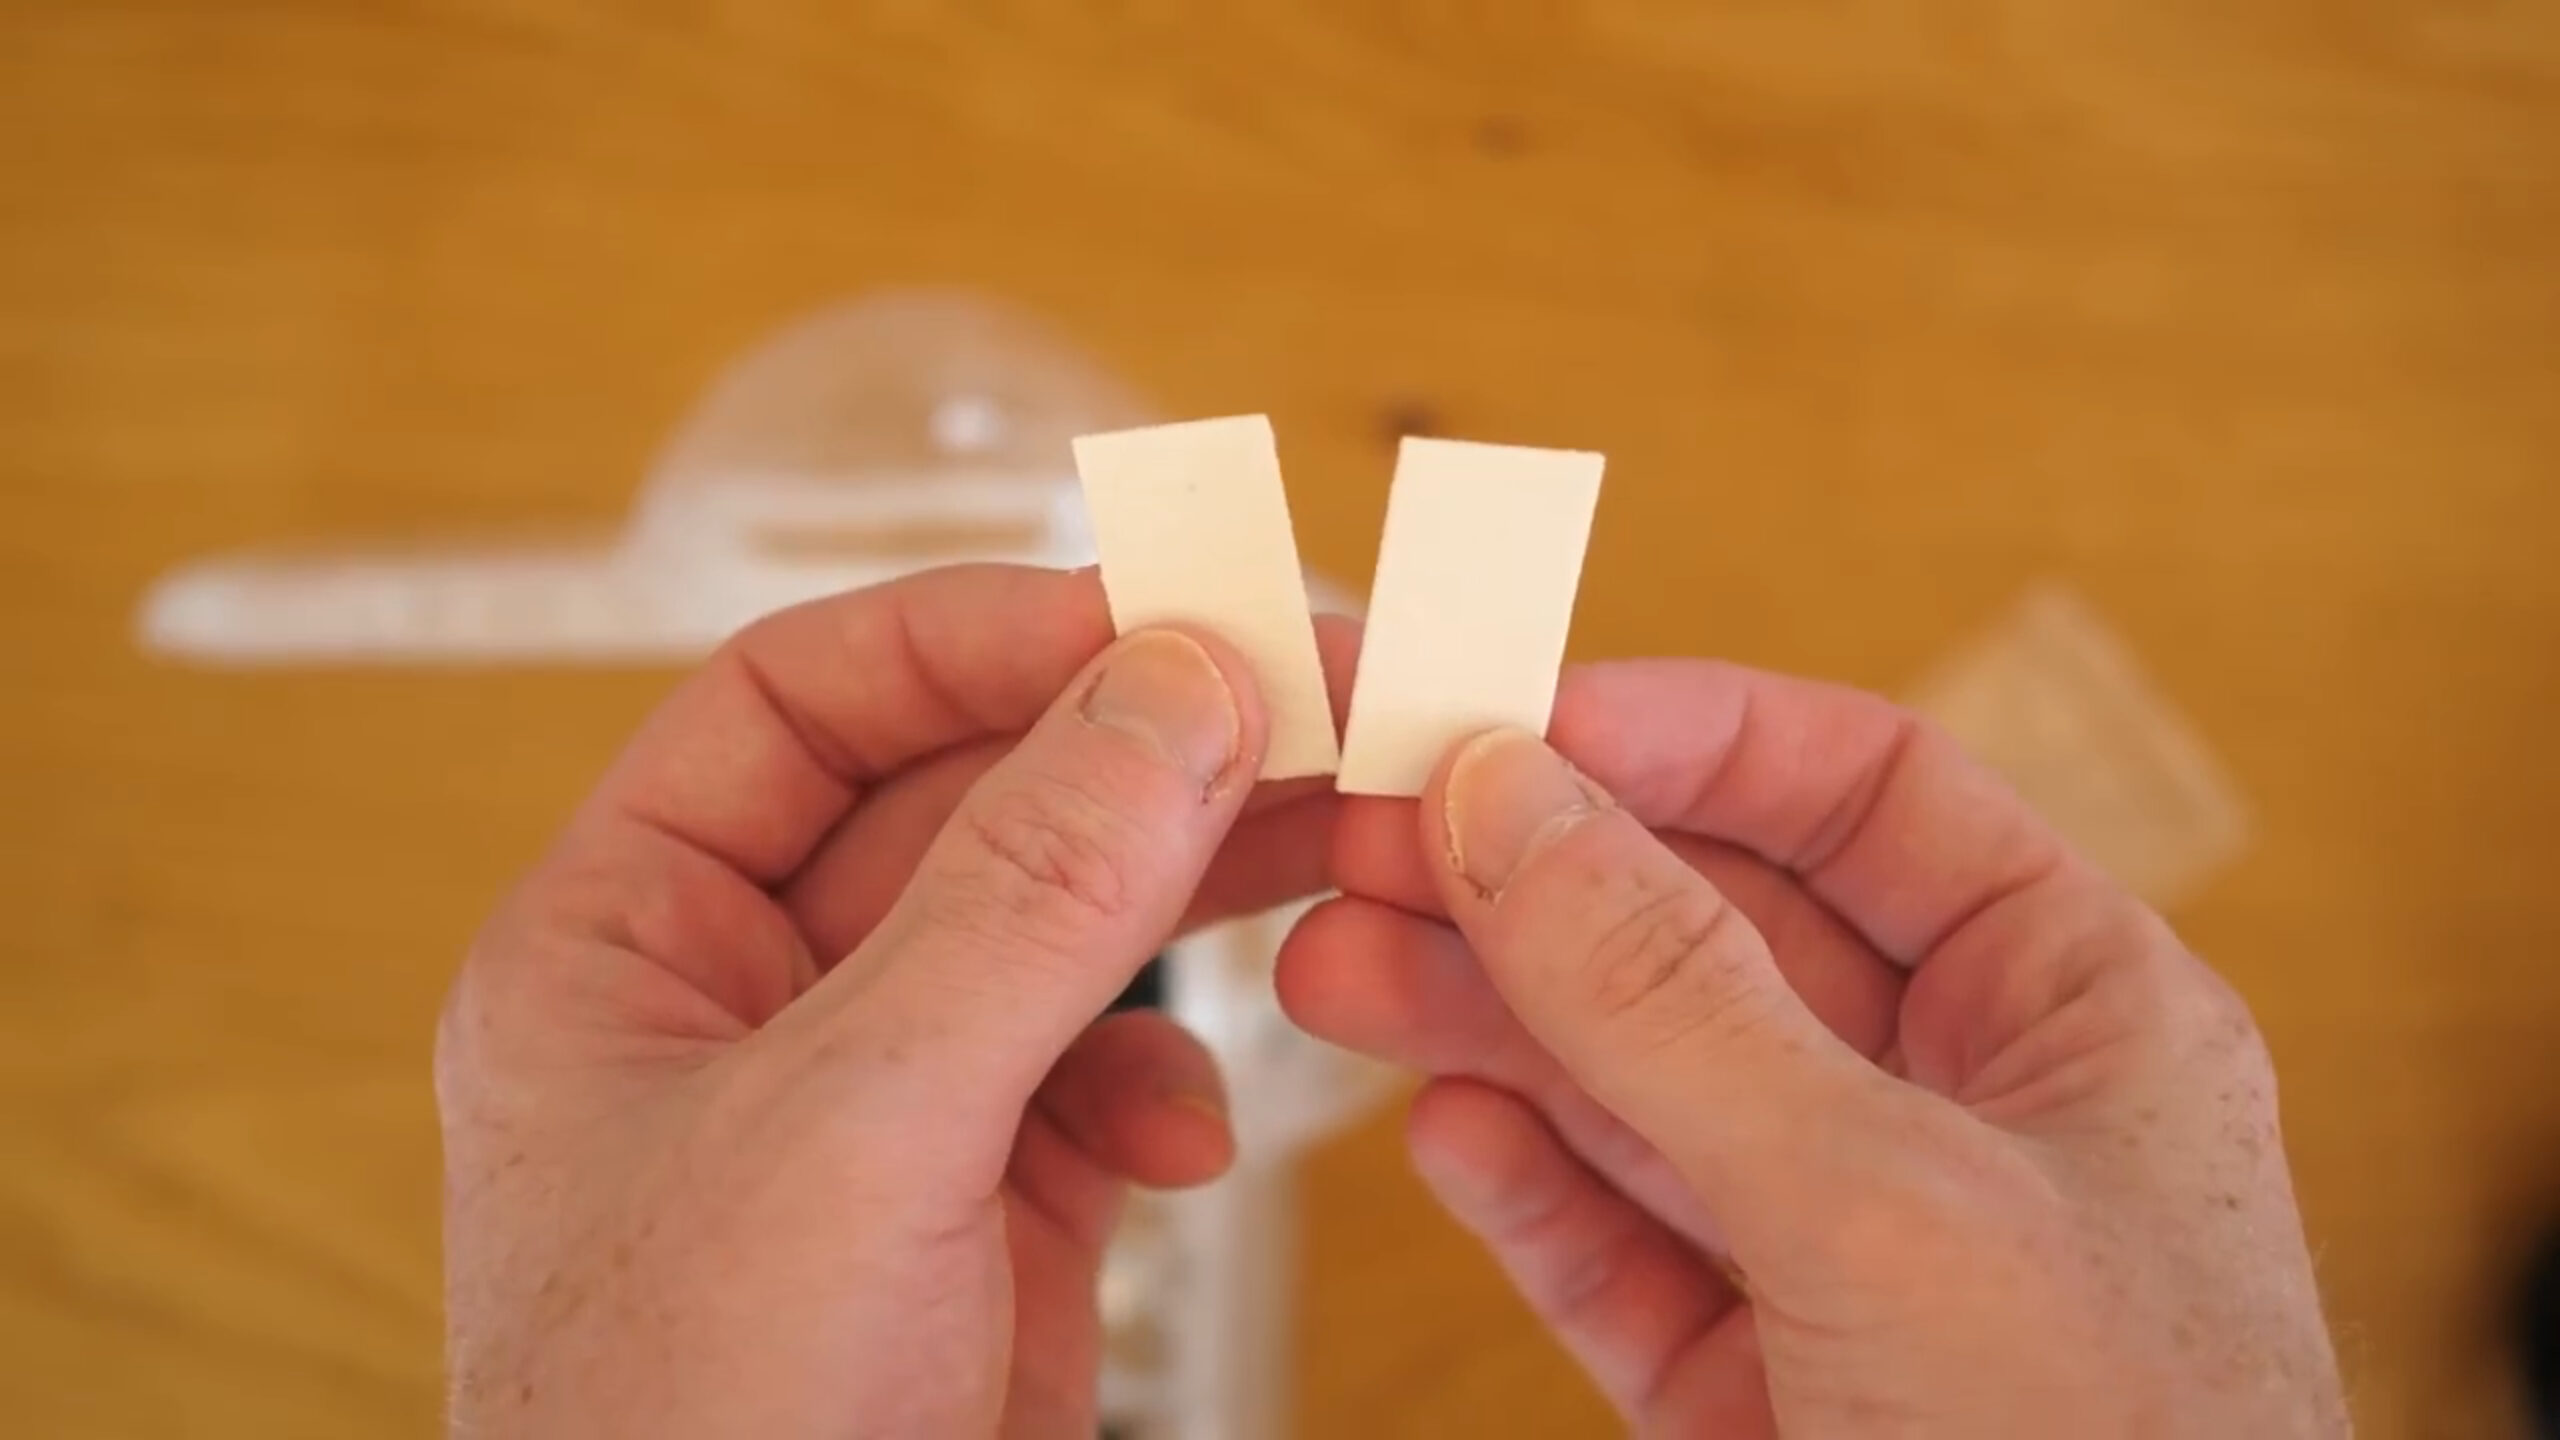
Just slide them in, check they’re secure, and you’re good.
3. Activate Dive Case Mode on the X5
Swipe down on the camera’s menu, go into “Accessories,” select “Dive Case,” and switch it on. This disables the touchscreen and lets you use only the physical buttons.
The moment you activate dive mode, the camera knows how to correct the fisheye effect and adjust stitching for the dome.
4. Insert the camera properly
Line up the X5 so the case buttons sit perfectly over the camera buttons. This part is very obvious once you try it, if it doesn’t feel right, flip it around.

5. Lock all four latches
You’ll hear a satisfying click when each latch is properly secured. If you don’t, don’t take that thing anywhere near water.
6. Attach your invisible selfie stick
Make sure the case sits in a straight line with the stick – if it’s tilted, the invisible effect won’t work properly underwater.
How I Shoot My Underwater 360 Footage
I always start recording before going underwater. That just keeps things simple and you can be sure you are actially recording. The buttons are big enough to press when the case is dry, and it saves you from faffing around once your hands are cold or you’re being pushed by waves.

The technique?
Honestly:
I just wave it around underwater. That’s it.
That’s the beauty of 360. You don’t have to frame anything at the time of shooting. You just swim with it, explore, dunk it under the water, spin it around – the footage always looks interesting.
On my recent trips (which were blessed with ridiculously clear water), I managed to film:
Schools of fish
Coral
Underwater caves
Me diving down from the surface (my favourite)
Even silly pool shots that looked way better than expected
You don’t need to be a pro diver to get good footage. Snorkelling alone is more than enough.
Why the X5’s Colours Look So Good Underwater
Insta360 has put a lot of effort into underwater colour correction, and it shows.
The moment you drag your footage into Insta360 Studio, it detects you were underwater and automatically applies AquaVision.

AquaVision:
Corrects the blue/green cast
Restores reds and skin tones
Boosts brightness
Reduces the “murky” look you get underwater
There are a few presets, and sometimes they’re a bit intense, so I usually dial the effect down slightly. But even at 50–60% intensity, the difference is massive.
Without AquaVision, the footage looks flat and lifeless. With it, the colours pop and everything looks like it belongs in a travel documentary.
Reframing Your Underwater Shots: My Tip for More Natural Movement
Most of the time I’ll reframe in Insta360 Studio using keyframes which is the standard method. It works well, but for underwater shots, it sometimes looks too robotic.
The water has a natural flow to it, and if your camera movement is too perfectly smooth, it looks uncanny.
That’s why I sometimes use the Insta360 phone app and the Viewfinder Mode. That’s where you move your phone physically as if you’re shooting the clip in real time. It’s “shoot first, point later” but with a more organic feel.
The trade-off? Slightly lower quality because you’re exporting from a phone.
But honestly, the realism is worth it most of the time, especially for ocean footage where you want that natural drifting, floating motion.
So… What Is the Best 360 Camera for Underwater Shooting in 2025?
Let me be clear:
✅ The Insta360 X5 with the Invisible Dive Case is the best underwater 360 setup you can buy right now.
There is no other 360 camera + accessory combo that produces this level of clarity, stitching accuracy, colour quality and creative freedom underwater. Other cameras like the Osmo 360 and GoPro Max 2 don’t have a dive case yet (if they do I’ll update this article).
Even outside the 360 world, it beats normal action cameras in terms of perspective and immersion. The shots you can capture underwater with the X5 simply aren’t possible with traditional cameras.
Who it’s perfect for:
Snorkelers
Casual holiday swimmers
Divers
Underwater photographers
Travel content creators
Anyone who wants unique underwater angles
Even if you only shoot in a swimming pool…
You’ll still get fun, creative footage that looks way better than it has any right to.
Final Thoughts: Should You Buy It?
If you already own an Insta360 X5 and want to shoot underwater at all – even just once – buy the Invisible Dive Case. I honestly can’t praise it enough. It has opened up an entirely new world of shots for me, and I regret not getting it sooner.
And if you want to learn how to use the X5 properly including shooting, editing, reframing, underwater workflows – my full X5 course walks through everything in detail. There’s still a discount running for the next 20 people who sign up from this website.
If you’ve got questions about the X5, the dive case, or shooting underwater in general, just drop a comment – I’ll always get back to you.


Owner of threesixtycameras.com. Writer, photographer and videographer. You can see my YouTube channel for guides of how to shoot 360 video. I've written for The Times, Digital Photography School and Sunday Express.