 The 360 Guy
Shooting high-quality video in low-light conditions can be tricky, especially with 360 cameras like the Insta360 X4. These cameras often struggle in environments with limited natural light or only artificial sources, but with the right settings and techniques, you can capture stunning footage that stands out. In this post I’m going to tell you all need to know to get the best low-light performance from your Insta360 X4 with the exact settings I use to get the best results.
Watch the Video Version
Why Low Light Shooting is a Challenge for 360 Cameras
360 cameras, including the Insta360 X4, excel in well-lit conditions but face challenges when lighting is scarce. The difference between bright artificial lights and dark skies at night often results in overexposed highlights, grainy shadows, or shaky footage. However, with a bit of manual tweaking, you can turn those nighttime or dimly lit shots into polished, cinematic videos.
Key Camera Settings for Low Light Video
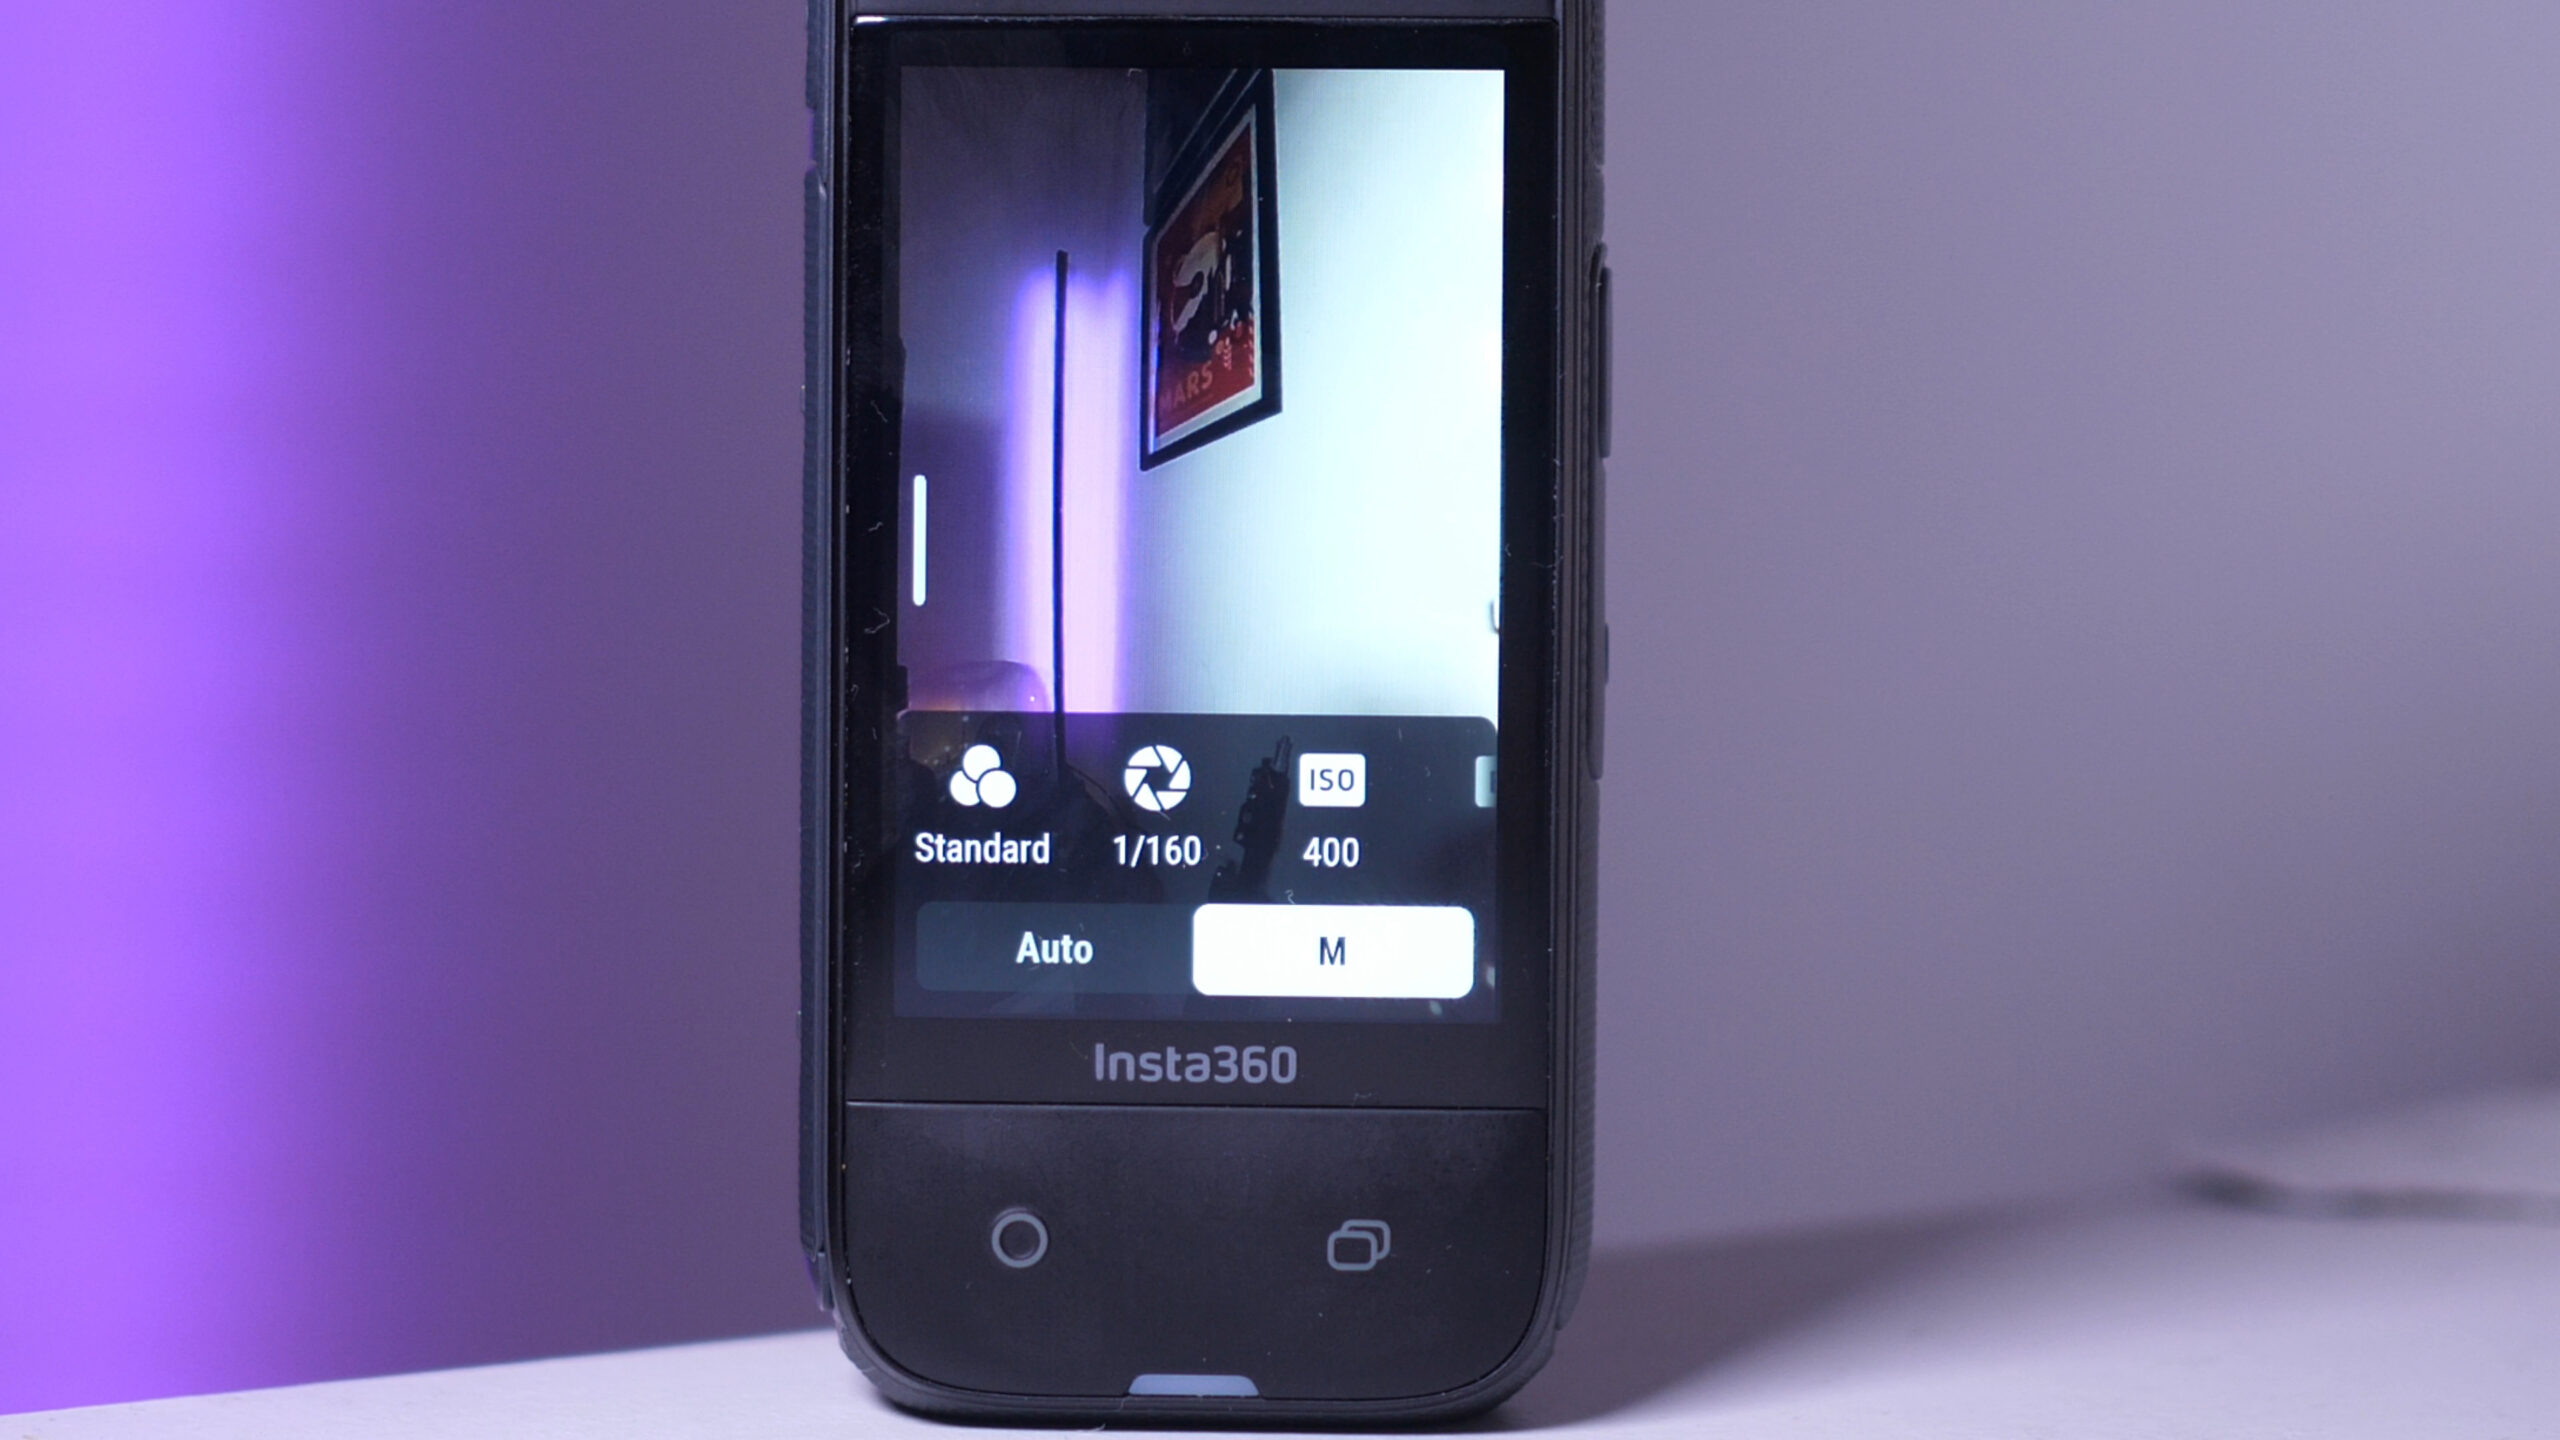
Mastering manual settings is crucial for improving your Insta360 X4’s low-light video quality. Let’s break down the key settings you’ll need to adjust.
1. ISO: Sensitivity to Light
ISO determines how sensitive your camera is to light. A higher ISO brightens the image but introduces grain and noise.
- Default Range: ISO ranges from 100 to around 4,000 on the X4.
- Optimal Range for Low Light: Keep the ISO between 200 and 600. For very dark conditions, you can go up to 700, but be mindful of increased grain.
Pro Tip: Always aim to keep ISO as low as possible while still capturing enough light to avoid grainy footage.
2. Shutter Speed: Controlling Exposure Time
Shutter speed affects brightness and the smoothness of motion in your video. It’s displayed as fractions of a second (e.g., 1/60).
- For Still Shots: Set shutter speed to 1/60 when shooting at 30 frames per second (FPS). This follows the “twice the frame rate” rule for smooth footage.
- For Moving Shots: Increase the shutter speed to 1/100 or 1/200 to reduce motion blur and stabilize light sources.
Pro Tip: Higher shutter speeds darken the image, so adjust ISO accordingly.
3. White Balance: Adjusting Color Tone
White balance determines the color temperature of your video.
- Cool Tones (Blue): Set white balance between 3,200-3,500K for white lights, like city or Christmas lights.
- Neutral Tones: Use 3,800-4,000K for multicolored lights.
- Warm Tones (Yellow): Set around 5,000K for warm, yellowish light sources.
Pro Tip: Adjust white balance based on the light’s color to enhance the mood and accuracy of your footage.
Resolution and Light Sensitivity
While the Insta360 X4 can shoot in 8K, low-light performance improves at 5.7K resolution. The camera captures more light at this resolution, making your shots brighter and more detailed.
Pro Tip: If you’re determined to shoot in 8K, using the manual settings above can help balance light and sharpness.
Best Settings for Different Scenarios
1. Shooting Still Video (Tripod Shots)
When your camera is stationary, you have the opportunity to maximize image quality. Here’s how I approach this:
- Shutter Speed: 1/60. This setting works perfectly for 30 FPS and allows the camera to gather enough light without introducing motion blur.
- ISO: 200-400. I’ve found that staying in this range delivers crisp, noise-free footage in moderately lit environments. For extremely dark conditions, bump it up slightly but try not to exceed 600.
- White Balance: 3,800-4,500K. This range works for most artificial lighting, whether cool or neutral.
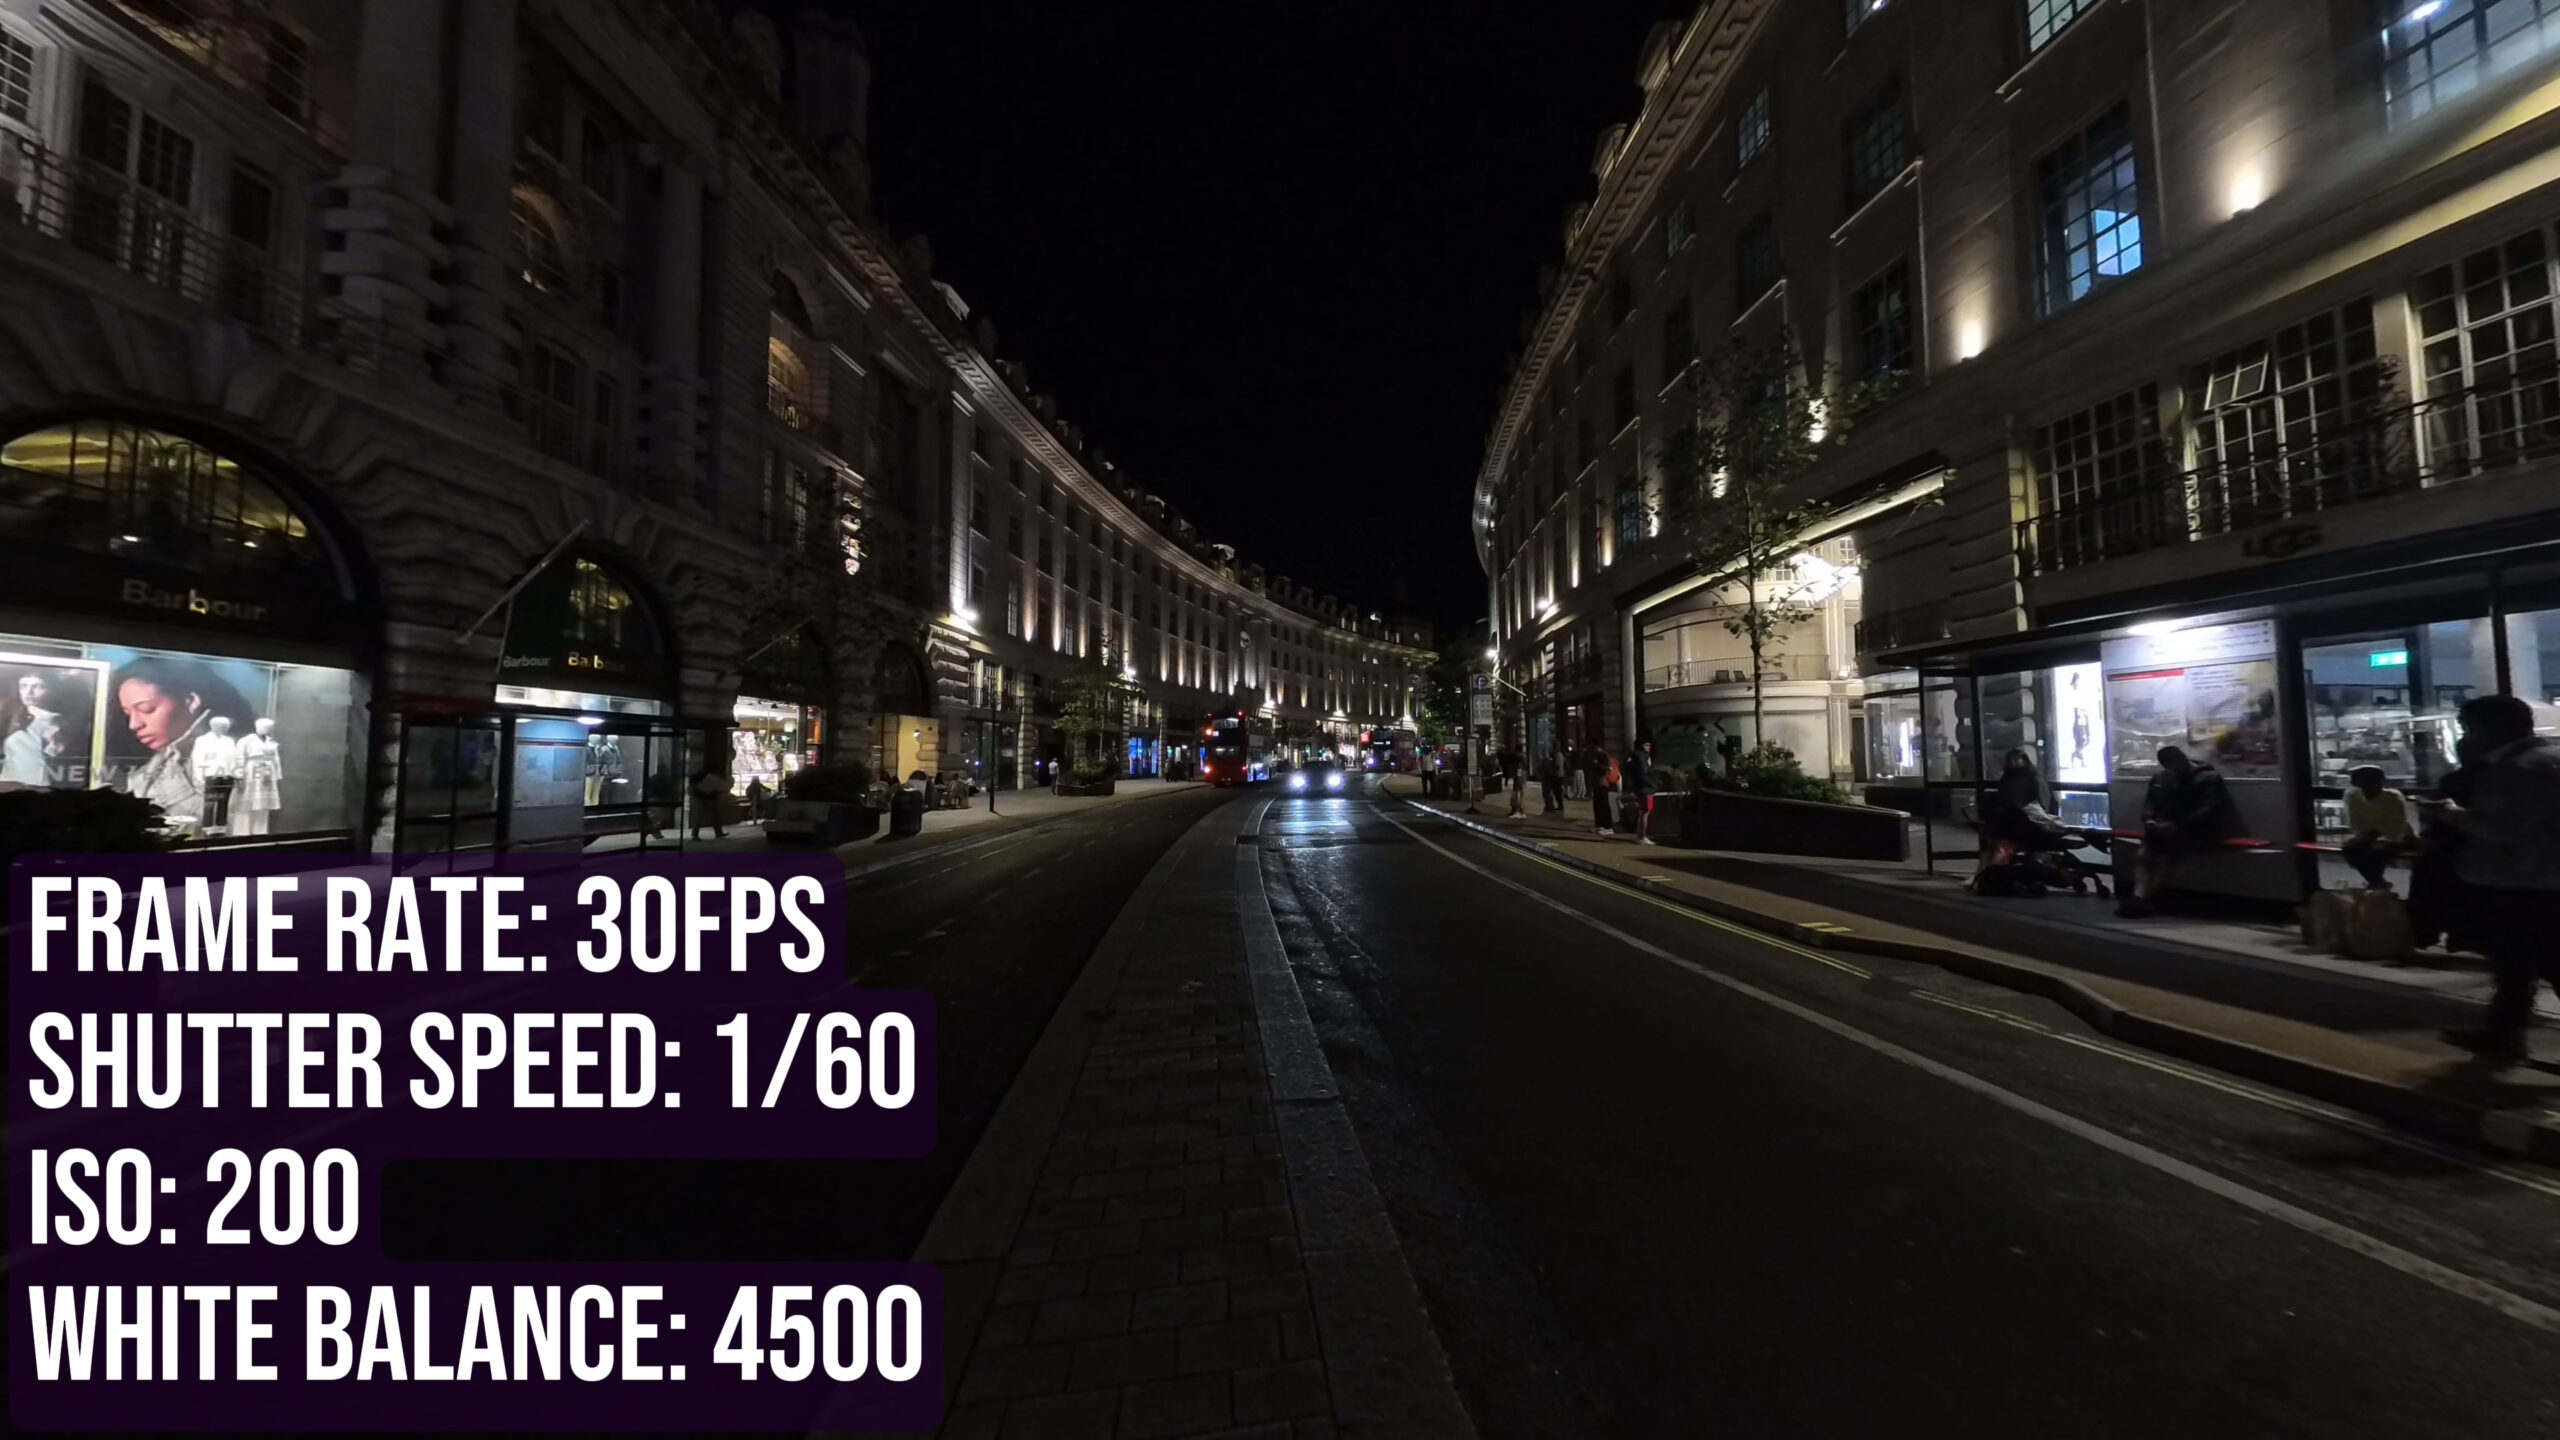
For tripod shots, I also make sure to frame the scene carefully when re-framing. I’ll choose locations that capture both highlights (like streetlights or decorations) and shadows (dark alleys or night skies). This balance adds depth and drama to the footage.
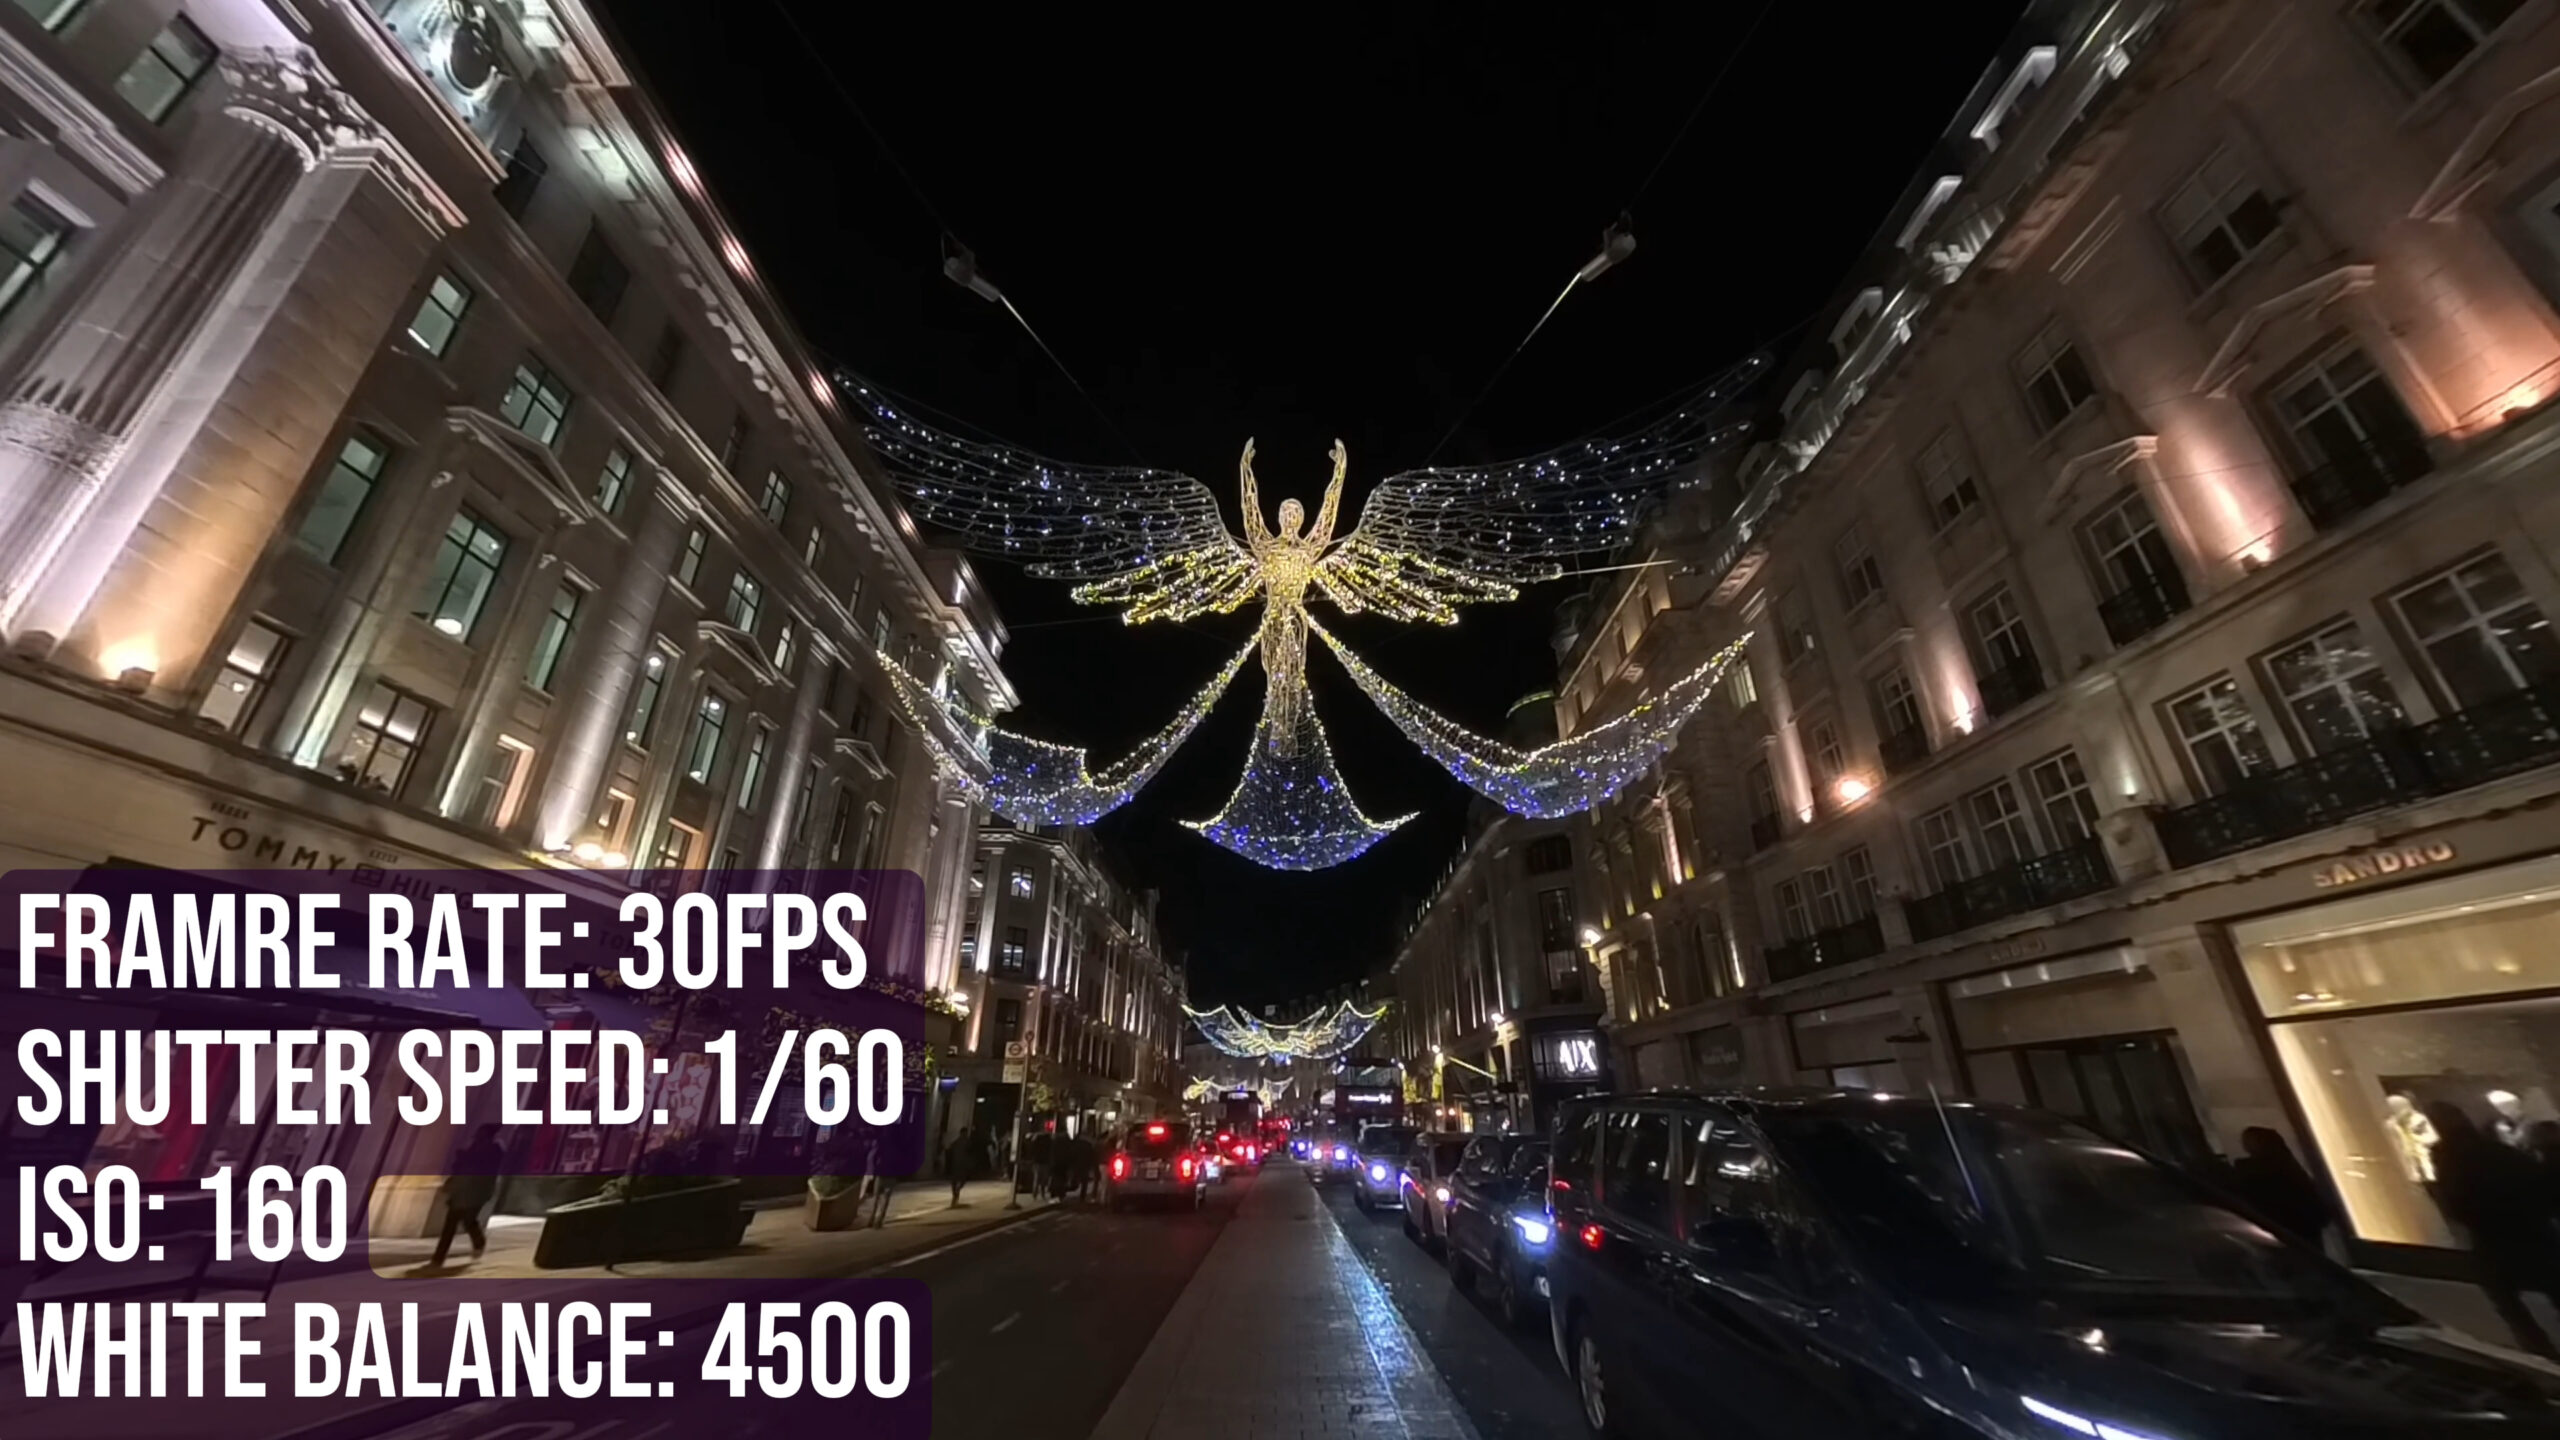
2. Shooting Moving Video (Dynamic Shots)
Dynamic shots are trickier but also more rewarding. Here’s what I’ve learned works best:
- Shutter Speed: 1/100 or 1/200. A higher shutter speed is essential to reduce motion blur. If I’m filming in a well-lit area like a city center, I’ll stick to 1/100. In darker areas, I’ll push it to 1/200 to keep the footage stable.
- ISO: 500-700. Increasing the ISO compensates for the reduced light intake from the faster shutter speed. I’ll always check the preview to ensure the image isn’t overly grainy.
- White Balance: Adjust based on the scene. For instance, if I’m capturing colorful Christmas lights, I’ll set the white balance to 3,800-4,000K to keep the colors vibrant and true to life.
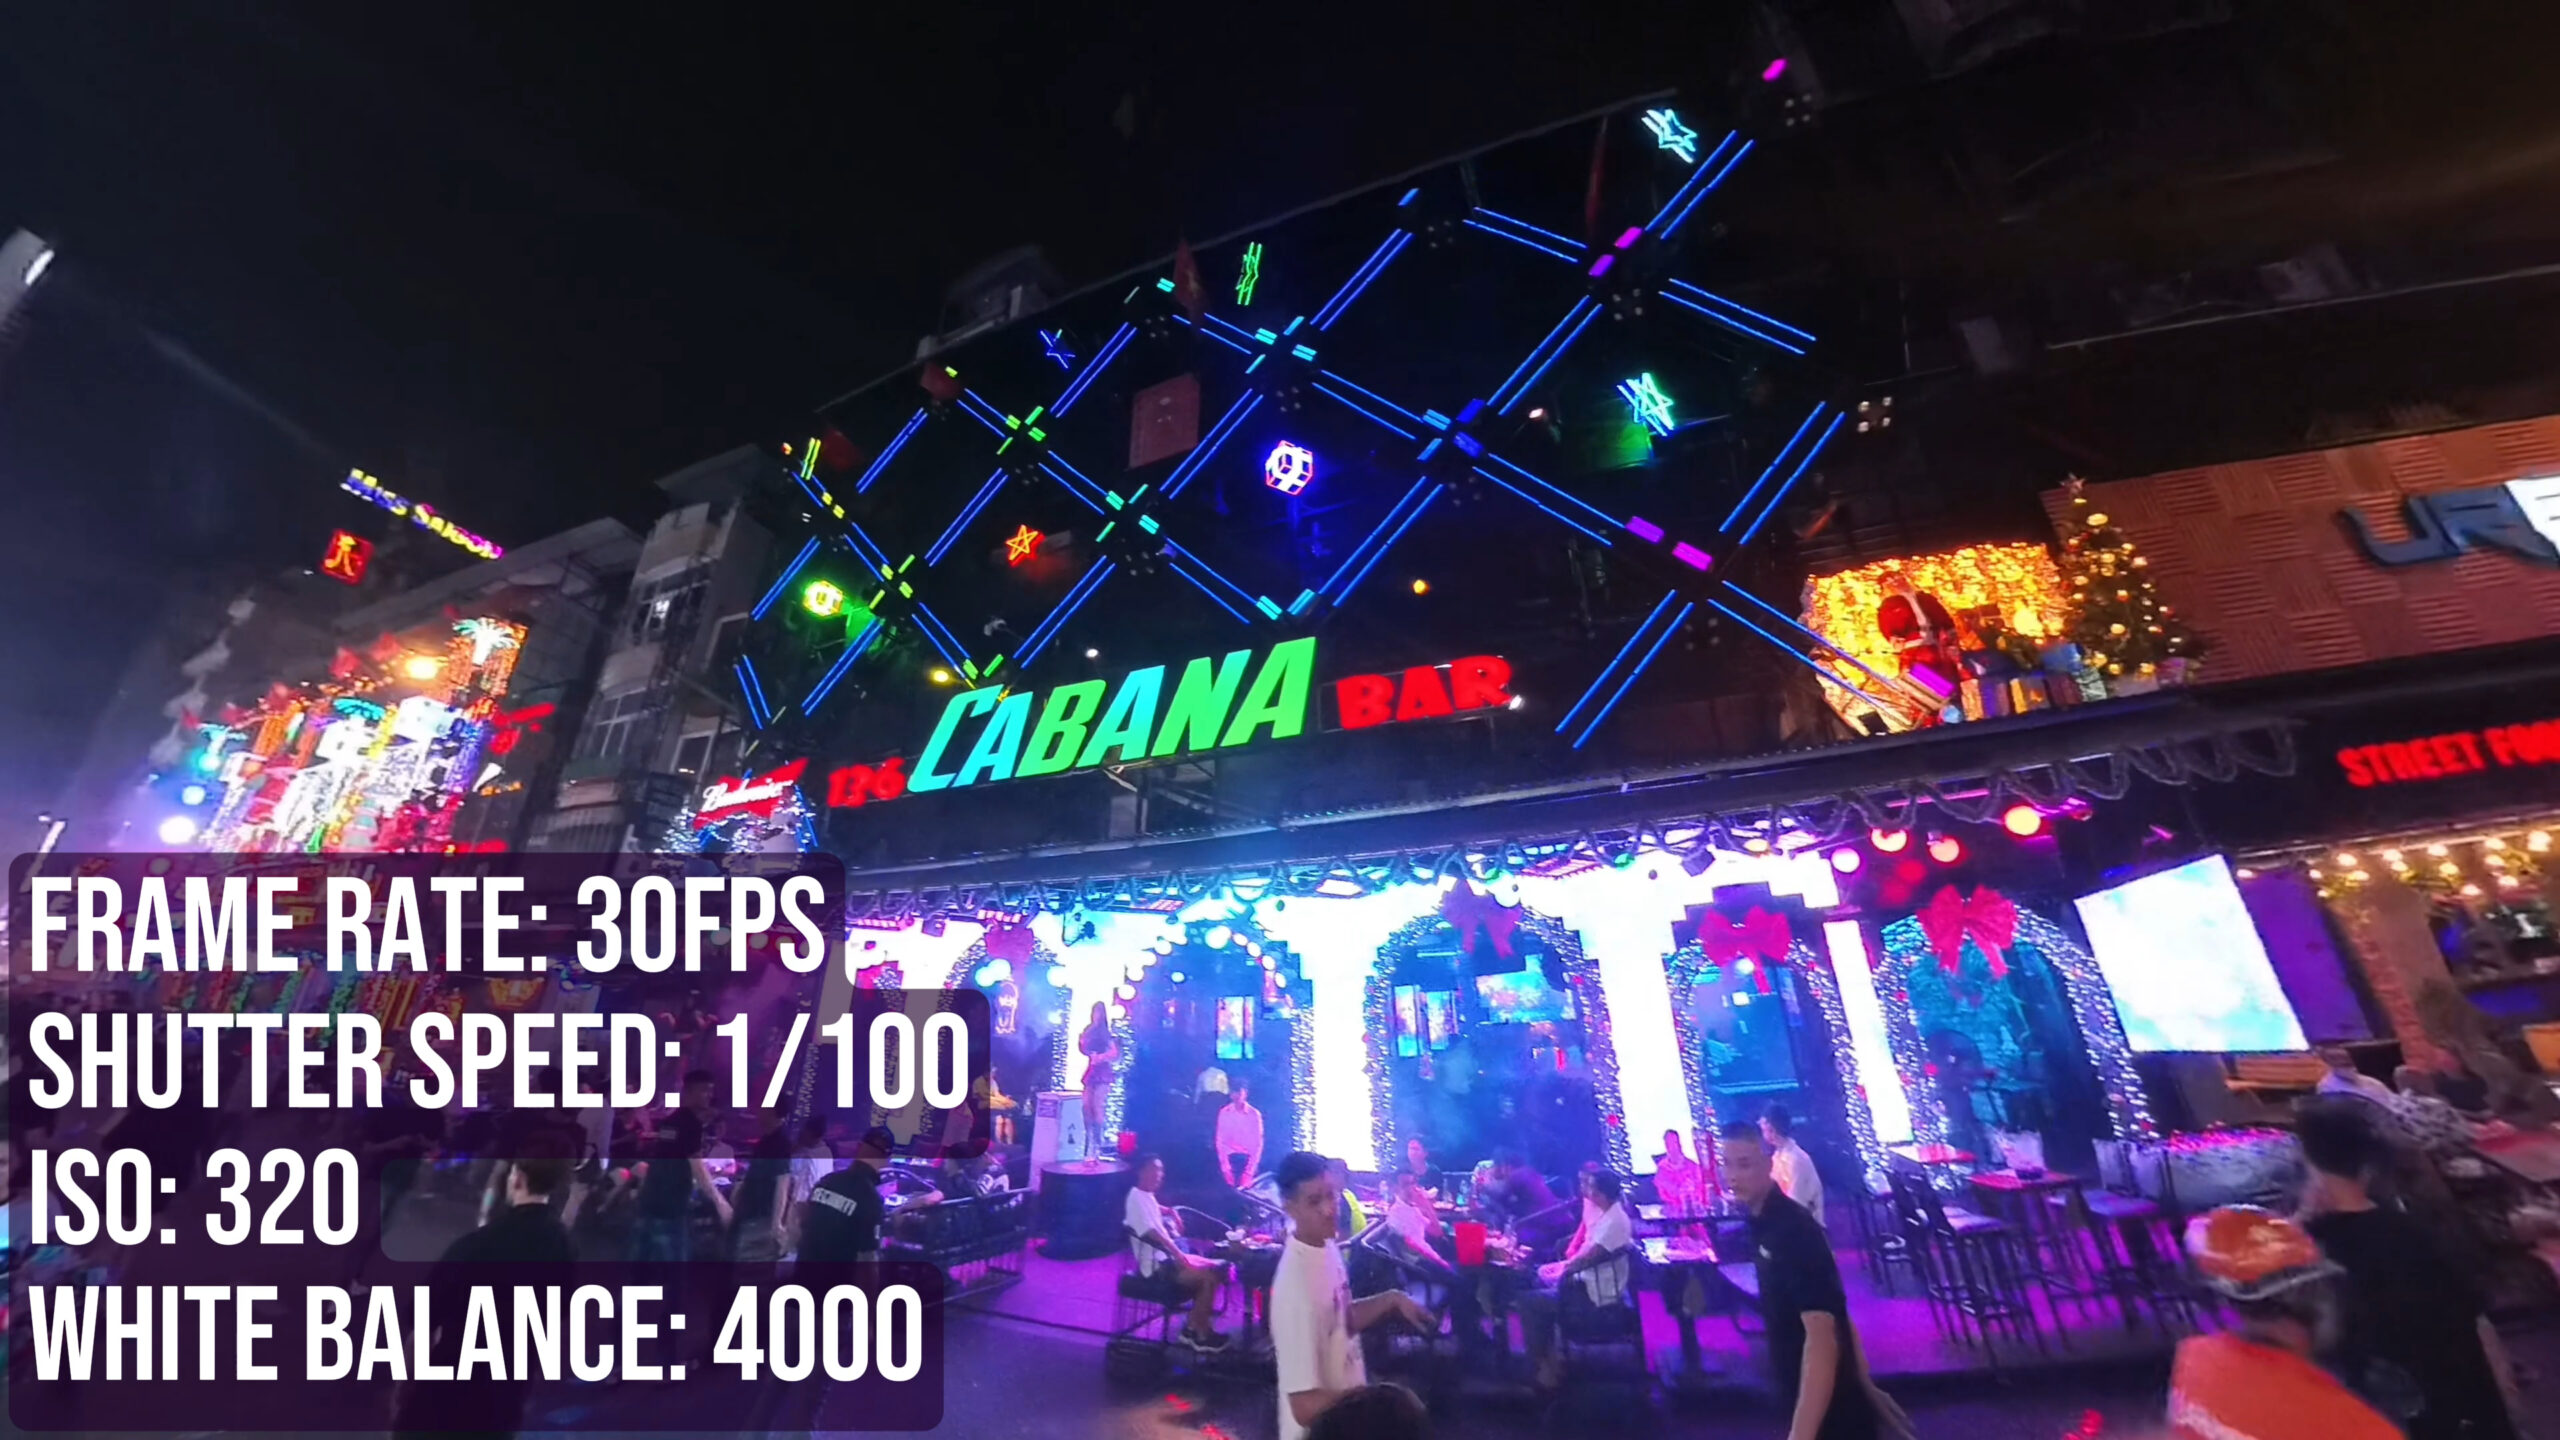
For moving shots, I’ll also pay close attention to how I’m holding the camera. I always use two hands and maintain a steady, deliberate pace to minimize shakiness. The X4’s stabilization is great, but combining it with proper handling makes a huge difference.
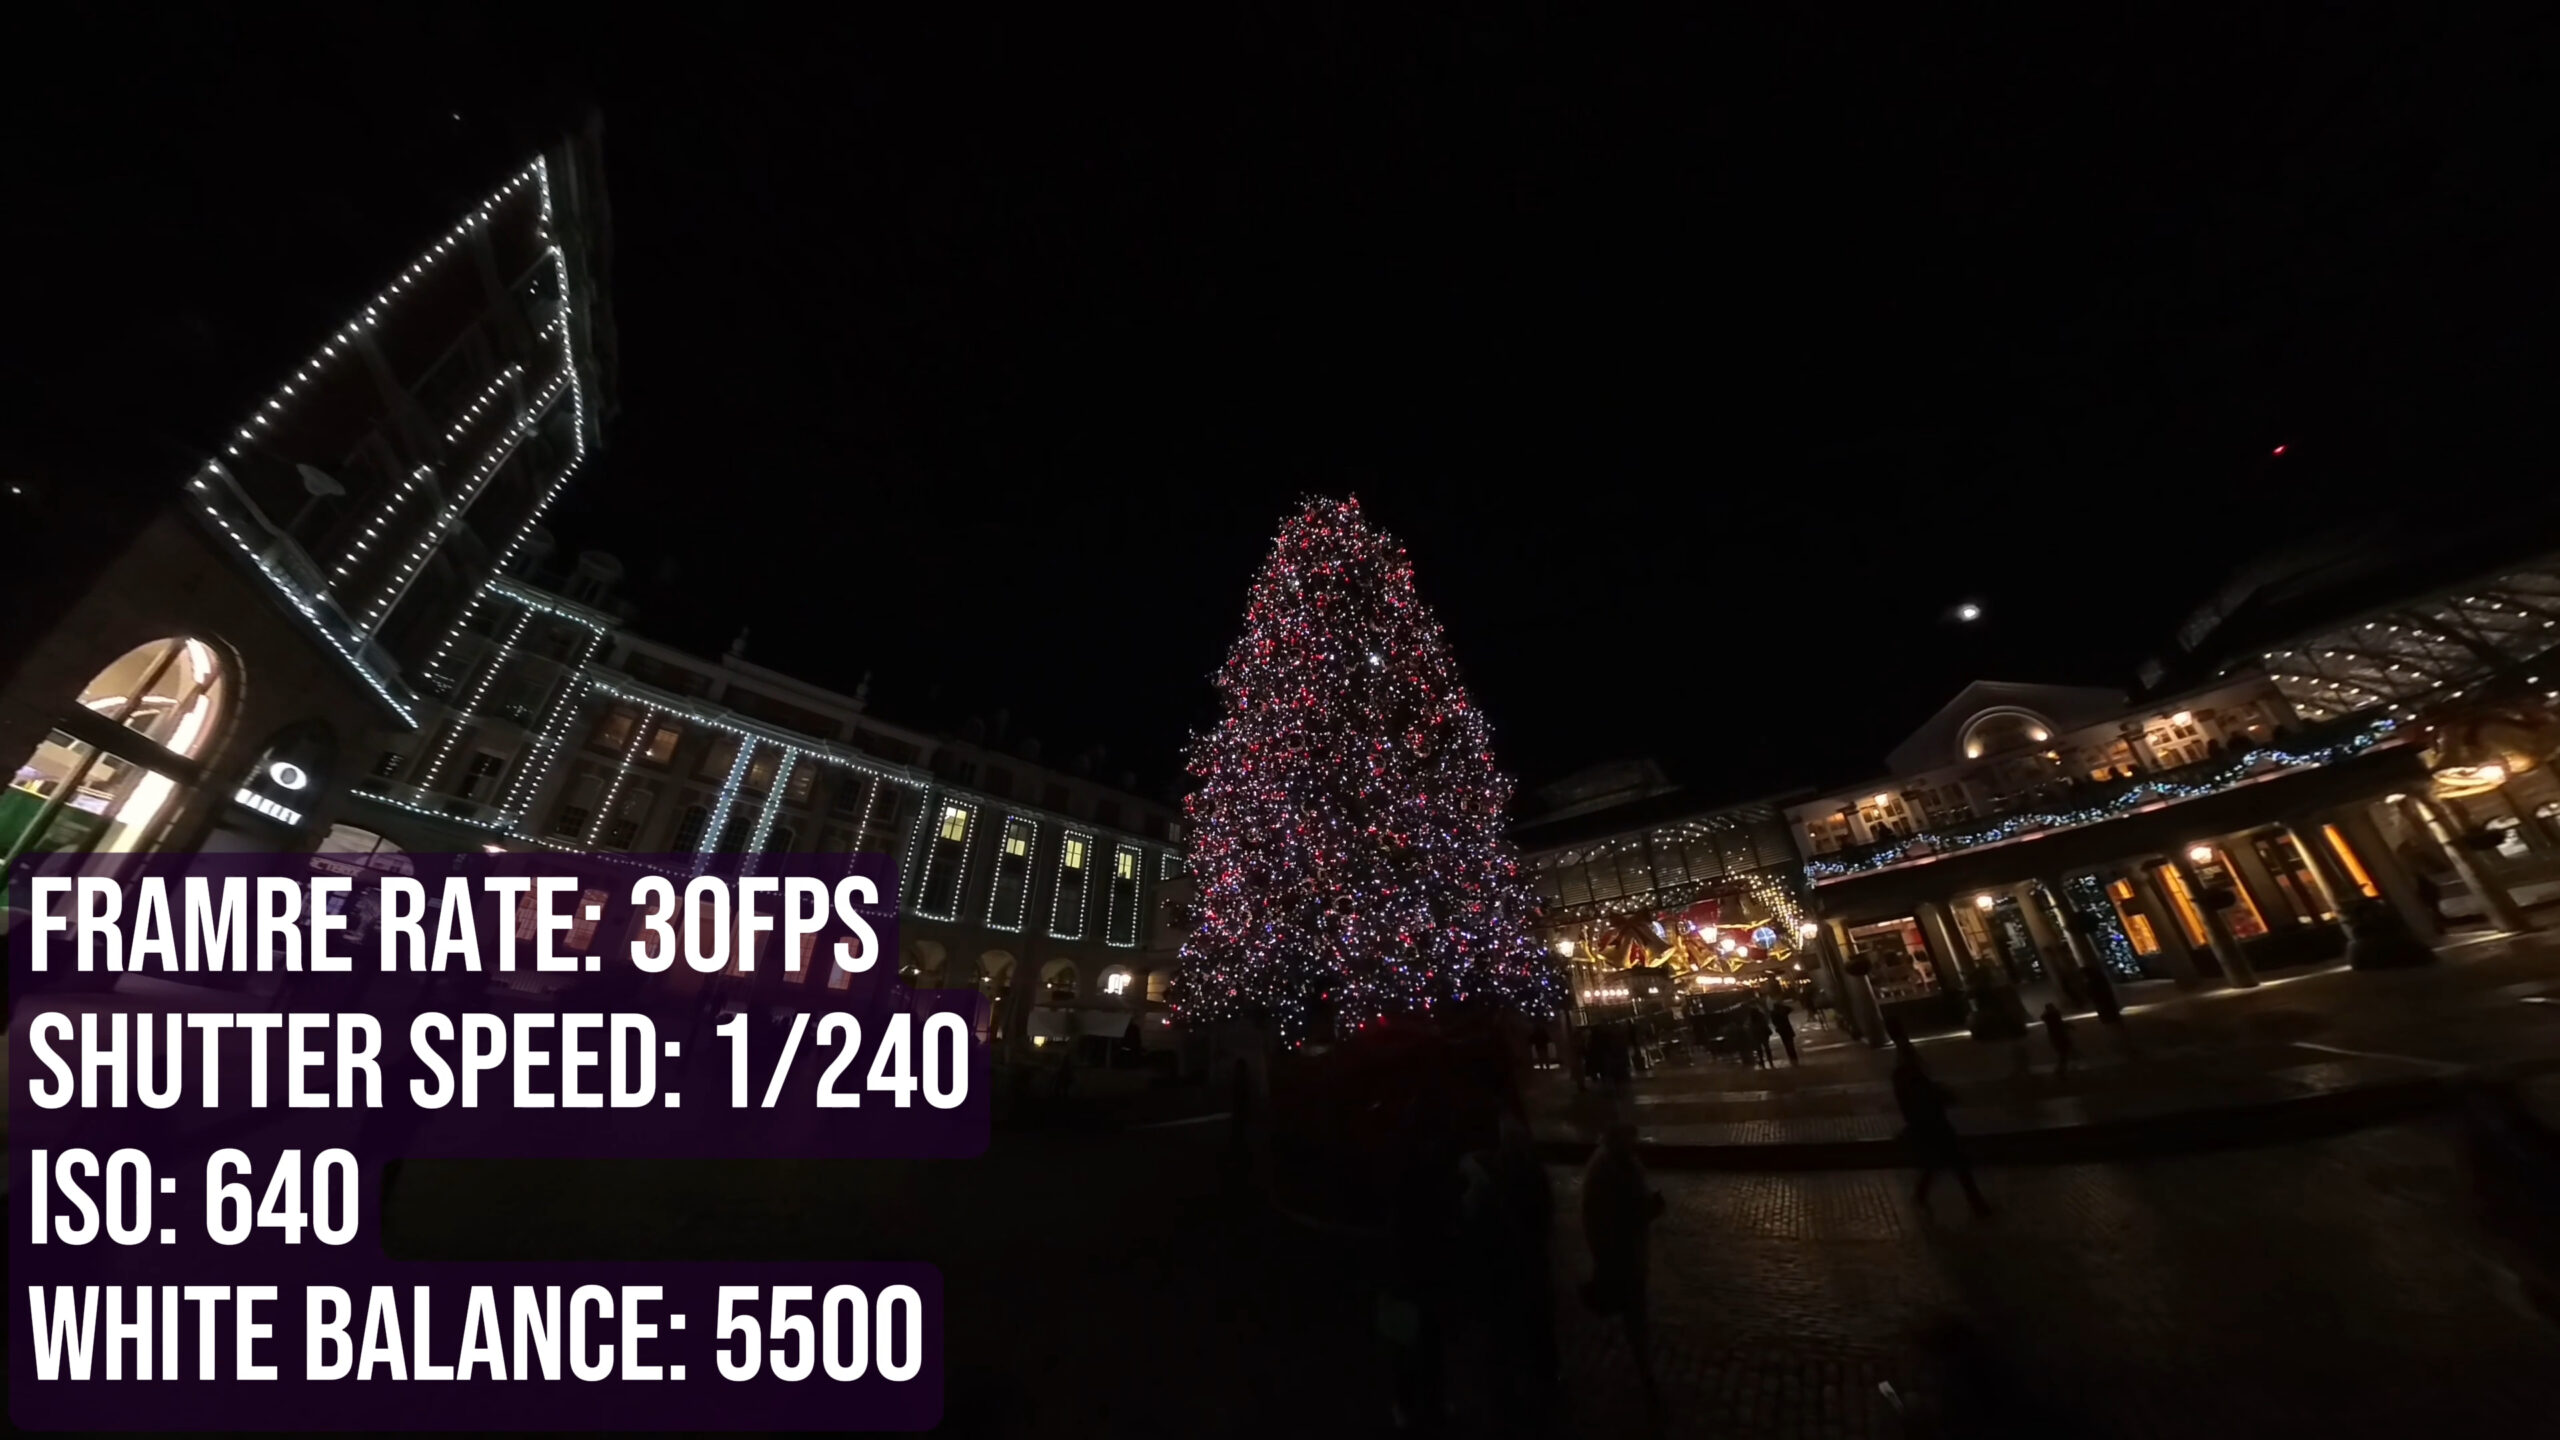
3. Filming in Mixed Lighting
Mixed lighting—like a scene with neon signs, streetlights, and shadows—requires extra care. I’ll typically:
- Use 5.7K resolution to maximize light capture.
- Start with a shutter speed of 1/80 and adjust based on how bright or dark the highlights are.
- Set the ISO to around 400-500, which balances light sensitivity with minimal noise.
When shooting in mixed lighting, I’ll often take a few test shots to see how the camera handles the contrast. From there, I fine-tune the settings until the footage looks balanced.
Additional Tips for Better Low-Light Footage
Beyond settings, here are some practical tips to improve your results:
1. Use a Tripod or Stabilizer
A tripod or monopod with a large base reduces vibrations and keeps the camera steady, especially for still shots. If shooting handheld, use both hands to minimize movement and hold the camera securely. I’ve experimented with different stabilizers, and a sturdy, well-built one makes a world of difference.
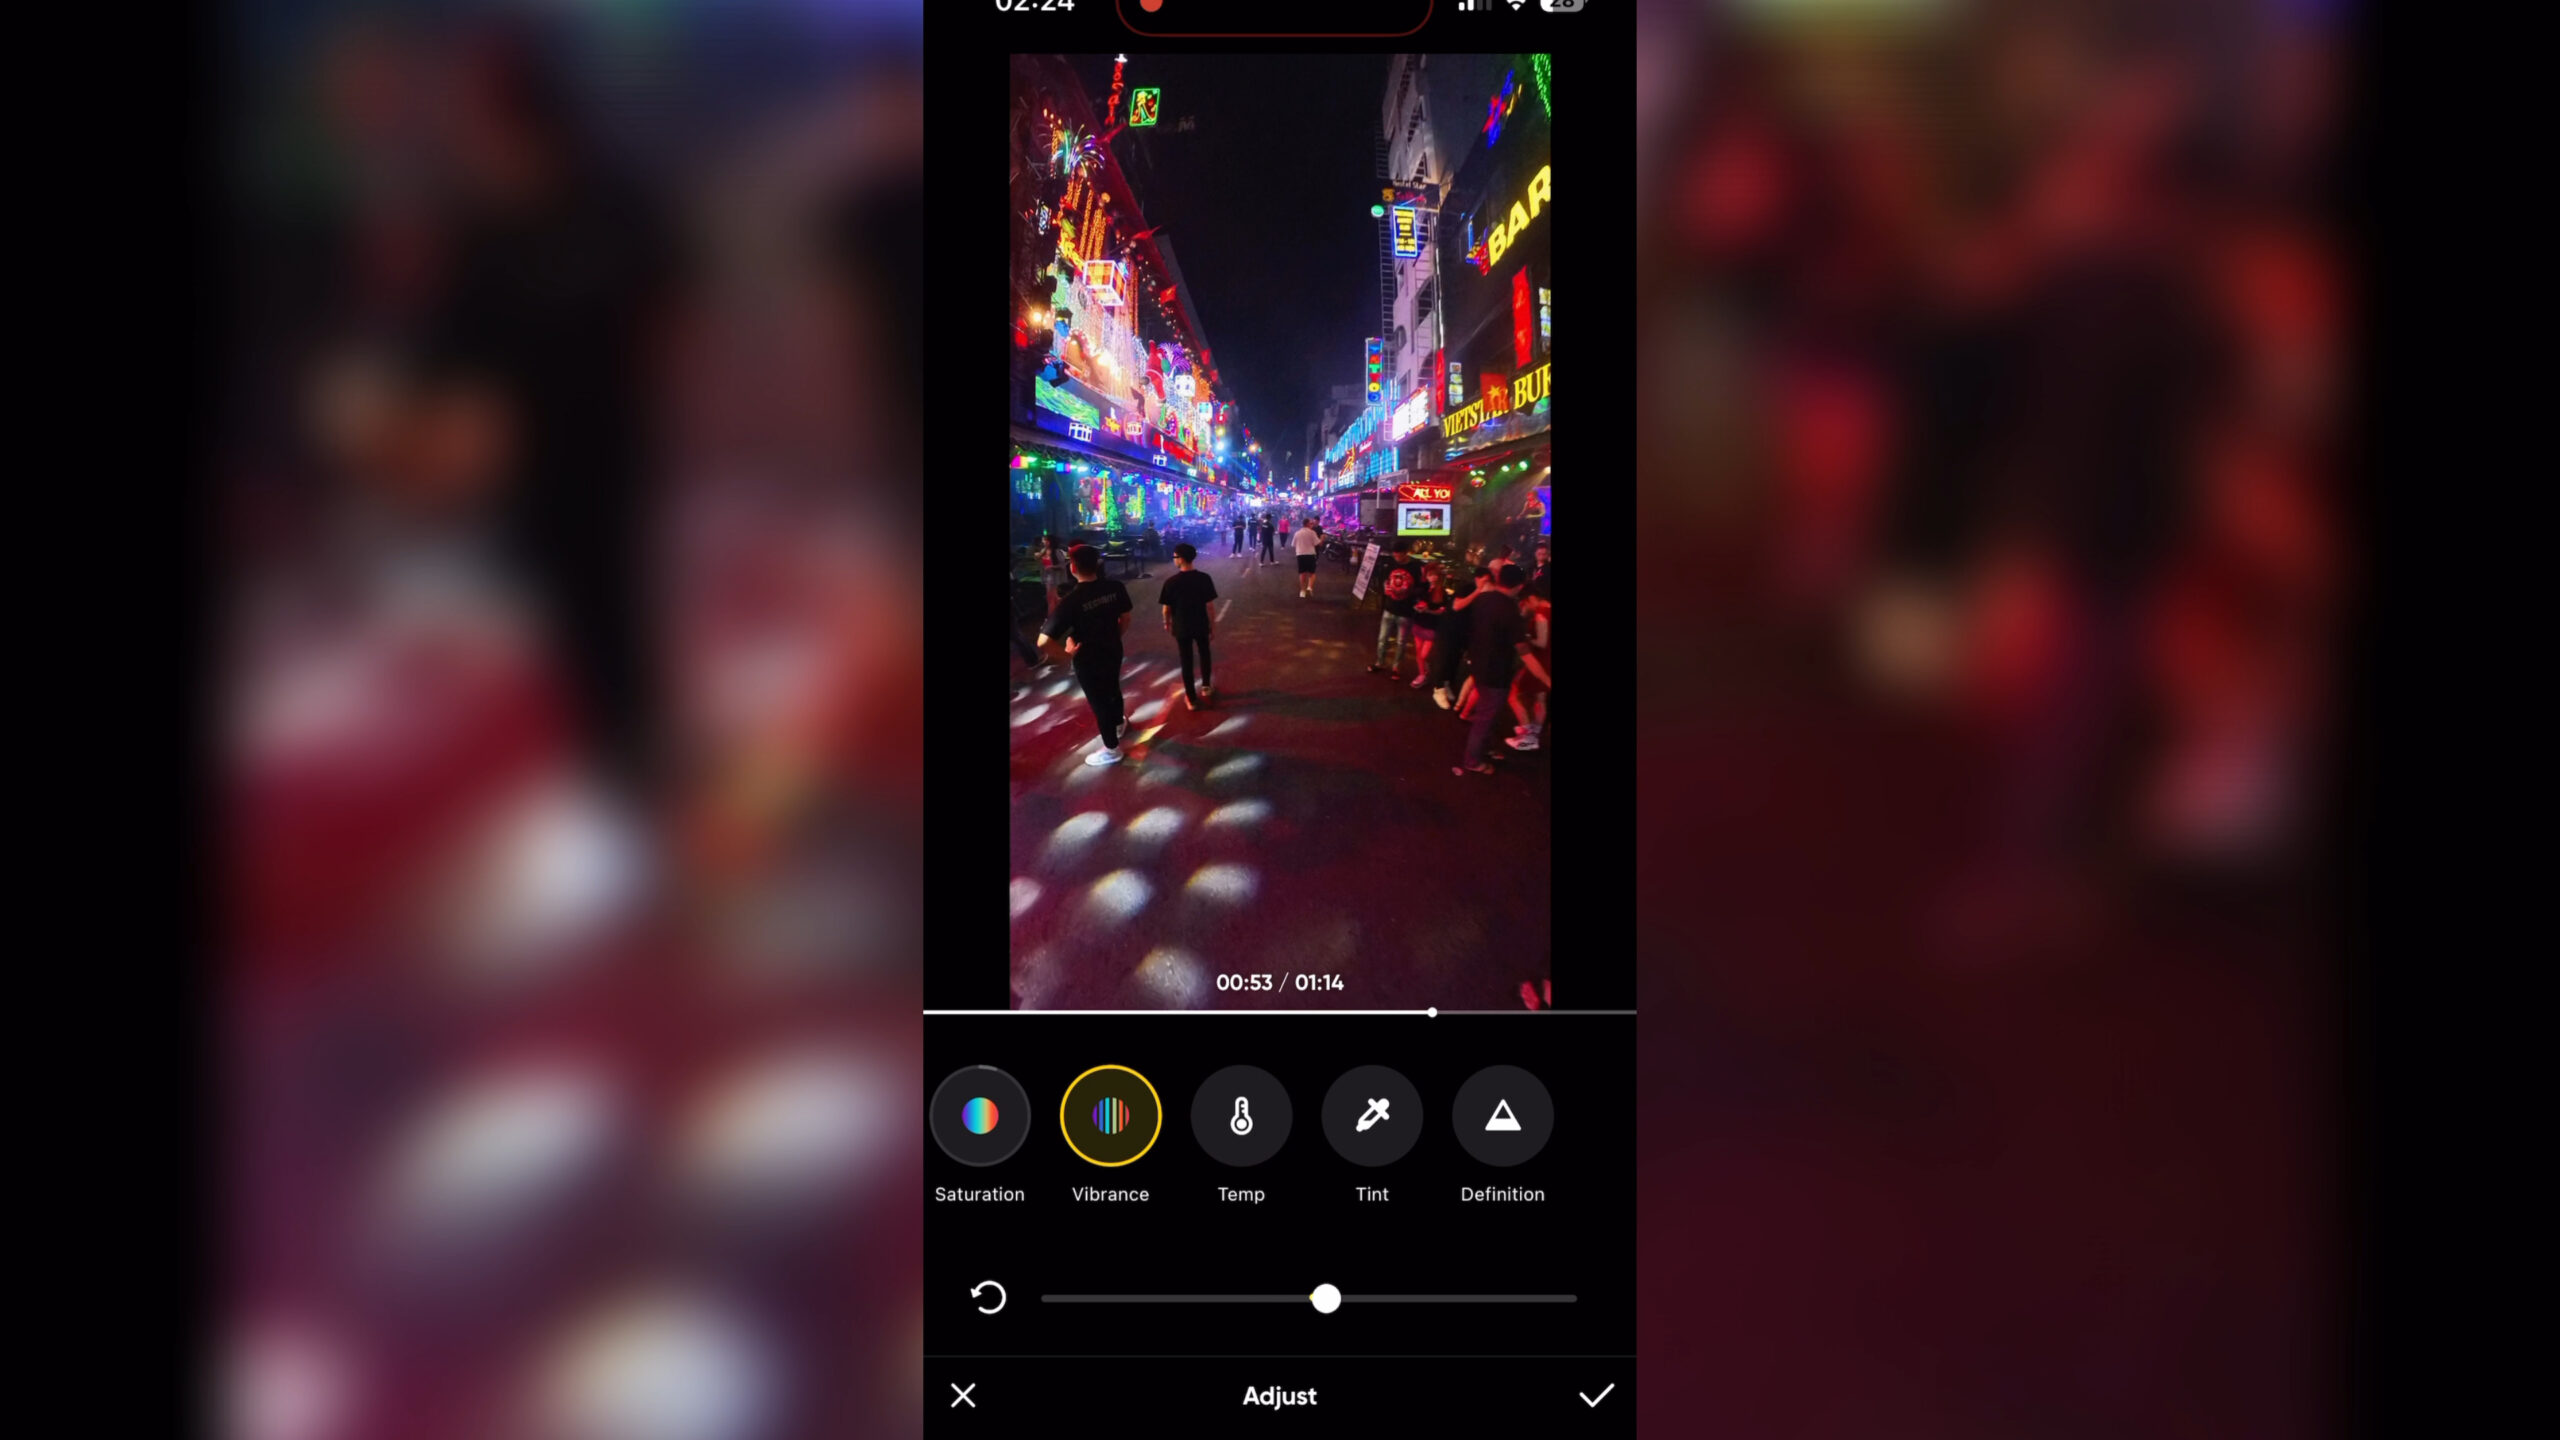
2. Adjust Settings in the Insta360 App
Post-shoot editing in the Insta360 app can significantly enhance your footage:
- Shadows/Highlights: Adjust these to emphasize contrast.
- Saturation: Increase slightly to make colors pop.
- Sharpness: Fine-tune to maintain details without introducing noise.
I’ll usually spend a few minutes tweaking these settings after every shoot to get the best results.
3. Plan Your Shots
Scout your location in advance. Look for areas with ample artificial lighting, like cityscapes, Christmas decorations, or neon signs. Positioning your camera to maximize available light can reduce the need for higher ISO settings. Personally, I like to walk through my shoot location during the day to identify the best angles and light sources.
Common Mistakes to Avoid
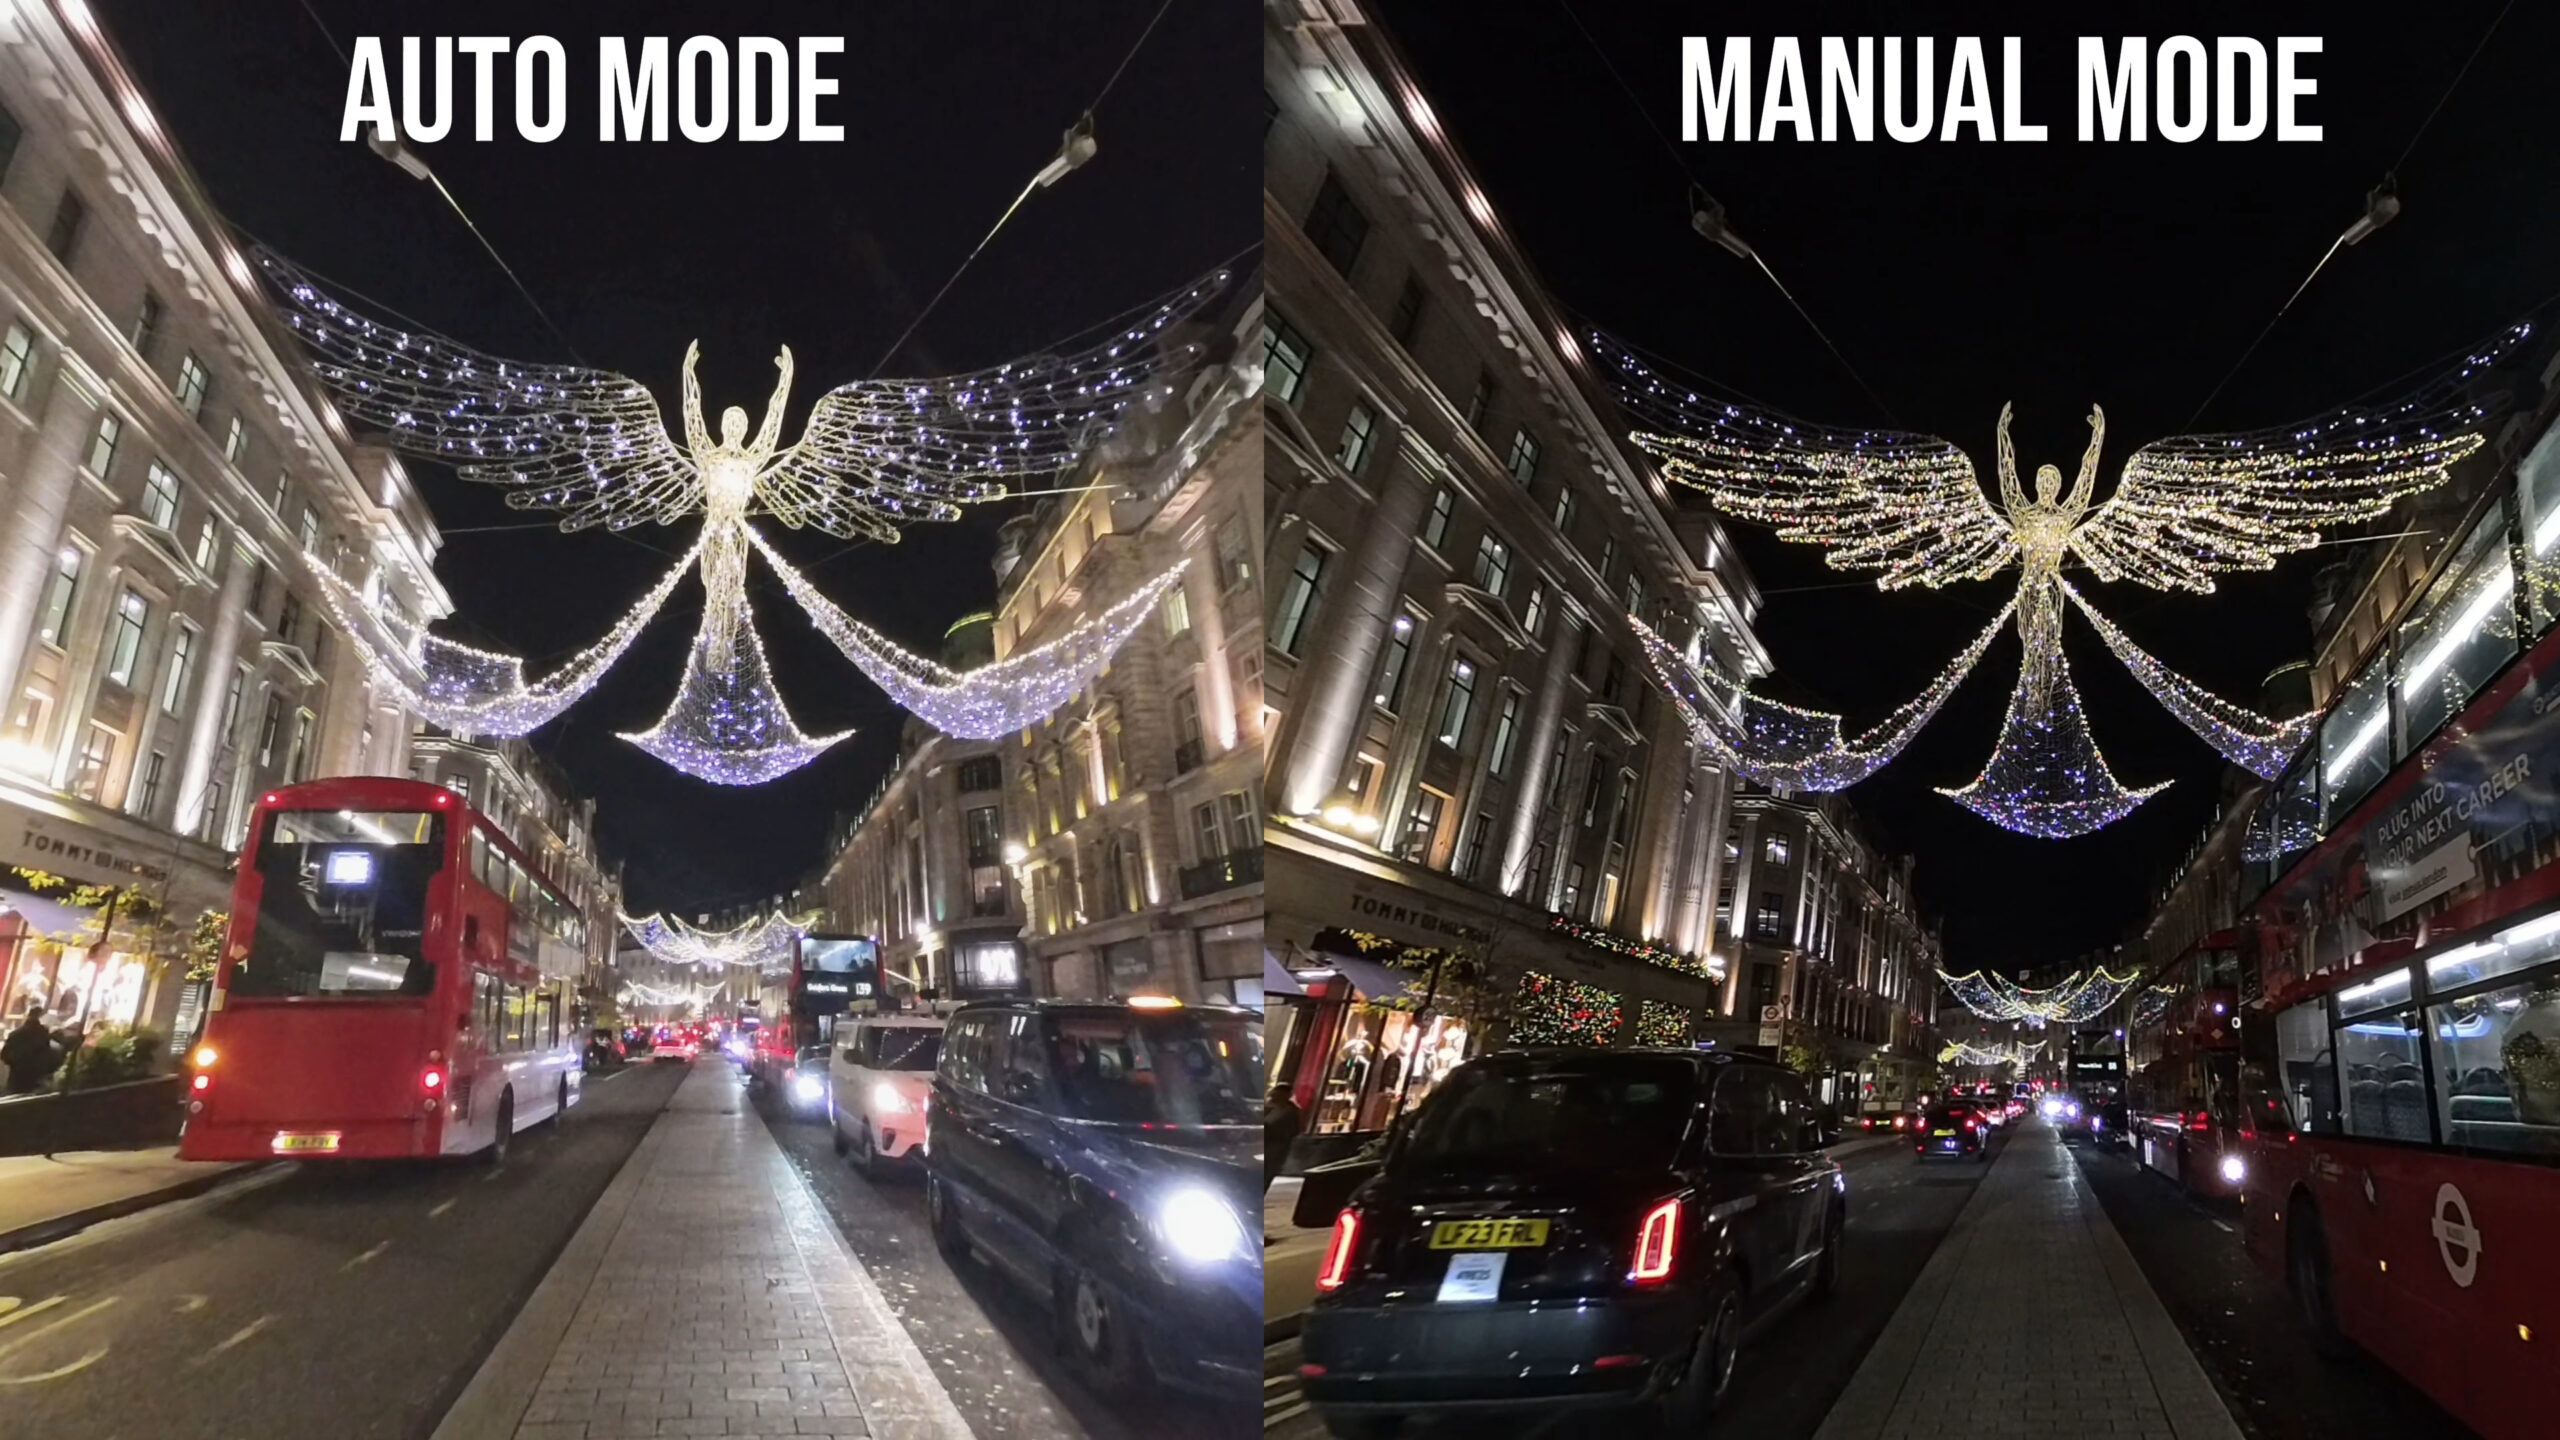
- Over-Reliance on Auto Mode: Automatic settings often result in overexposed highlights and grainy shadows.
- Using Maximum ISO: Pushing ISO too high makes footage unusable due to excessive grain.
- Skipping Post-Processing: Simple tweaks in editing can transform your footage from average to exceptional.
Final Thoughts
The Insta360 X4 is a fantastic tool for capturing immersive 360 videos, even in low-light conditions. By understanding and mastering manual settings like ISO, shutter speed, and white balance, you’ll elevate your nighttime shots to a professional level. Don’t forget to stabilize your camera and refine your footage in post-production for the best results.
For more detailed guidance on using the Insta360 X4, including advanced shooting techniques, check out my Ultimate Insta360 Video Course. With over 70 lessons, it covers everything from setup to editing, ensuring you’ll make the most of your camera.
Happy shooting!


Owner of threesixtycameras.com. Writer, photographer and videographer. You can see my YouTube channel for guides of how to shoot 360 video. I've written for The Times, Digital Photography School and Sunday Express.