 The 360 Guy
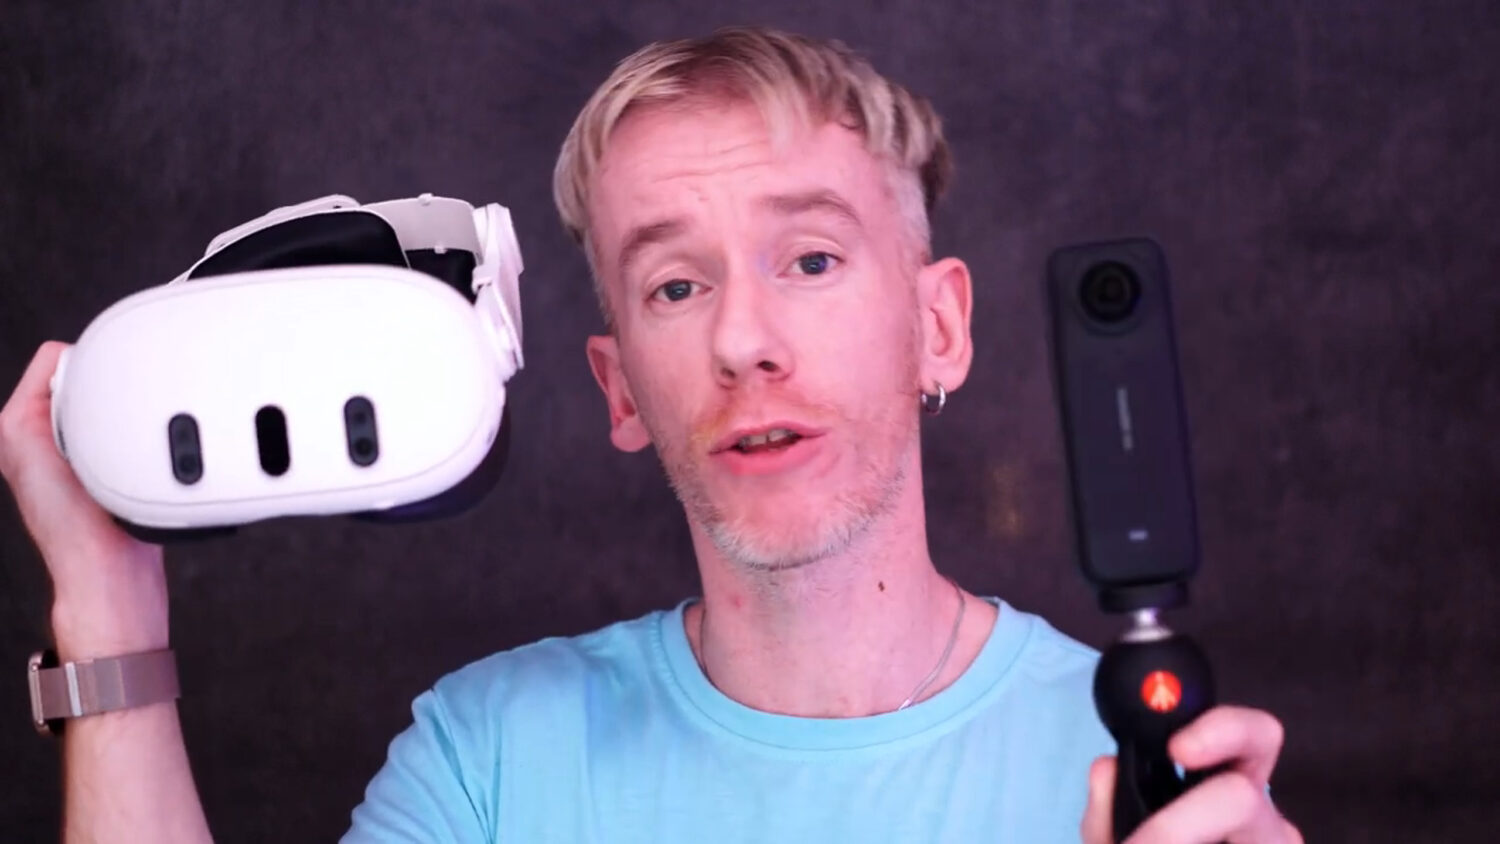
If you’ve got some incredible 360 videos shot with your Insta360 X4, you’re probably eager to experience them in full immersive glory on your Meta Quest 3 or 3s. I’ve been down this road plenty of times, and in this guide, I’ll walk you through the best ways to watch your Insta360 X4 videos at the highest quality possible. Let’s dive in!
Step 1: Process Your Insta360 X4 Videos
The first step to watching your 360 videos on the Quest is ensuring they’re exported properly. The Insta360 X4 can shoot in stunning 8K, which looks phenomenal, but you’ll need to process the videos on a desktop or laptop for the best results.
Why Use a Desktop or Laptop?
While the Insta360 app on your phone is handy, it doesn’t offer the same processing power or export options as Insta360 Studio on a desktop. To get the highest quality possible, always use the desktop software.

Export Settings to Use
Here’s how I set up my exports for maximum quality:
- Open Insta360 Studio on your desktop or laptop.
- Import your videos and make any minor edits (like cropping the start or end).
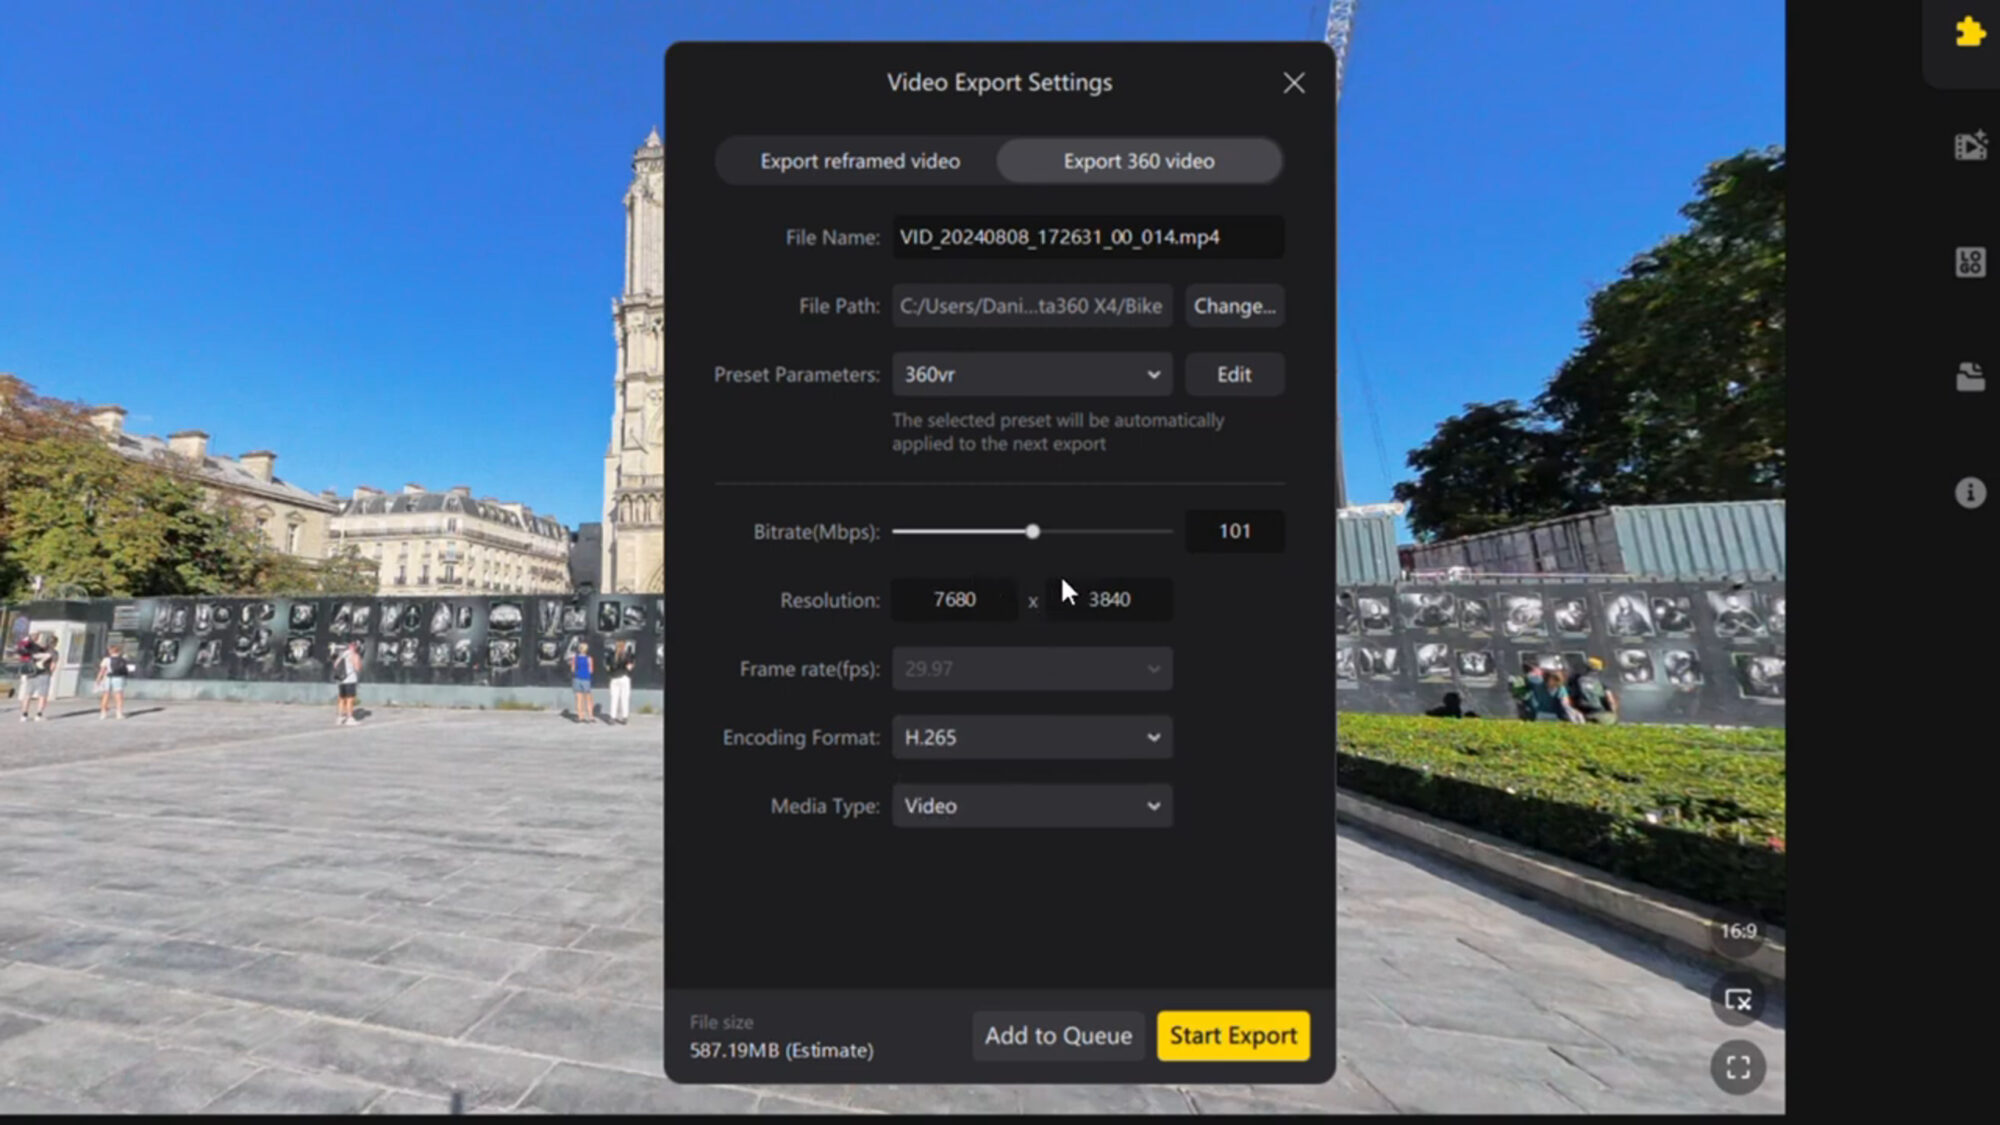
- Switch to the 360 Video tab. This ensures the entire video is exported in its spherical format.
- Set the resolution to the maximum (usually 8K).
- Choose the H.265 codec and set the bitrate to at least 80 Mbps. This gives you the best balance between quality and file size.
Pro Tip: Don’t increase the bitrate unnecessarily; it won’t improve quality but will make the file size huge. Stick to 80 Mbps or slightly higher.
One Video at a Time
Currently, Insta360 Studio doesn’t support combining multiple 360 videos into one file. You’ll need to process each video individually, which can take time but is worth it for the quality.
Step 2: Transfer Videos to the Meta Quest
Once your videos are exported, it’s time to transfer them to your Quest headset.
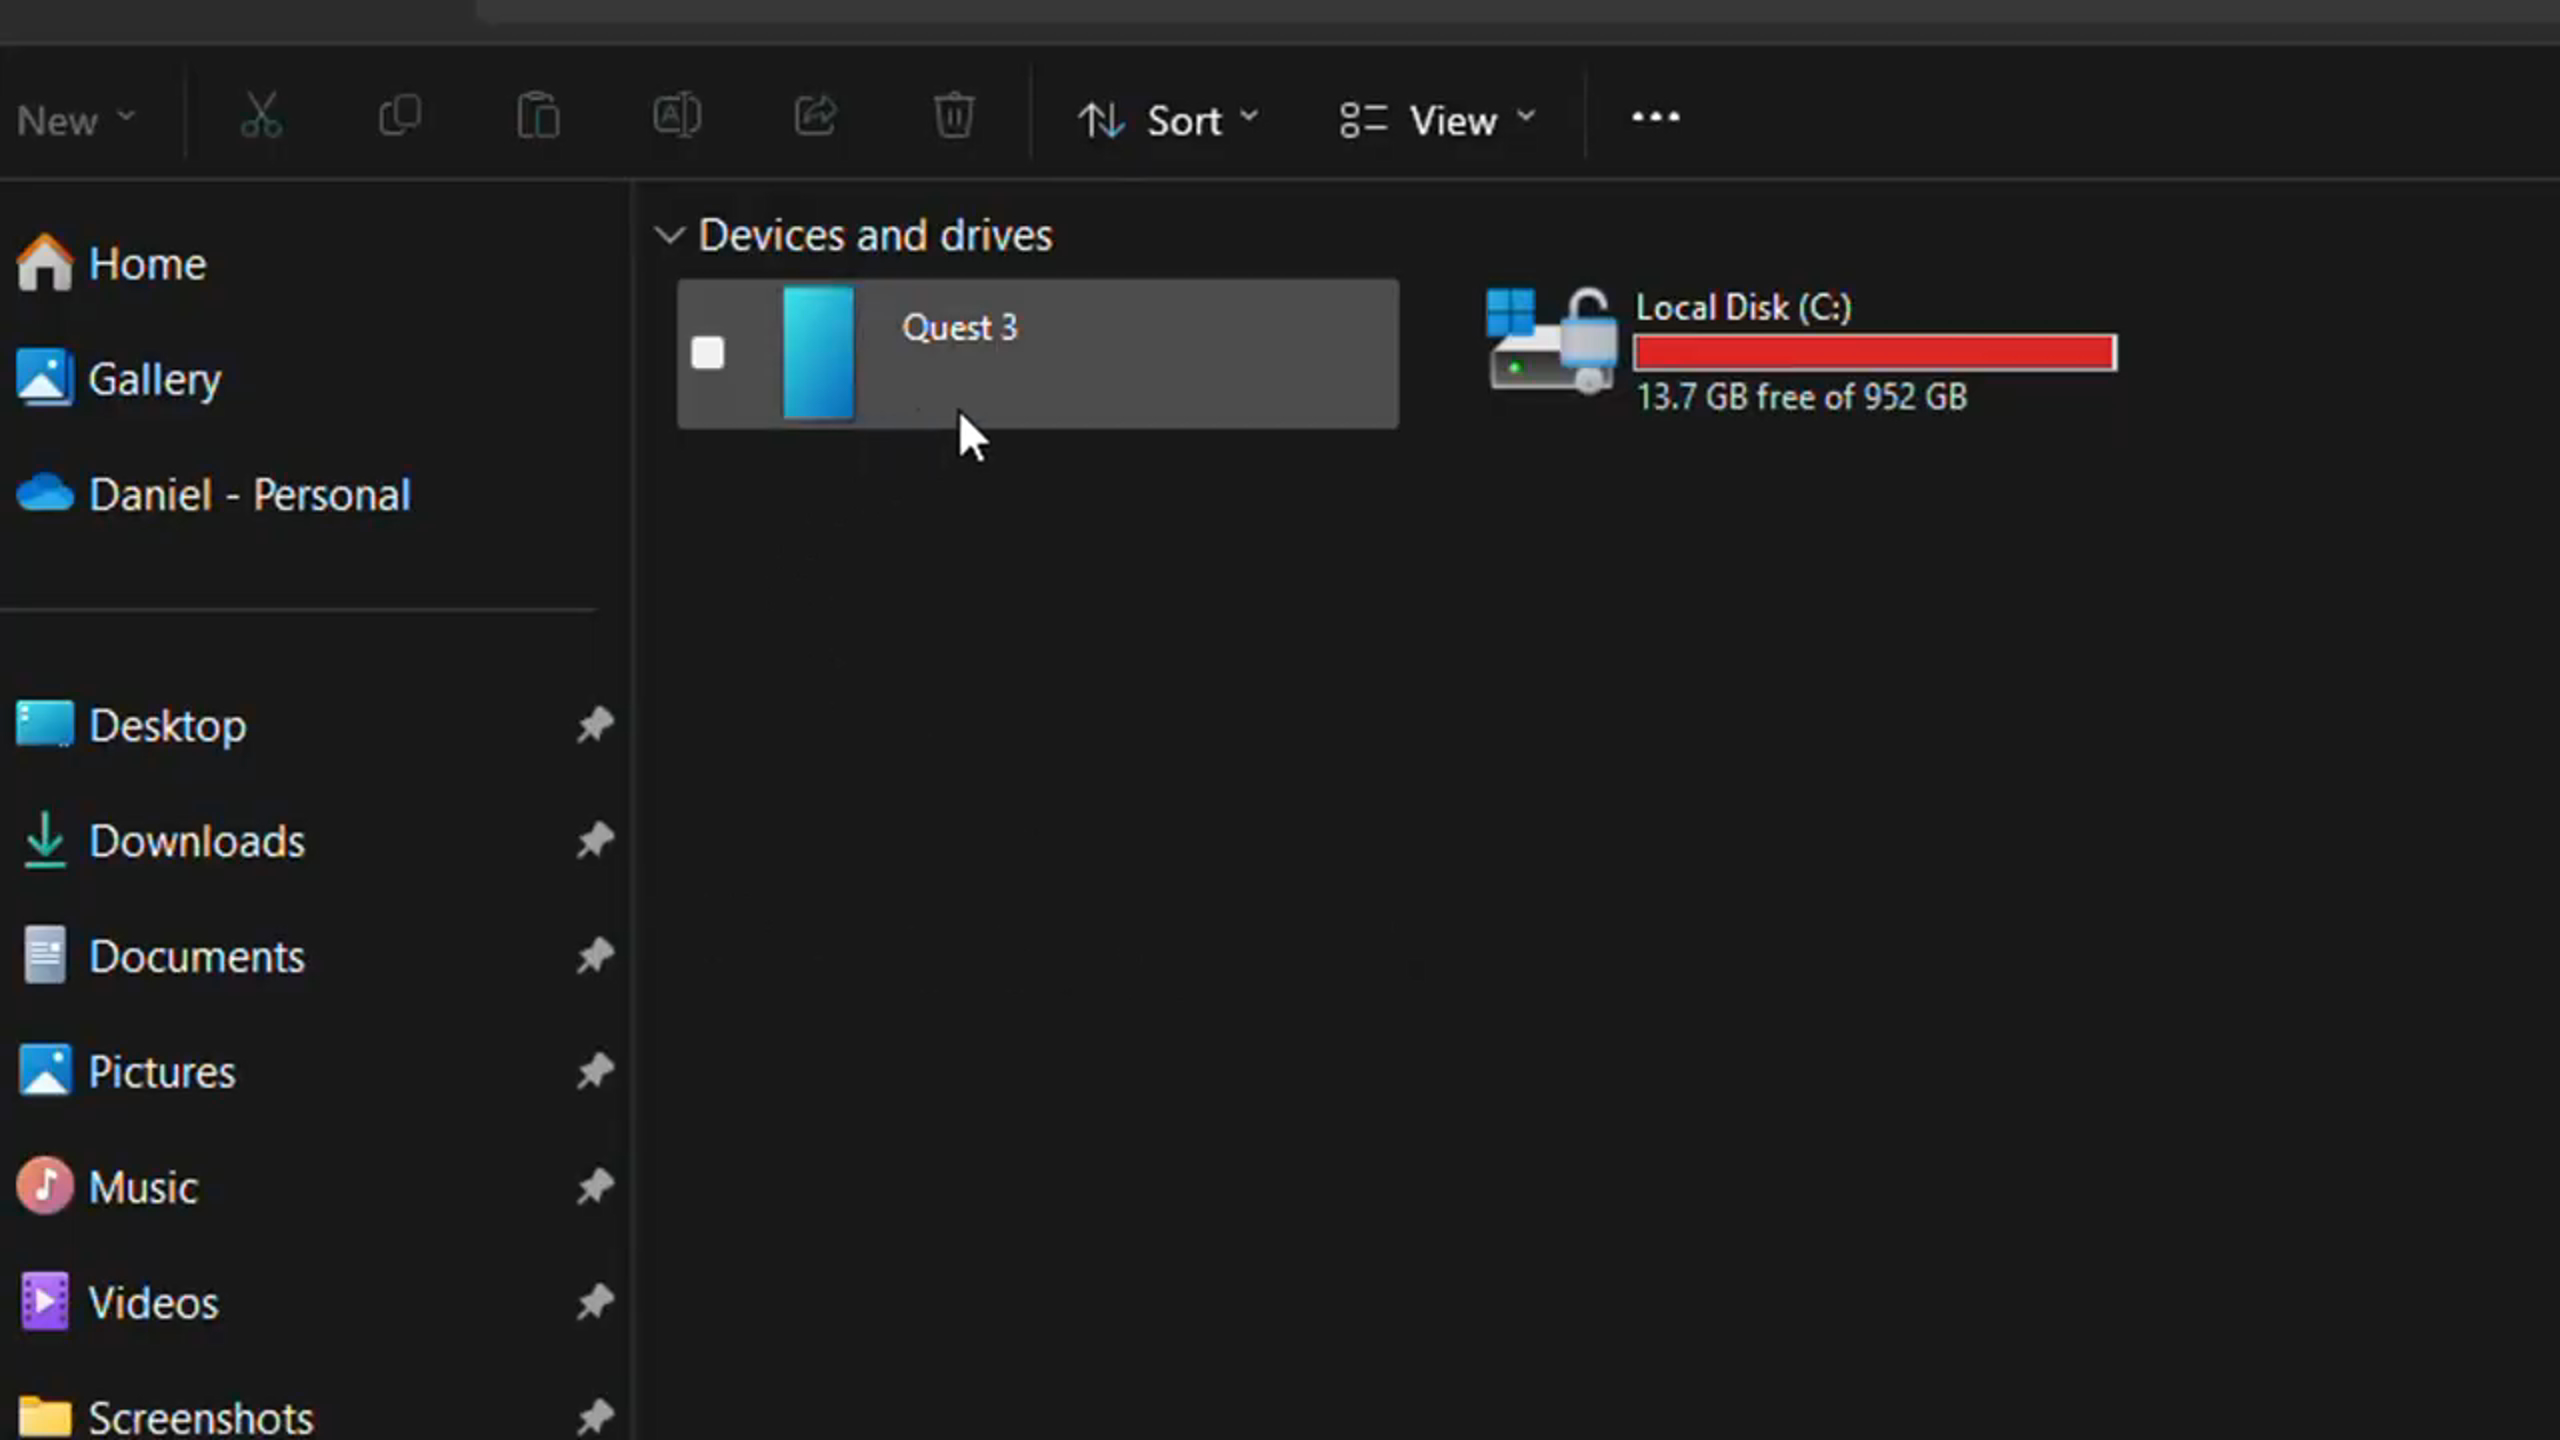
Connecting Your Quest to Your Computer
- Use a USB-C cable to connect your Quest headset to your desktop or laptop.
- Put on the headset, and when prompted, select Allow to enable file access.
Where to Save the Files
- Navigate to your Quest’s file system on your computer.
- You can save the videos in the Movies folder or the DCIM folder. Either works fine.
- Copy your exported 360 videos into the chosen folder.
Once the transfer is complete, unplug your headset.
Step 3: Play the Videos on the Quest
Now for the fun part—watching your videos!

Accessing Your Videos
- Put on your Quest headset and navigate to the File Manager.
- Locate the folder where you saved your videos (Movies or DCIM).
- Select the video you want to watch.
Switching to 360 Mode
Sometimes, the videos may initially play in 2D. To switch to the immersive 360 mode:
- Look for the 2D icon on the bottom right.
- Hover over it with your controller and select 360 mode.
You’re now fully immersed in your 360 footage! Watching native 360 videos directly from your Quest offers the best quality since the files are playing directly from the device, without any streaming compression.
Step 4: Alternative Methods
If transferring files isn’t convenient, there are other ways to watch your 360 videos. Here are two popular options:
1. Upload to YouTube
Uploading your 360 videos to YouTube makes them accessible anywhere, including on your Quest. However, there are trade-offs:
- Pros: Share your videos with others and watch them on any device.
- Cons: YouTube compresses your videos, significantly reducing quality.
How to Maximize Quality on YouTube:
- Make sure to upload the highest resolution (8K if possible).
- While watching on your Quest, select the maximum playback quality in the YouTube VR app.
Workaround for Missing 8K: Sometimes, the YouTube VR app doesn’t show the 8K option. A trick I use is opening the video in the Meta Quest browser instead of the YouTube app. This often gives access to the full 8K resolution.
2. Skybox VR Player

Skybox VR Player is a fantastic paid app on the Quest that provides advanced playback options for 360 videos.
- Features I Love:
- Stream videos directly from your computer to the Quest.
- Adjust horizon levels and other playback settings.
- Quality: While streaming reduces quality slightly compared to native playback, it’s much better than YouTube.
Why Watching in 360 Is Worth It
I’ve been watching 360 videos on Quest headsets for years, and the quality has improved dramatically, especially with cameras like the Insta360 X4 that shoot in 8K. The jump from 5.7K to 8K is noticeable, with crisp details and vibrant colors that truly immerse you in the scene.
One of my favourite things about capturing 360 videos is reliving moments from my travels. Whether it’s Iceland, Hawaii, or Paris during the Olympics, watching these videos brings back vivid memories and emotions. It’s like stepping back in time, and that’s something a regular camera just can’t replicate.
Final Thoughts
The best way to watch your Insta360 X4 videos on the Meta Quest 3 or 3s is to transfer them natively for playback. It’s a bit of a process, but the quality is worth it. If you’re short on storage or looking for easier alternatives, YouTube and Skybox VR Player are solid options, though they come with trade-offs.
If you have any tips, tricks, or questions about watching 360 videos on the Quest, drop them in the comments. I’d love to hear about your experiences. Until next time, happy filming and even happier viewing!


Owner of threesixtycameras.com. Writer, photographer and videographer. You can see my YouTube channel for guides of how to shoot 360 video. I've written for The Times, Digital Photography School and Sunday Express.